

This post may be more accurately described as a first impression of resin printing in general, as the Anycubic Photon Mono is not only the first resin printer I've owned, it's also the first I've ever used.
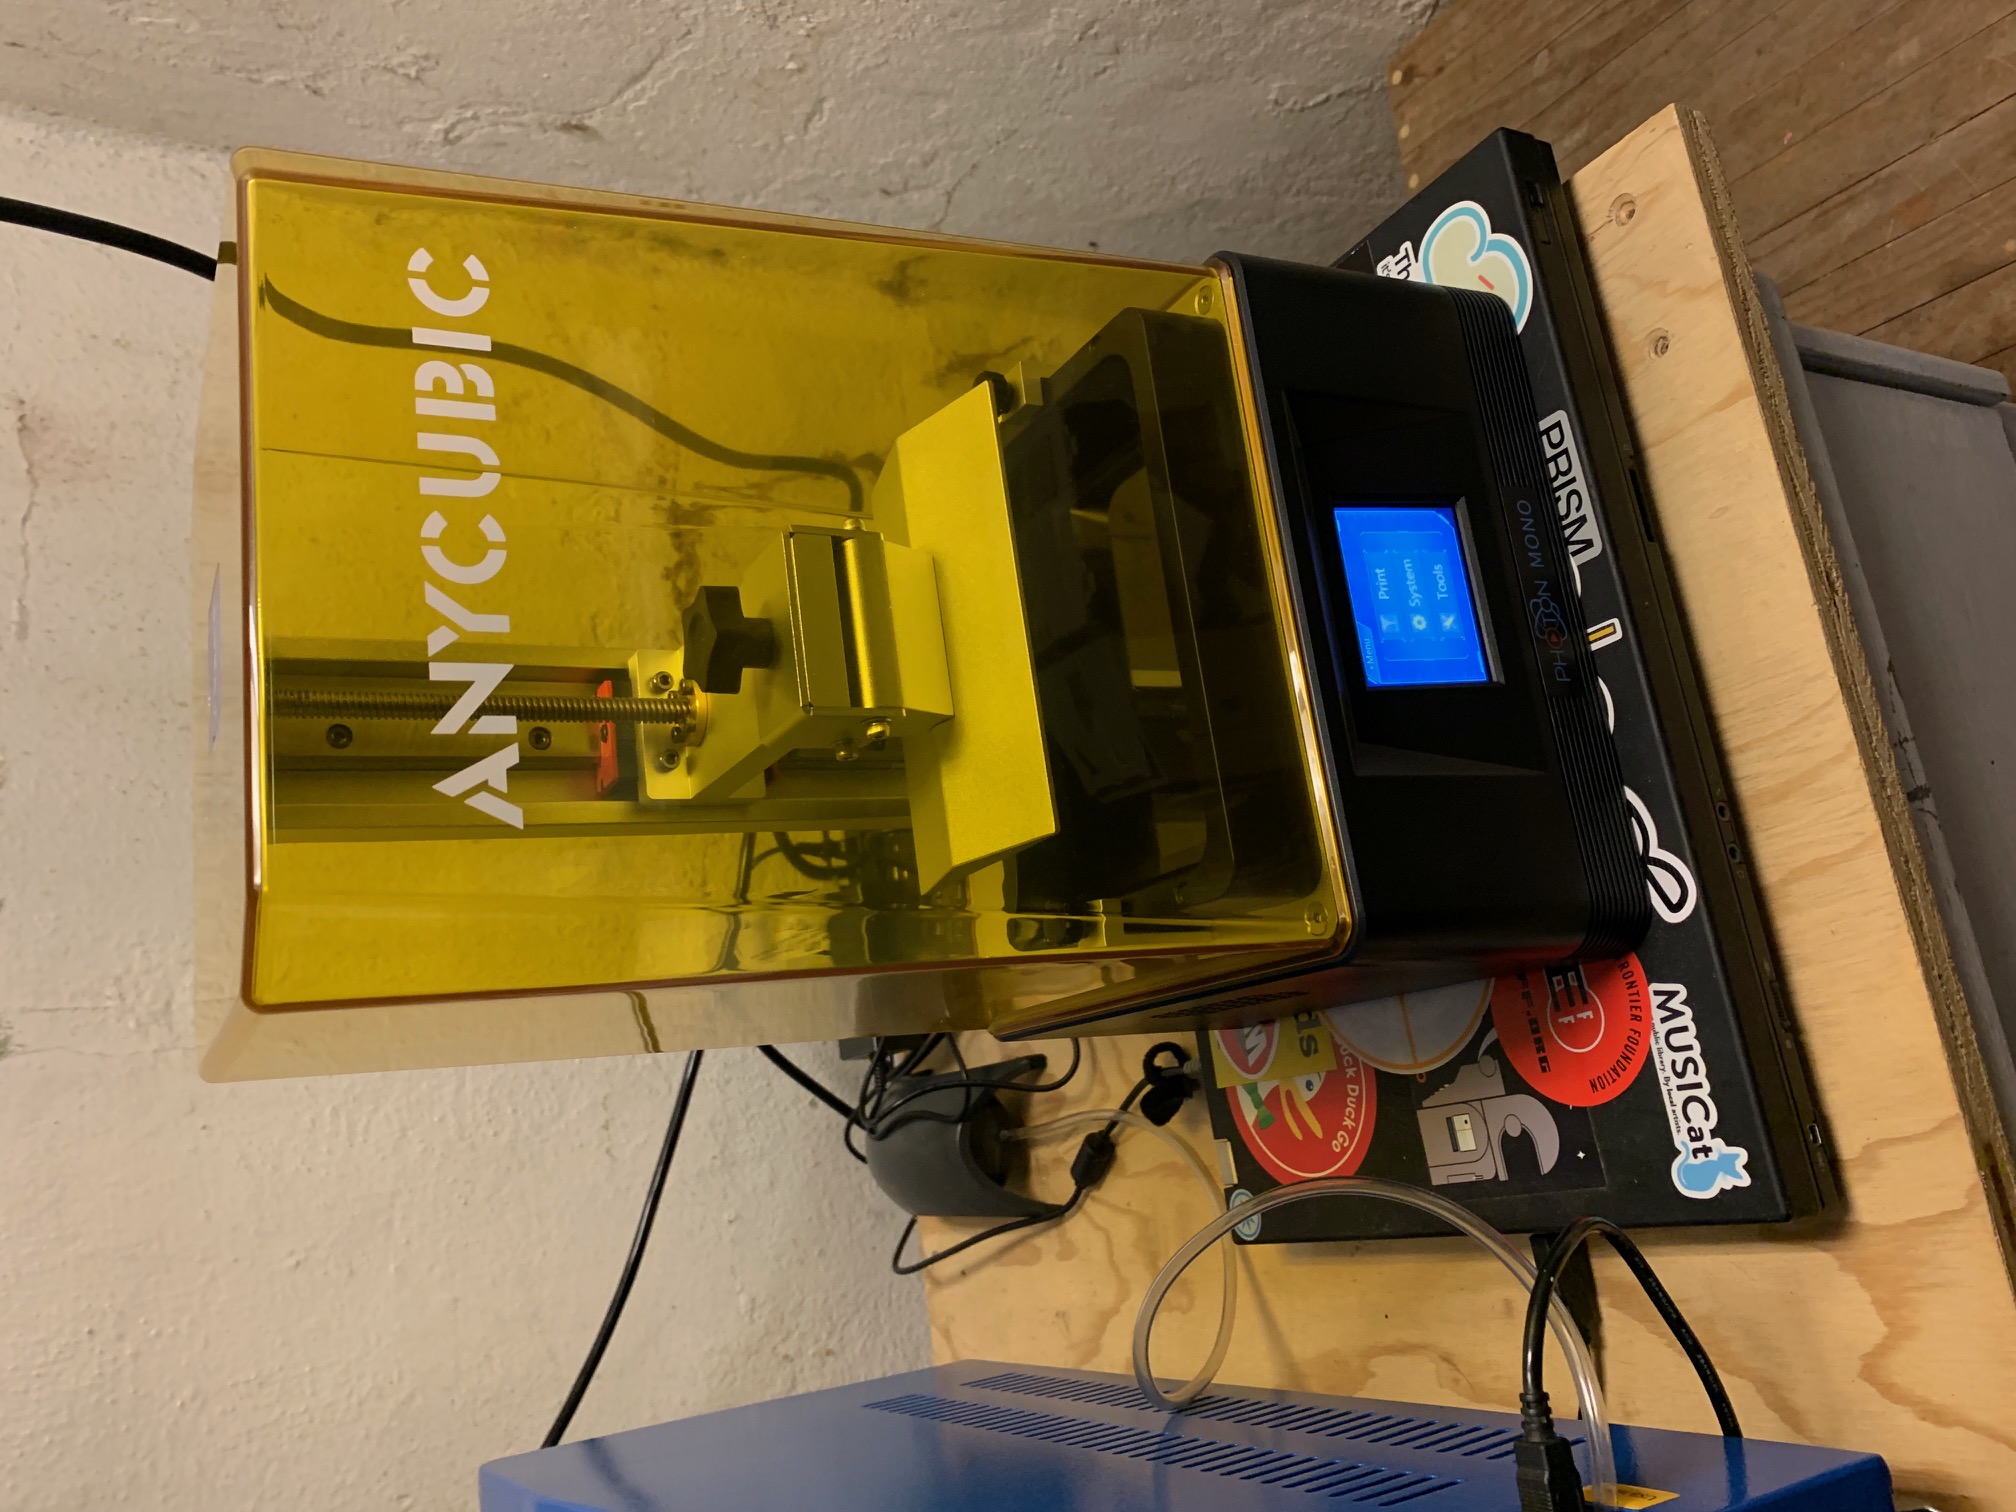
The most consistent warning I've received about resin printing is in regard to the hazardous nature of the resin and its odor. To address this I've temporarily located the printer next to my K40 laser, the idea being that running the laser's ventilation system will vent any fumes (as it draws the surrounding air through the laser chassis). Given the amount of concern, I was surprised at how little odor there was when I filled the printer with resin (maybe the mask I was wearing was very effective?). Once the lid was on the printer, I couldn't detect any odor at all.
Going from box-to-printing was the quickest I've ever experienced. It could have been faster had I been more familiar with the setup process (I wanted to be careful), but even so it only took about 30 minutes total. Like most off-the-shelf printers, it came with a few test models pre-loaded on a flash drive so the machine could be tested without introducing additional variables associated with the upstream workflow (modeling, slicing, etc.).
Workflow
Modeling
Modelling appears to be largely the same, however the types of models suitable for resin printing are not. The biggest difference is perhaps the detail of the finished part (this printer claims layer heights as low as 0.01mm vs. the 0.1mm of my Creality Ender 5+). There also seems to be less concern about overhangs or the use of support (I'm waiting to see if removing the support is any less difficult than with an FDM printer).
Slicing
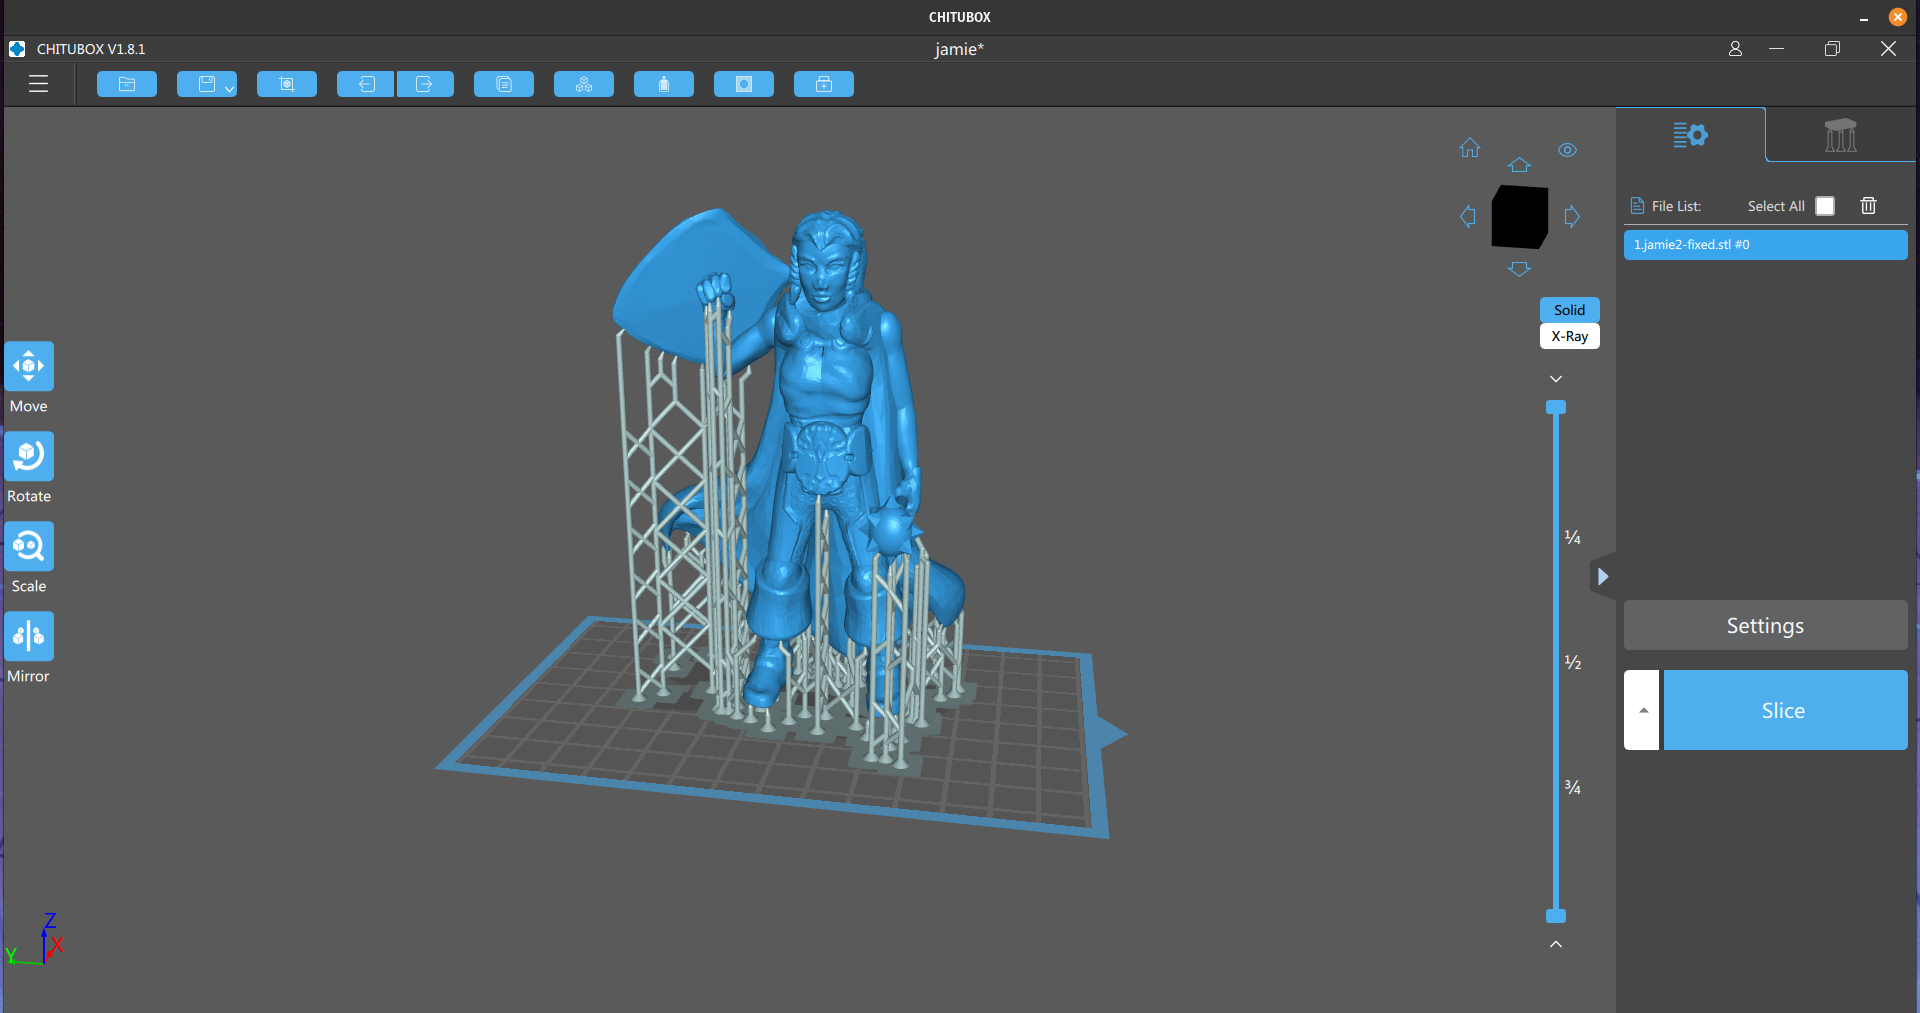
The manufacturer provides slicing software, however it doesn't work with Linux so I have to look elsewhere. For now I've settled on Chitubox primarily because I came across a script that installs it and sets it up to work nicely with Pop!_OS since I do most of my 3D work on my System76 Pangolin.
Once the model is sliced it's saved to a .pwmo file on a flash drive which came with the printer. Apparently this format is specific to the Anycubic machines and I'm still learning about what exactly it is. This is different from the .gcode file used by every other printer I've used before. At a high level it contains a "stack" of images as this is how the resin process works (displaying an image on the LCD, illuminating it with UV light and therefore exposing the resin to the shape of the layer) but there must be additional data in there related to exposure time, etc.
Printing
Initially the printer must be "leveled". This process is radically simpler than the equivalent operation on an FDM printer, and appears to be something that's infrequent as well.
Once leveled, the resin reservoir is installed and filled with resin. This operation (as does any involving handling the resin) requires gloves and a mask (fortunately these are things we have redily on hand these days...).
Now the USB drive containing the pwmo file is plugged into the printer, and the desired file to print is selected from a menu. This is more-or-less the same as how I'm currently printing on the Ender as I haven't been able to get Octoprint to work reliably with the Creality printer. From what I've seen so far, automation like Octoprint isn't an option with the Anycubic machine but maybe I just don't know enough about it yet.
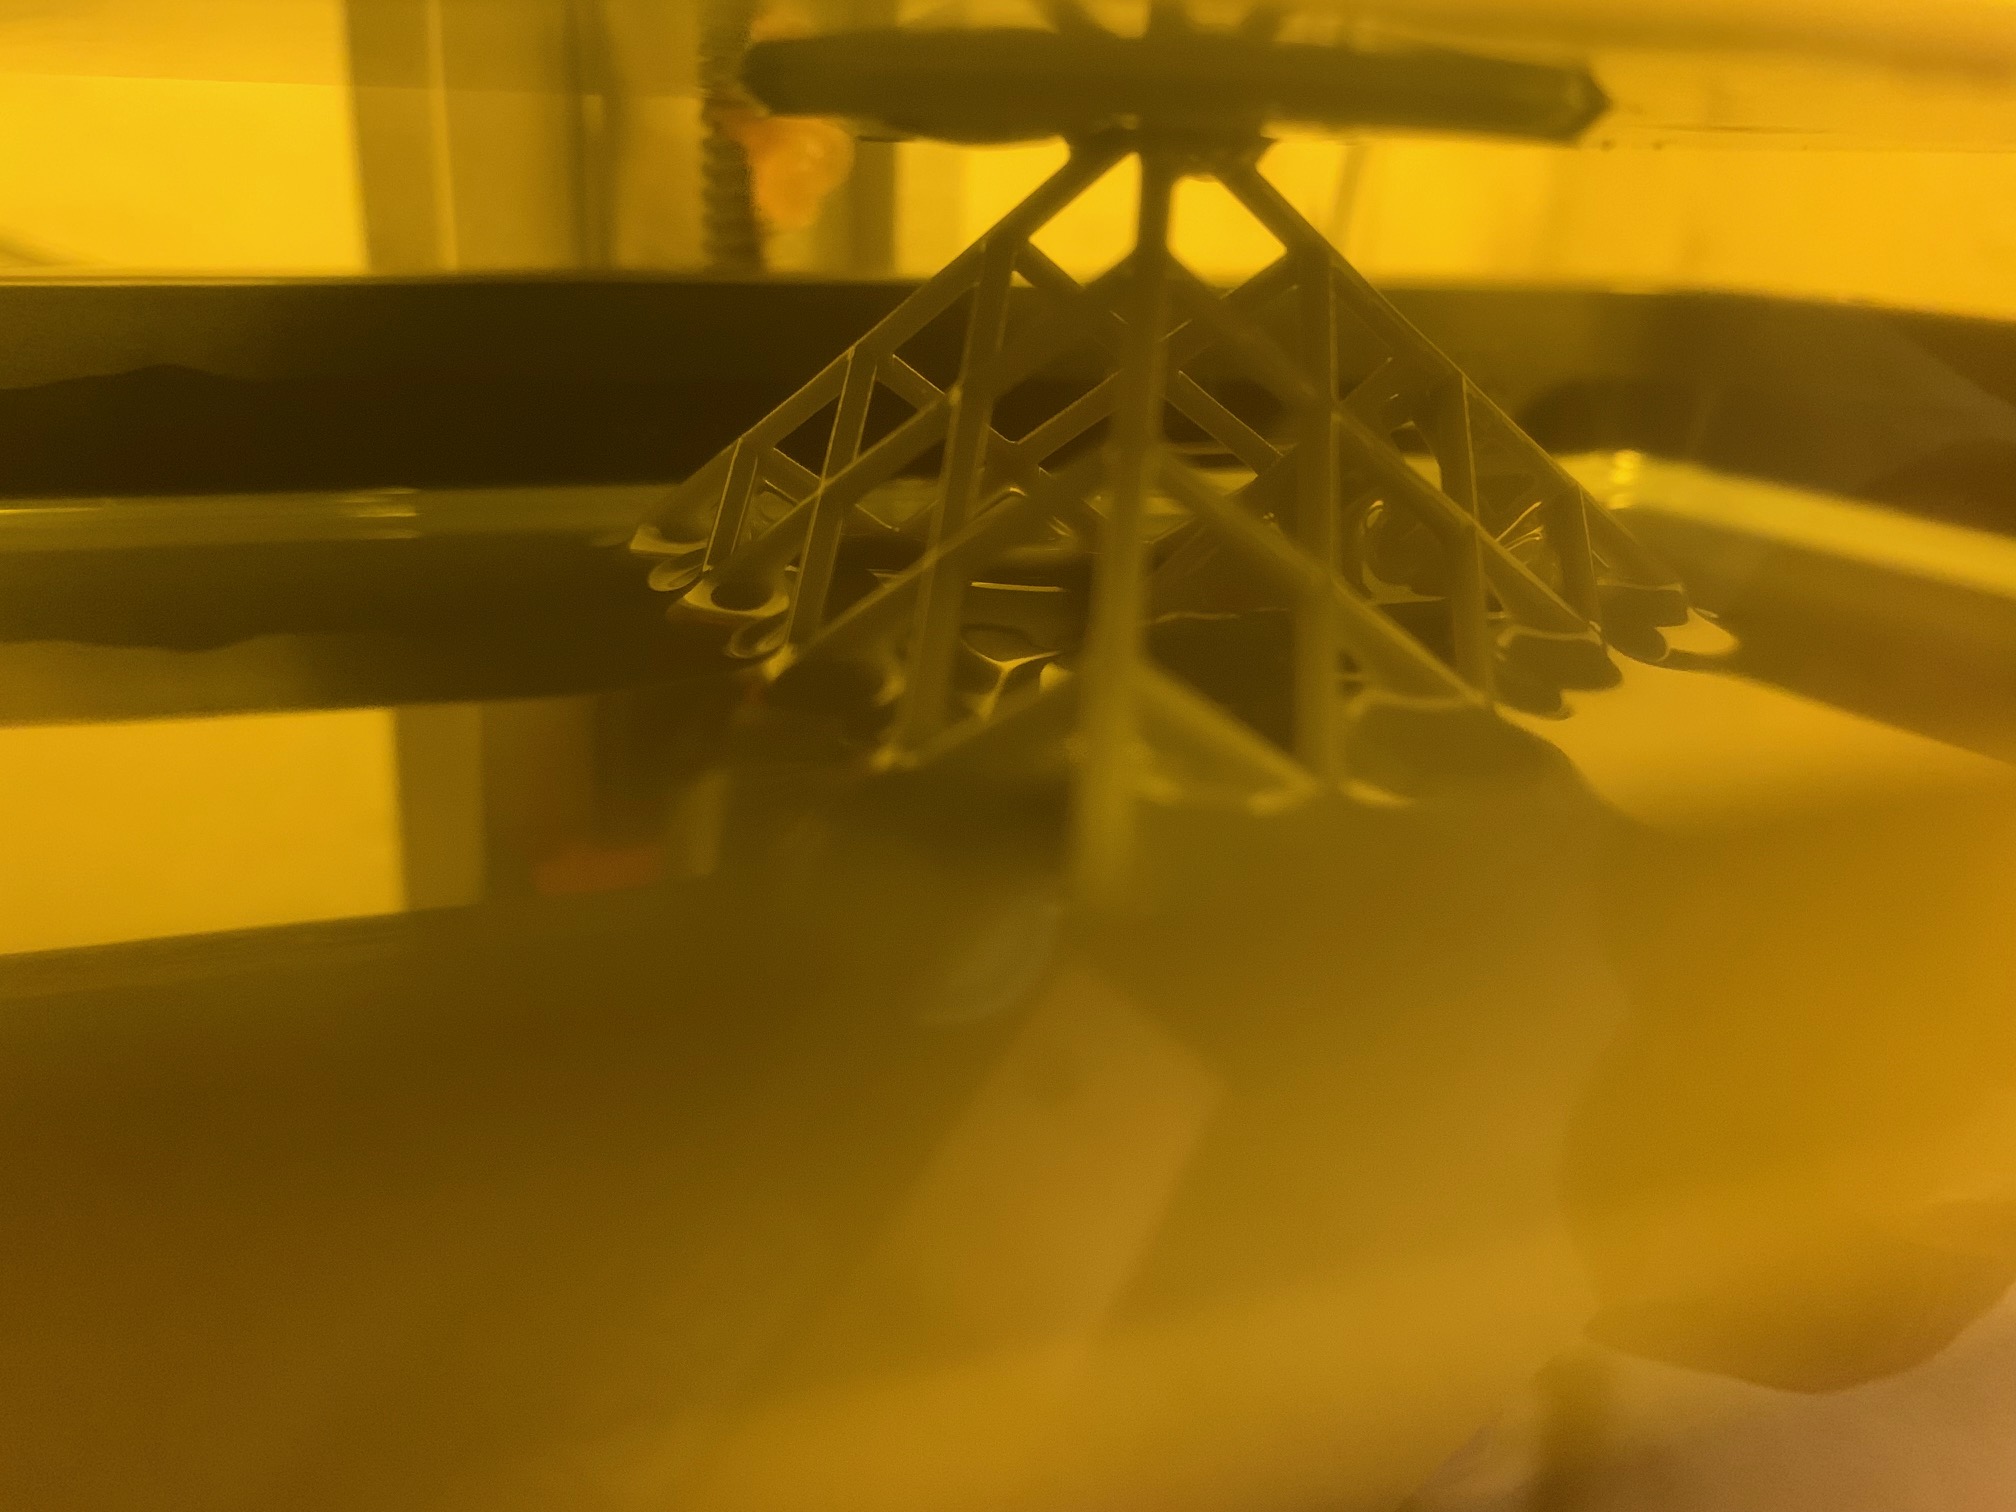
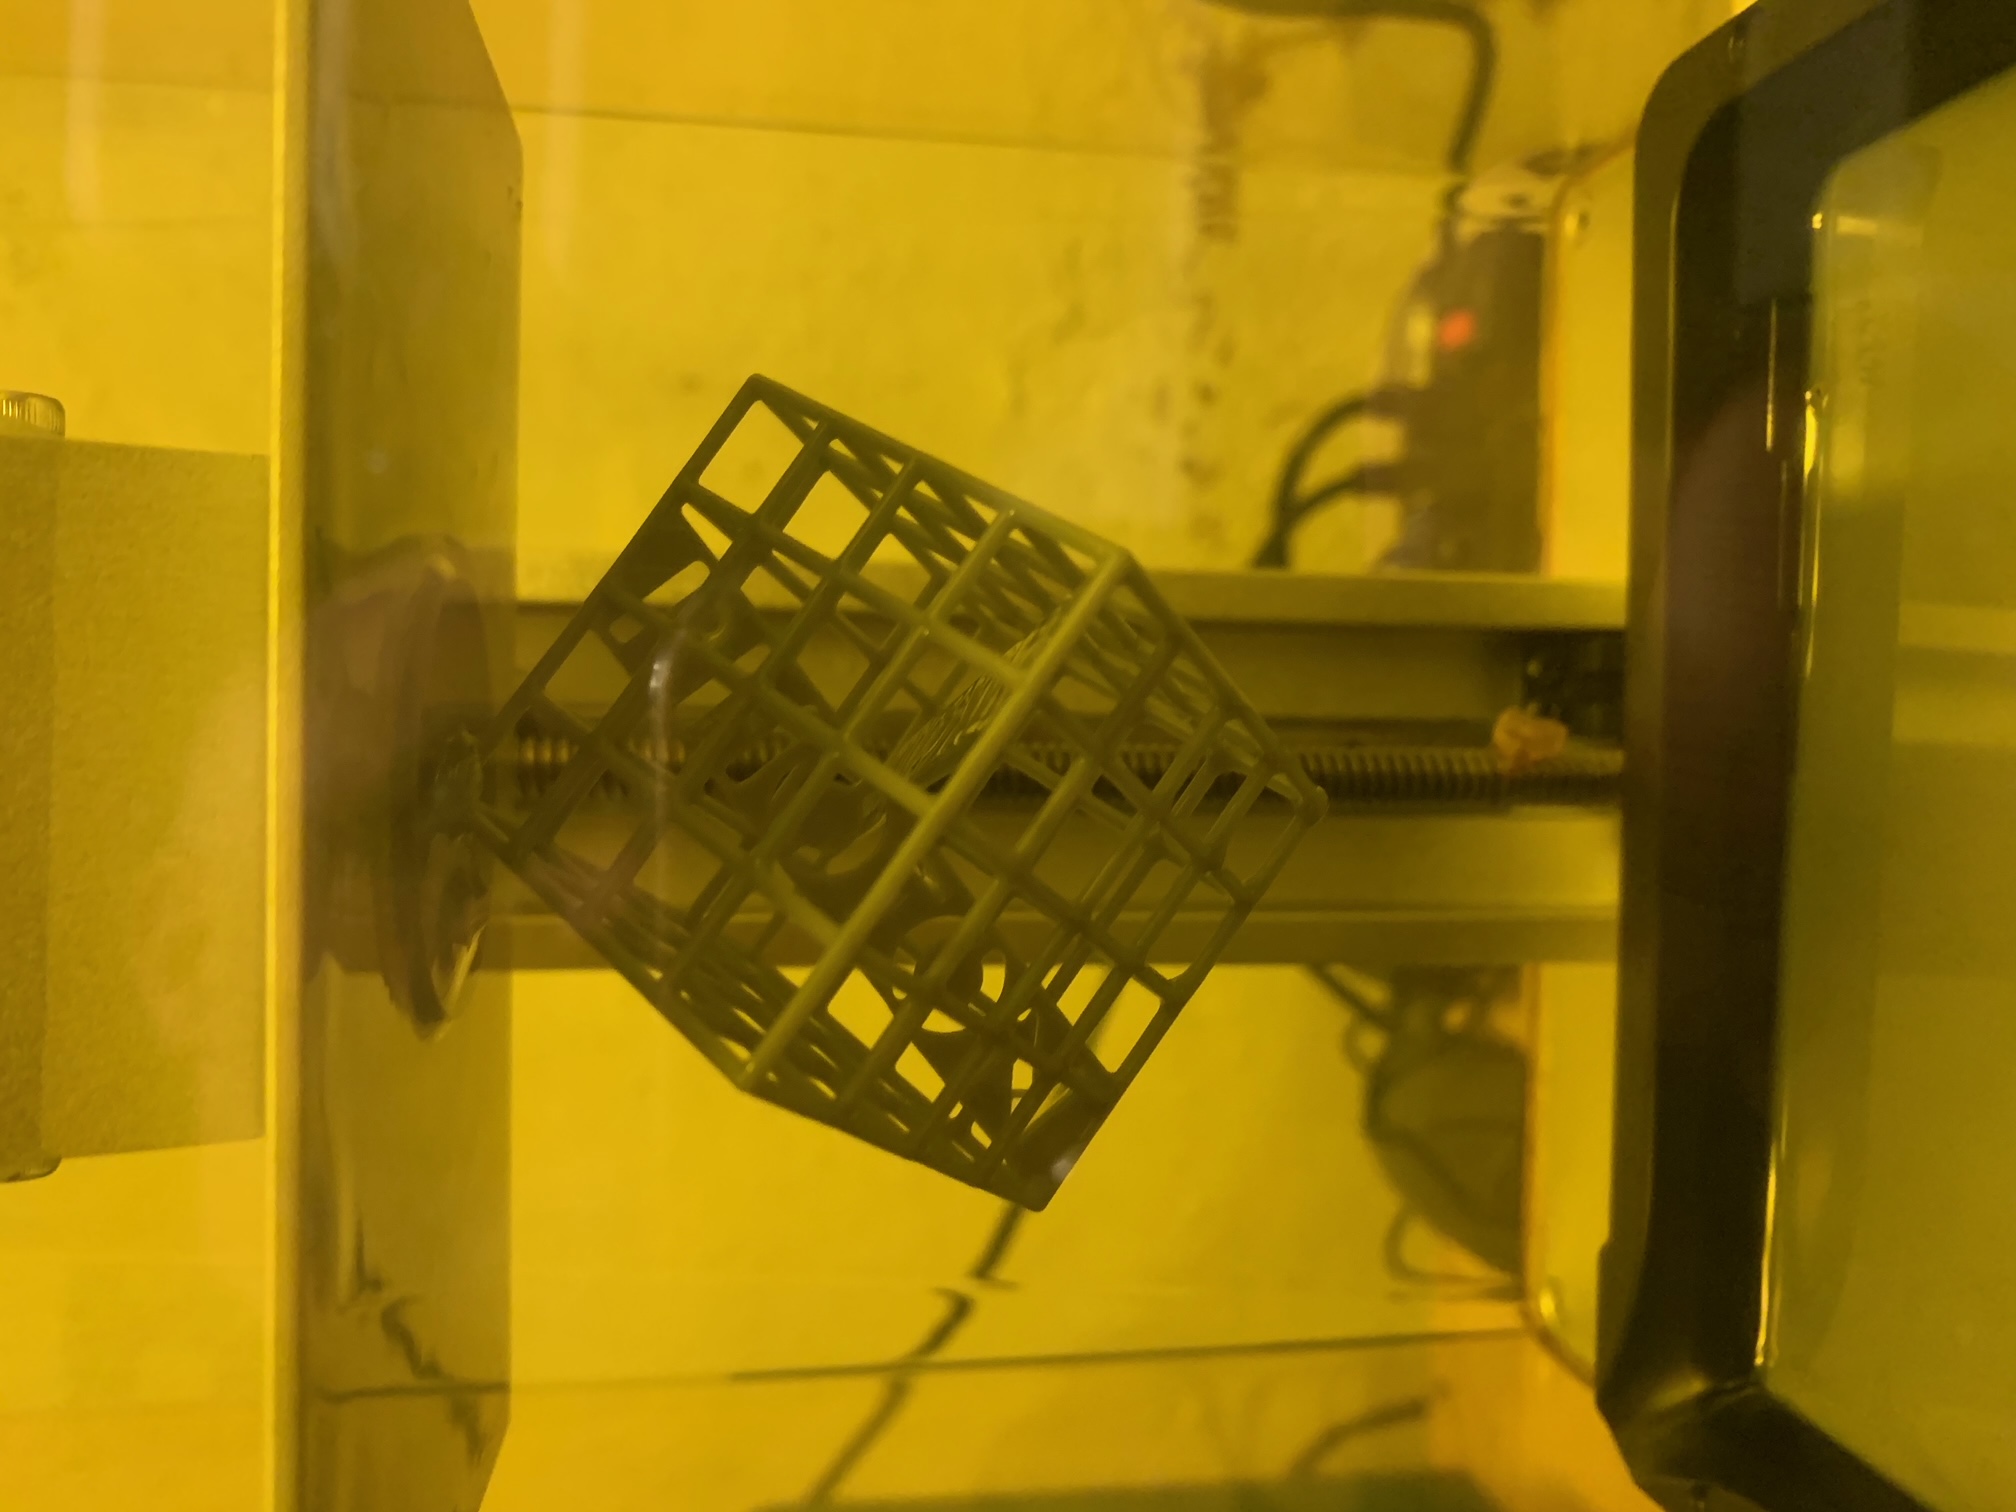
The printing process is effectively silent in the laboratory save for the occasional "whoop-whoop" sound of the Z axis raising and lowering (there may be other sounds but they are drowned-out by the background noise in the lab). The first few layers are slow, but eventually the part begins to emerge from the goo in what I have to say is probably the most sci-fi visual I've seen during my time working with 3D printing.
I can't say yet how the overall print speed compares to my FDM machines. I think I can safely say that it's slower than the MP Delta Mini I used to have for a part of equivalent size, but that machine was exceptionally fast at printing small parts. As I work more with the resin machine I'll do some more formal testing wrt speed comparisons but suffice it to say it doesn't feel substantially faster or slower than the Ender when printing a similarly-sized part.
The part was surprisingly difficult to remove from the print "bed". Not more difficult than some of my other printers (especially my original Reprap with no heated bed) but it put up more of a fight than I expected based on what I had read. Eventually it let loose but I'm curious as to if there is something I should tweak in the settings to reduce this grip?
Post-processing
For the printers I've used in the past there has been little post-processing required after the printing process is complete. I occasionally print things that require support, but I avoid it at all costs as it is time-consuming and can alter the engineering parameters of the parts. Resin printing on the other hand requires post processing and this is the stage of the process I have the most concern with.
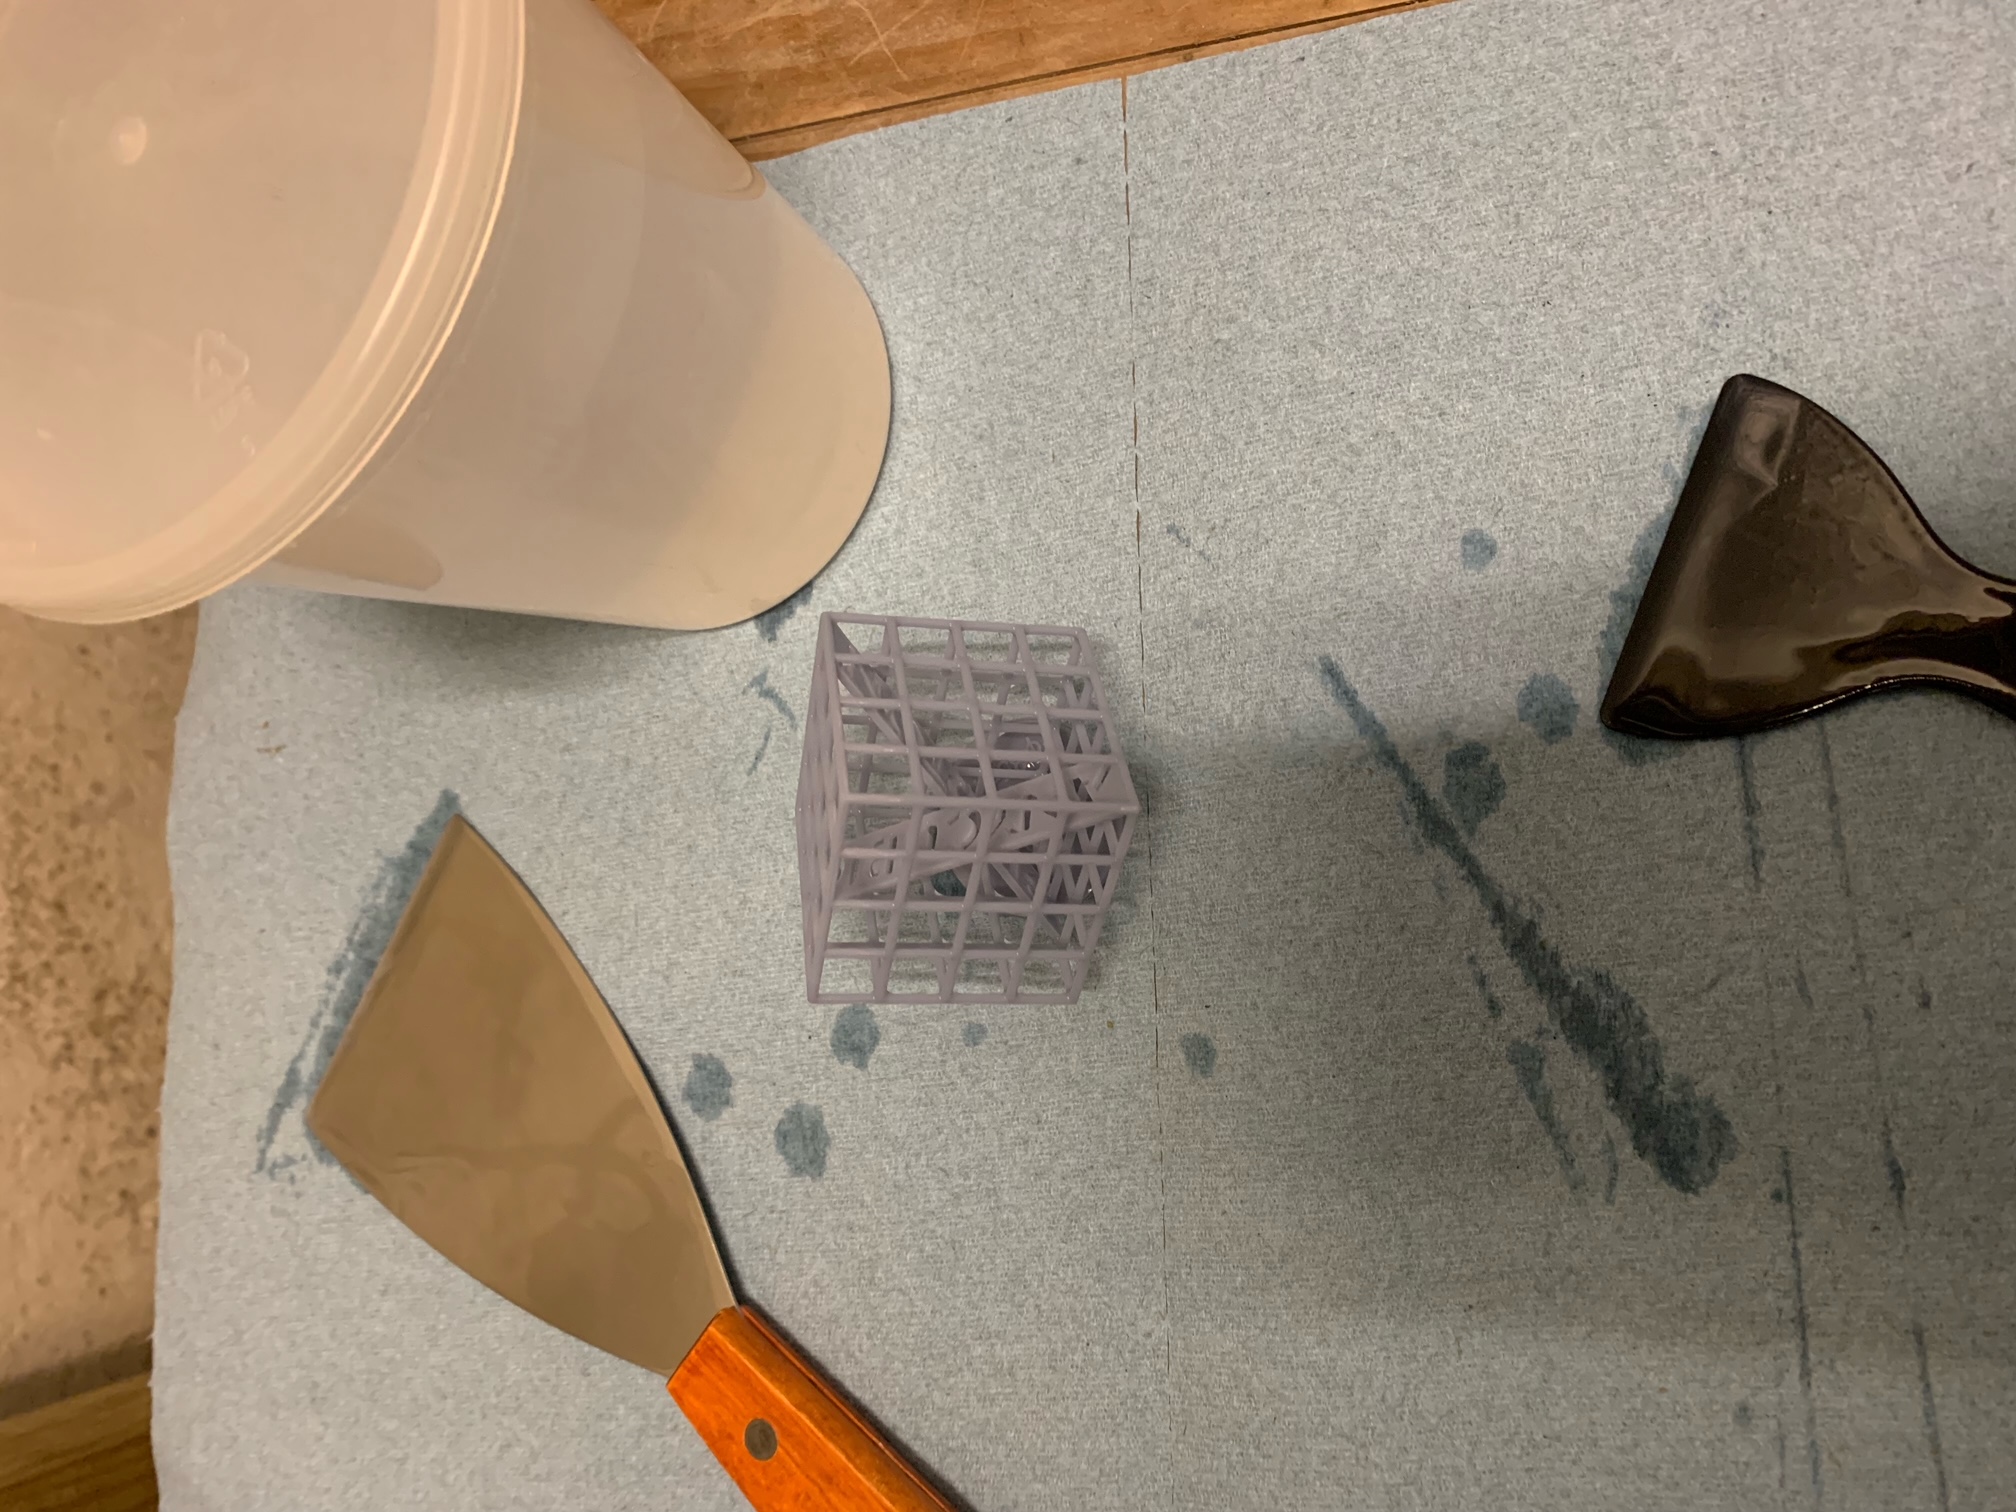
There are machines that automate some of the process, but since I'm not sure how much I like resin printing yet I don't really want to invest any more than I have to at this stage. So it looks like I'll be doing it the "manual" way, which amounts to washing parts in isopropyl alcohol and then curing them in sunlight. While sunlight might be the cheapest option, it's in somewhat short supply this time of year, so I guess we'll have to see how well that works out.
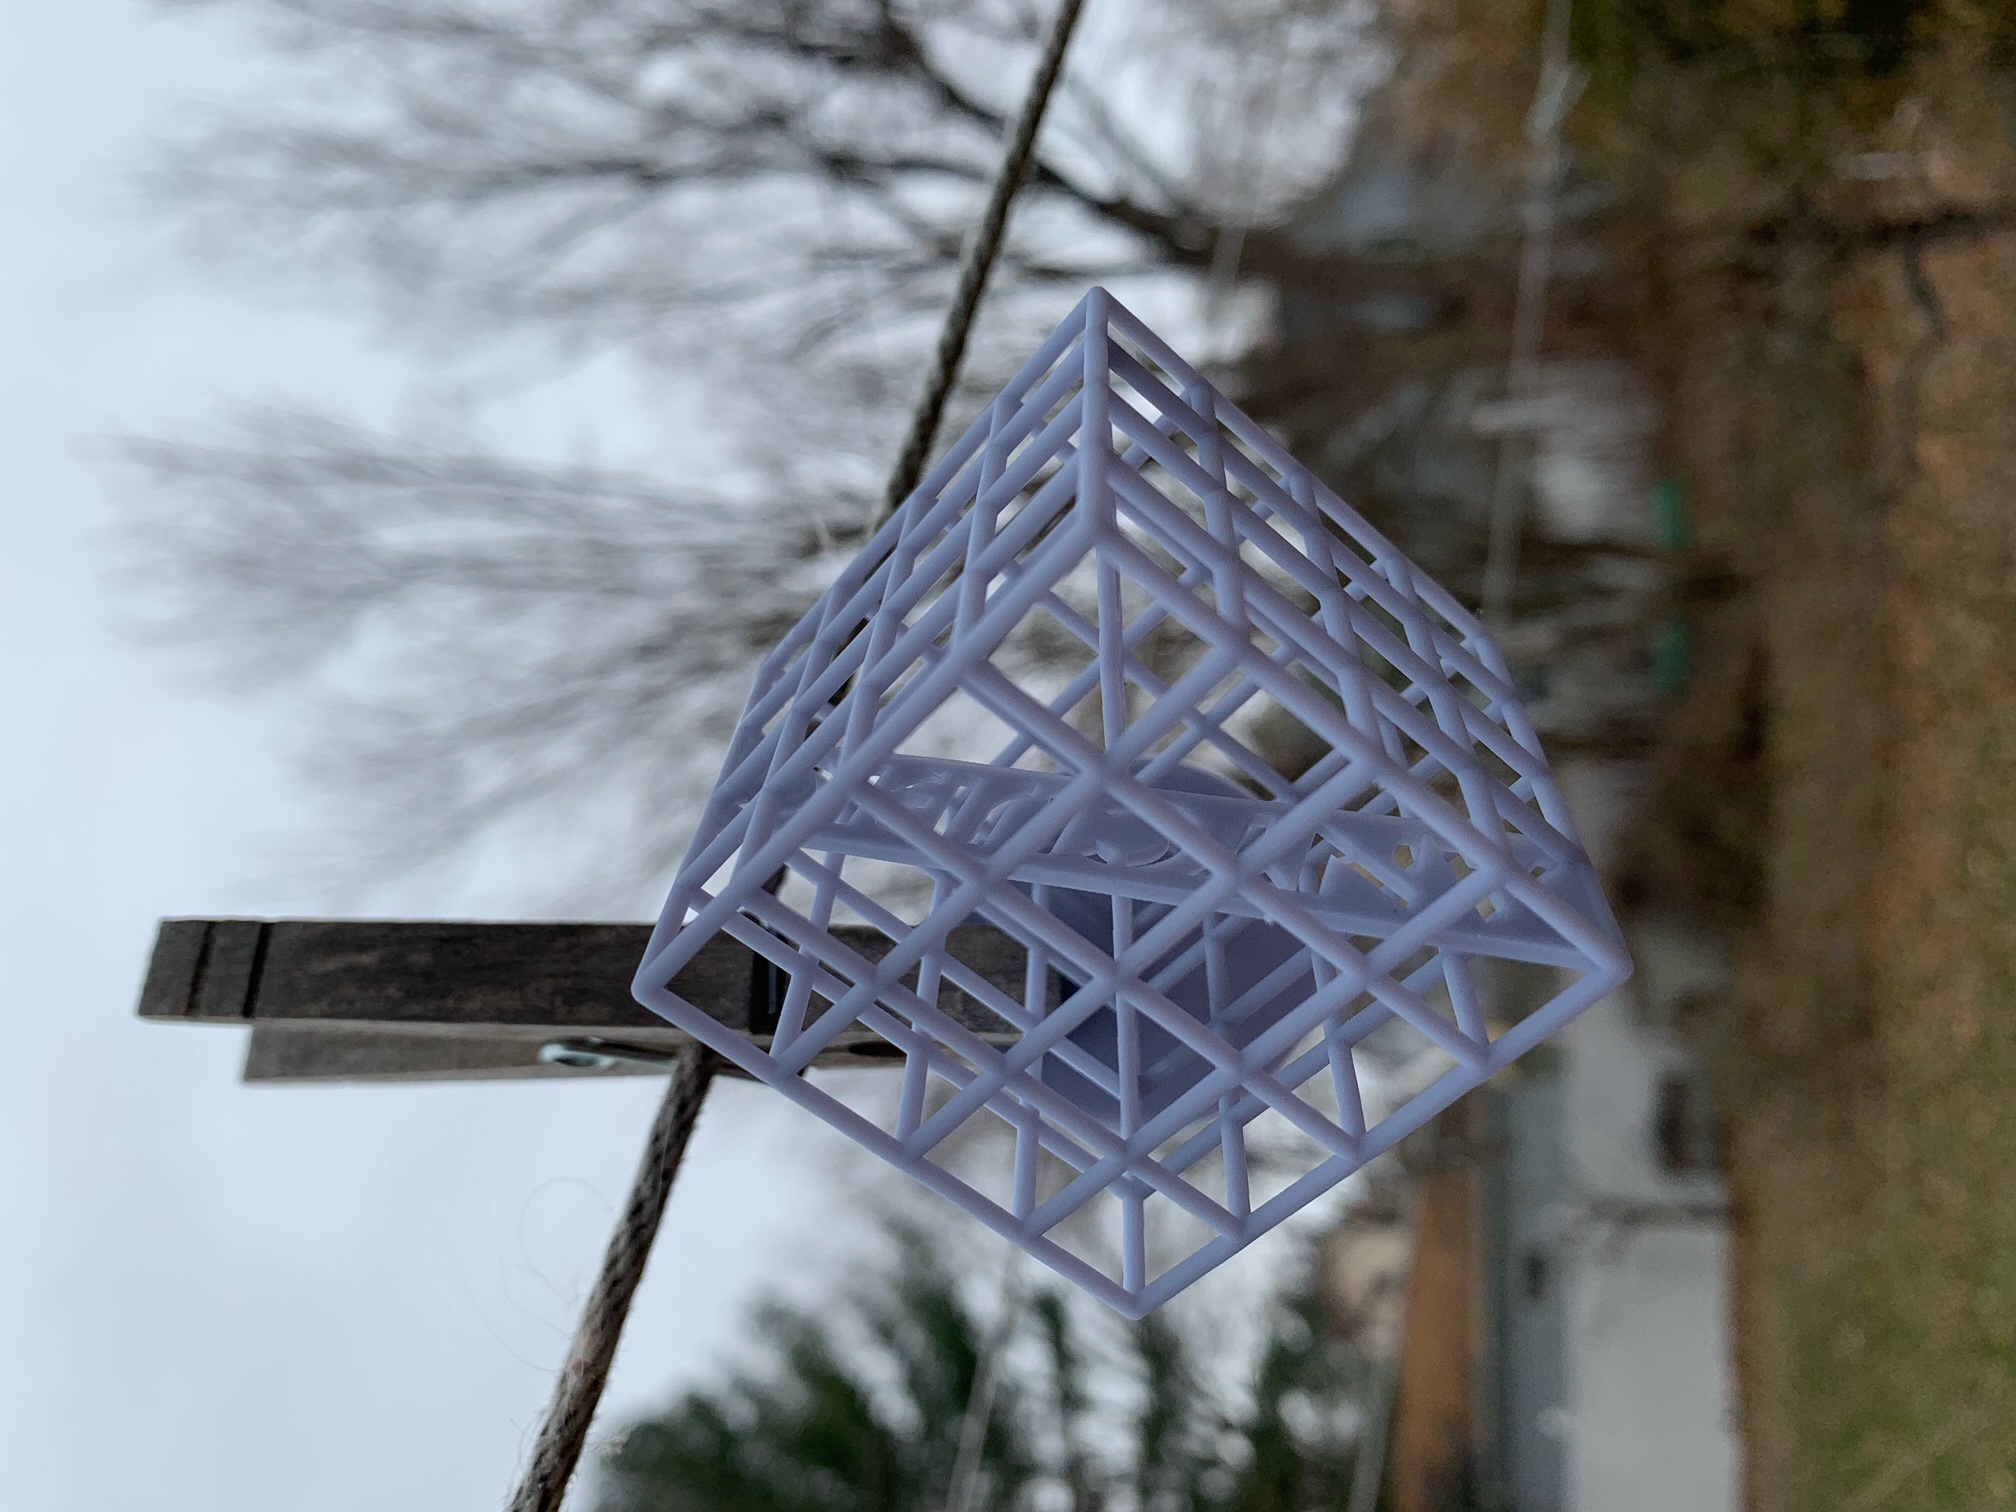
I'm going to give this an hour on the line and see what happens.
As I get more experience with the printer (and this particular process) I'll write more about where I think resin printing fits into my overall workflow. I know that the next application I will try is to print some of the same keycaps I printed for RAIN-PSP on the Ender so I can do a direct comparison. I'm also going to try some more detailed models I've tried to print using FDM (D&D miniatures for example) and see how much luck I have getting the upstream workflow (slicing in particular) right.