

I should have been better about posting my Makibox LT build, but honestly it went so fast I barely had enough time to take photos.
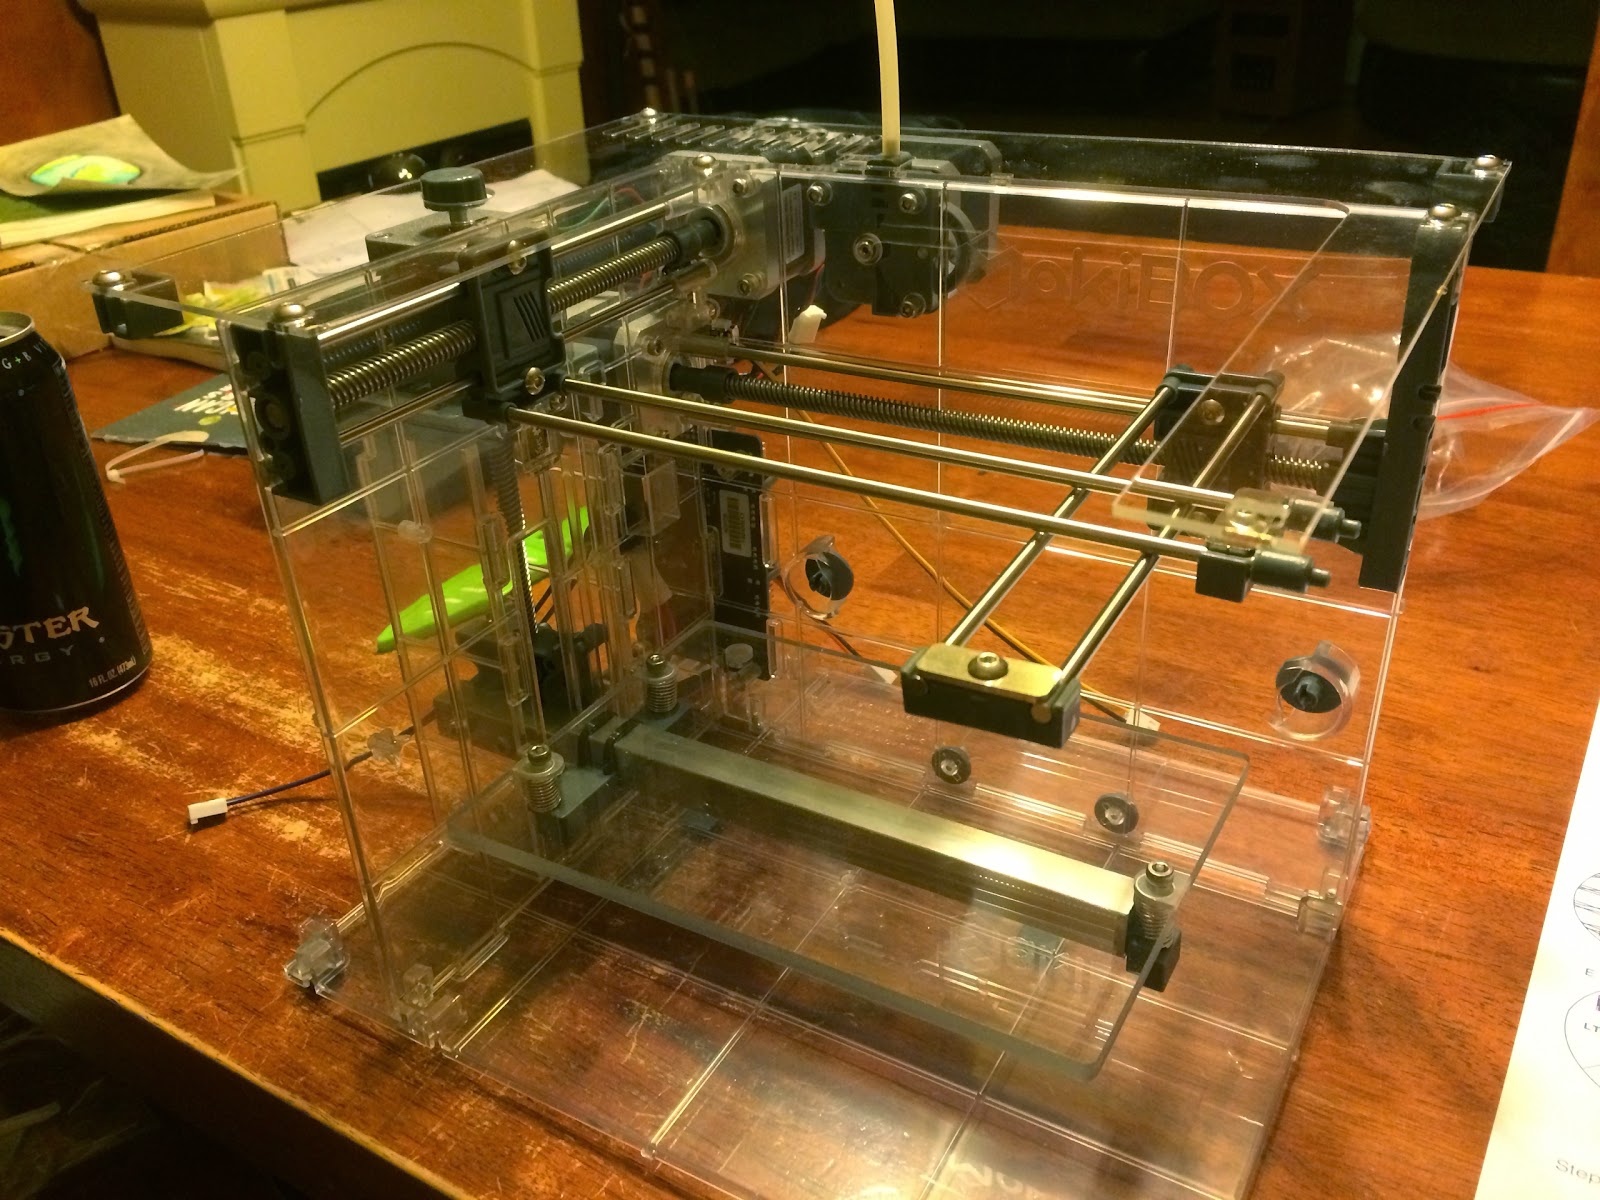
That said, it wasn’t the smoothest of assemblies, and I’m not alone in that experience. Having put the machine together and made it through the first print, here’s my impressions:
The parts of the machine do not fit together well. The tabs on the plastic parts of the case are too large for their corresponding holes and require force to join. Some people have altered the tabs with a file to compensate for this, but I was able to overcome the resistance of my parts with brute force (for better or worse).
The extensive use of non-self-tapping screws in non-threaded plastic mounting points makes assembly much more difficult than it has to be, and easily results in misaligned parts and cock-eyed screws. It’s also hard to know how much pressure can be applied without stripping the screw “holes”.
There is much play in the X and Y axis. Adjustment here did improve things somewhat, but there’s still flex when the axis changes directions.
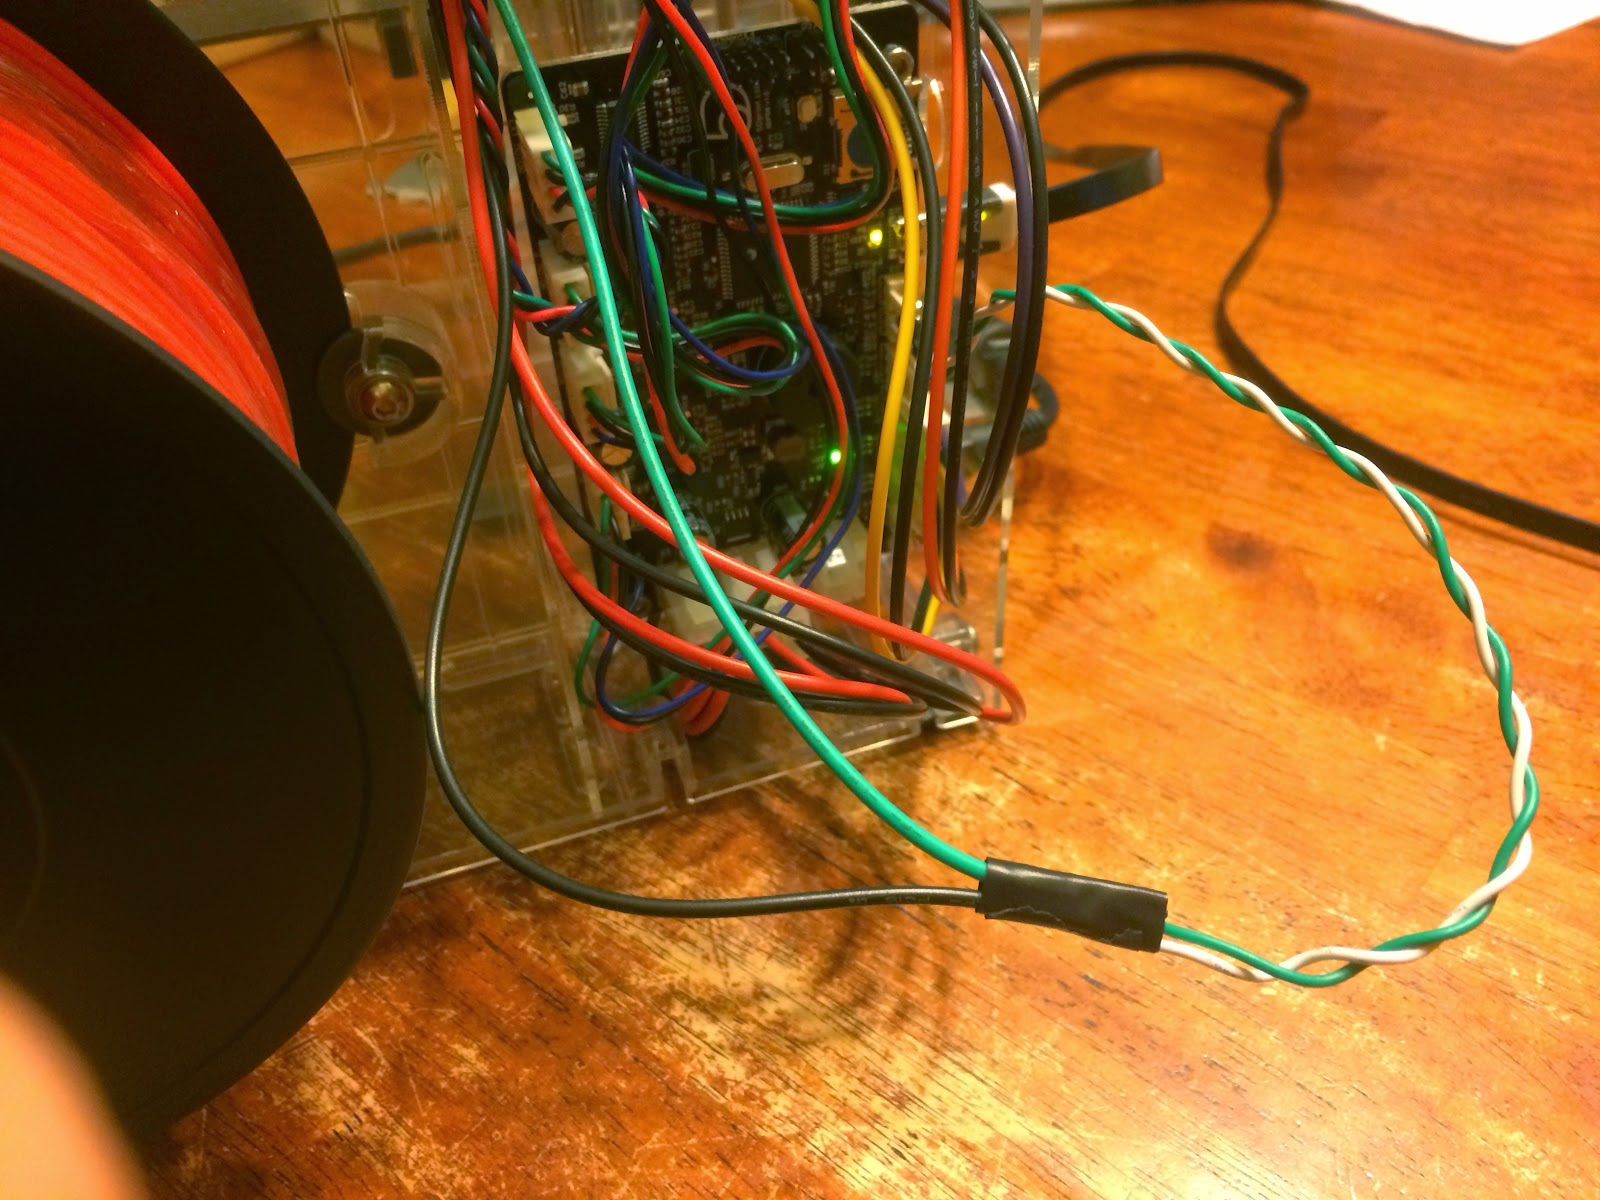
Taking one step at a time, once the machine was together I tried extruding some filament by hand. The first failure here was getting the hot end to temp. After initial assembly, my host software ( Octoprint ) was reporting a nozzle temp of -40c, which indicates an open circuit between the controller and thermistor. Based on what I had read I feared this meant a dead hot-end, but after some basic continuity testing it turned out to be a bad connection in the wiring harness between the controller and hot-end, easily worked around with a little tape and a connector from the lab.
With that behind me things didn’t get much better, and as expected it wasn’t possible to extrude the PLA plastic that came with the printer without jamming. The source of the jam is one I’m familiar with, because it’s what happens when heat creeps up the barrel and causes the filament to expand before it reaches the melt zone, creating a “cork”. I’ve had precisely the same problem with the QU-BD hot end, and occasionally even with J-Heads that are not actively cooled.
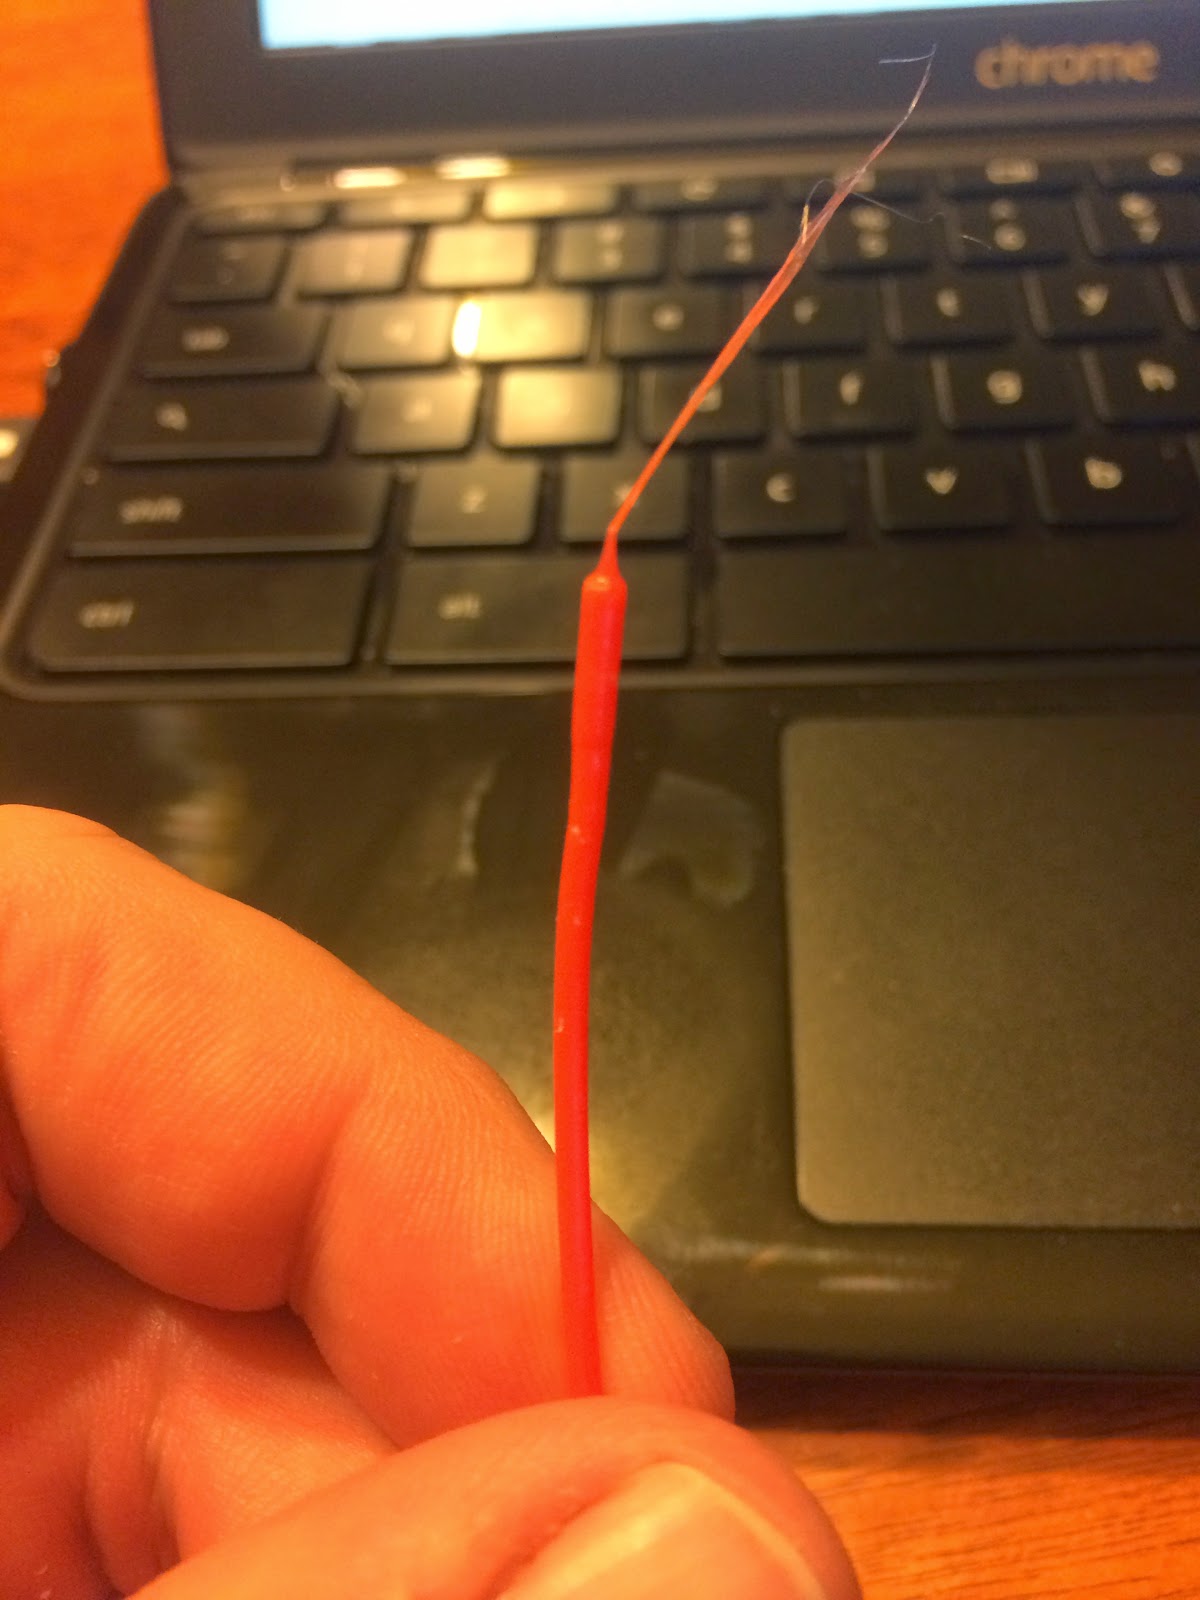
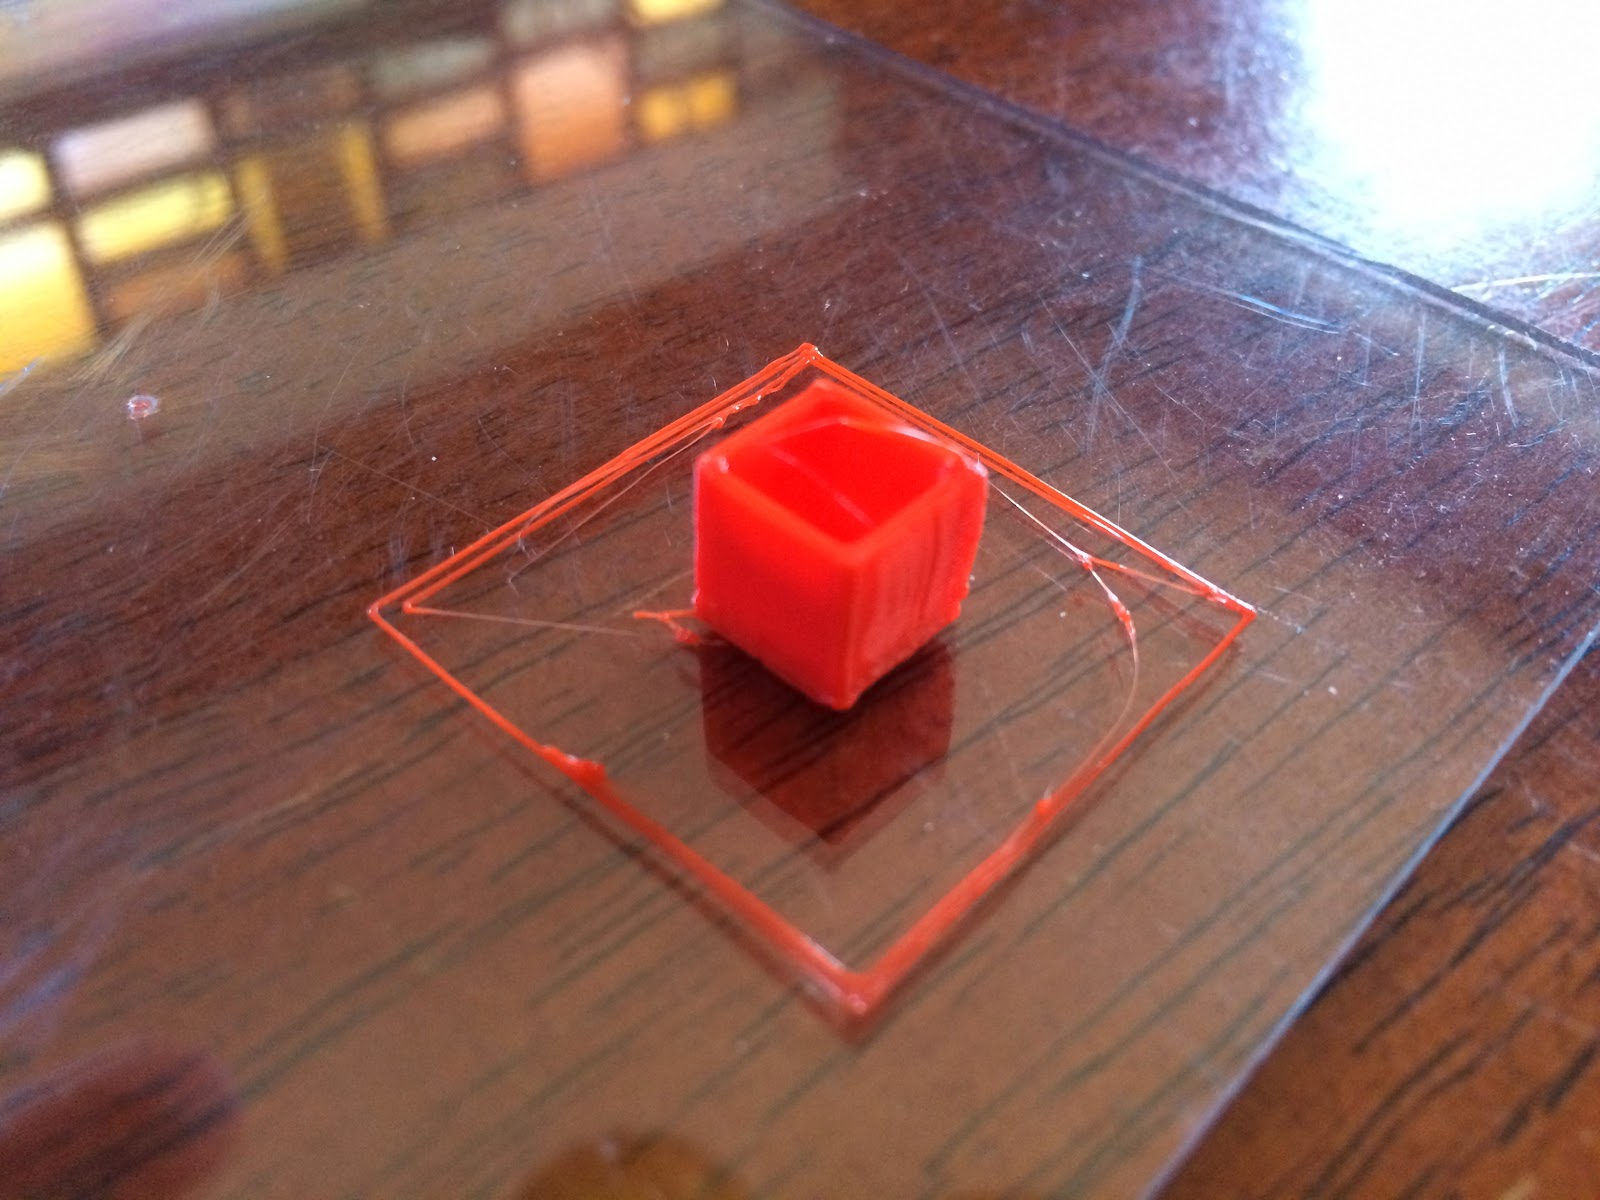
Since I’d seen this before I figured it could be solved with some active cooling, but I didn’t want to invest a lot of time unless I was sure, so I took the Makibox down to the laboratory and grabbed the biggest fan I could find. Using a little gaffer tape, I shaped the outlet of the fan so it would blow only on the barrel of the hot end, and with this I was able to extrude PLA reliably. Of course this setup wasn’t going to work long-term, but it was good enough to attempt a print, and after two failed attempts (described later) I was able to get a test piece to complete successfully.
The results were as expected. There is a “lean” to the print that is likely caused by the slop in the X & Y axis as they change direction, but other than that most of the defects could be chalked-up to a lack of tuning. I won’t know for sure until I take the time to tune temperature, extrusion, etc.
At this point it would be easy to assess the Makibox as a disappointment. Clearly it’s not capable of printing PLA without modification, and it’s likely that overcoming the errors in the X & Y axis will require modifications as well (it’s unclear at this point if Z errors are contributing to lower print quality). That said, at $200.00, it’s also easy to see the Makibox as a slightly over-priced set of Reprap electronics.
My next step is to determine at what point is time spent troubleshooting the Makibox better spent recycling it’s parts to complete another Reprap project (namely my Tantillus ). At a minimum I plan to spend a few more hours performing basic tuning on the Makibox to see if I can improve the print quality, but what’s less clear is if it will be worth the time and effort to address the hot end cooling issues, since that could involve significant time testing and additional financial cost as well.
It’s also a bit sad because it seems like the overall printer could work, and there is some clever design work in there, but there are just so many compromises in areas where it seems obvious (at least from my perspective) that better choices could have been made that would make the Makibox easier to build and more likely to print successfully without modification. Perhaps these choices are just the reality of delivering a printer for about $200, but I’m not sure I believe that yet.