

Stepbot - Revival
In a previous post I introduced the Stepbot project and discussed the original motivations, ideas and the resulting implementation. In this post I’ll be documenting the process of moving from an Arduino-based control system to using a Raspberry Pi. The first step is preparing a Raspberry Pi to use as the brains of the robot. I happen to have an older Raspberry Pi Model B that’s not in use, and since the computational demands for this robot are pretty low (it was originally designed to use an 8-bit microcontroller after all), this should be more than enough for now.
Raspberry Pi Setup
Setting up the Pi amounts to downloading the latest Raspbian image, writing it to an SD card and booting-up the board attached to the network via Ethernet. Once it’s up, ssh into it (I use my router’s management tools to find the IP address) and then configure it (raspi-config). Finally, configure the WiFi adapter so we can make the whole thing mobile. Once the operating system is setup there’s a few additional pieces of software needed to run the code that will talk to the robot’s hardware: [code lang=“text”] sudo apt-get update sudo apt-get install -y python3 python3-pip python-dev sudo pip3 install rpi.gpio [/code]
Hardware
Make the following connections between the Raspberry Pi’s GPIO pins and the ULN2003 board that came with the stepper motors. Raspberry Pi pin numbers are BOARD numbers, not BCM. For now we’ll just connect one motor:
Raspberry Pi ULN2003 breakout
2 VCC
6 GND
22 IN1
16 IN2
18 IN3
22
IN4
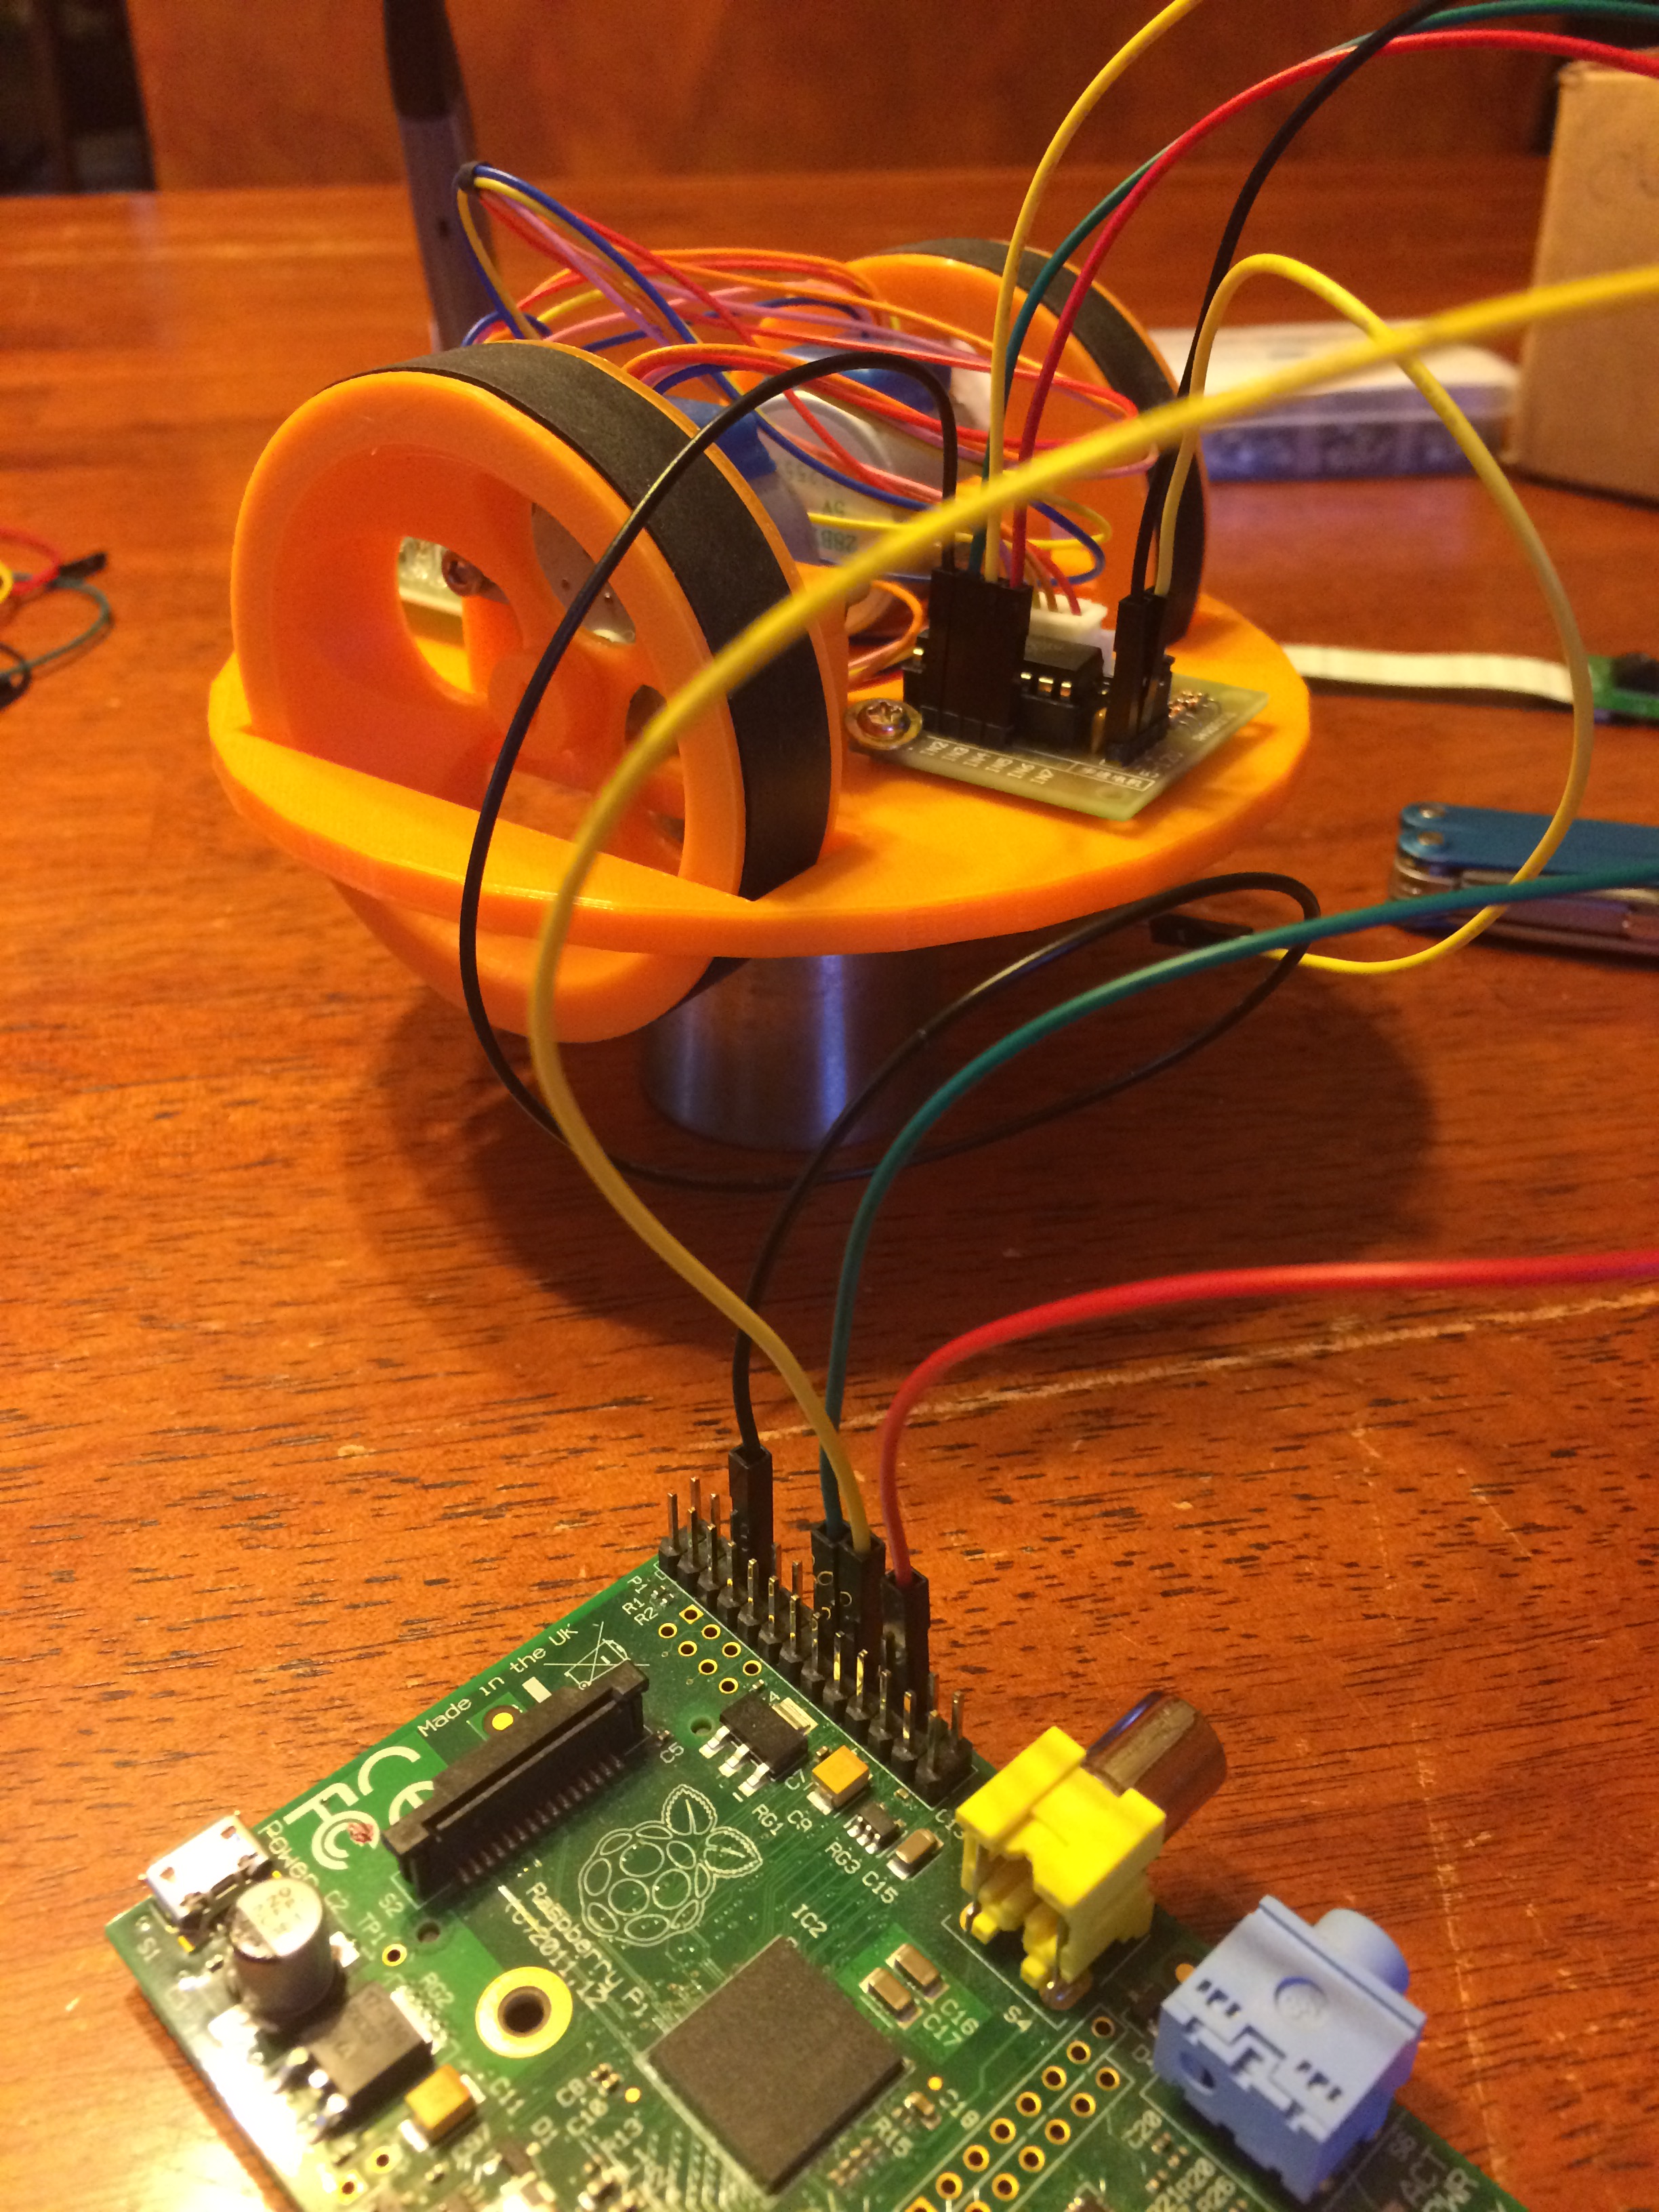 I’m not sure if powering the motors via the Pi’s 5v supply is a good idea in the long run, but for testing it should be OK.
Code
First a simple program to test the connections: [code lang=“text”] import RPi.GPIO as GPIO import time GPIO.setmode(GPIO.BOARD) coil_A_1_pin = 24 coil_A_2_pin = 16 coil_B_1_pin = 18 coil_B_2_pin = 22 GPIO.setup(coil_A_1_pin, GPIO.OUT) GPIO.setup(coil_A_2_pin, GPIO.OUT) GPIO.setup(coil_B_1_pin, GPIO.OUT) GPIO.setup(coil_B_2_pin, GPIO.OUT) def forward(delay, steps): for i in range(0, steps): setStep(0,0,1,1) time.sleep(delay) setStep(1,0,0,1) time.sleep(delay) setStep(1,1,0,0) time.sleep(delay) setStep(0,1,1,0) time.sleep(delay) def backwards(delay, steps): for i in range(0, steps): setStep(0,1,1,0) time.sleep(delay) setStep(1,1,0,0) time.sleep(delay) setStep(1,0,0,1) time.sleep(delay) setStep(0,0,1,1) time.sleep(delay) def setStep(w1,w2,w3,w4): GPIO.output(coil_A_1_pin, w1) GPIO.output(coil_A_2_pin, w2) GPIO.output(coil_B_1_pin, w3) GPIO.output(coil_B_2_pin, w4) while True: delay = raw_input("Delay between steps (ms)?") steps = raw_input("How many steps forward?") forward(int(delay)/1000.0, int(steps)) steps = raw_input("How many steps backwards?") backwards(int(delay)/1000.0, int(steps)) [/code] You’ll have to experiment a bit to figure out what works for the specific motors you’re using. 2ms delay is the lowest that works with the stepper motors I’m using but experiment to see how fast you can make them go. You may also have to experiment with the step “cadence” (the order in which the coils are energized) to find the one that moves your motor forward and backward when expected. With this configuration I was able to get my first Raspberry Pi-controlled moves from Stepbot: https://youtu.be/QwLnC3114JA
What’s Next
Now that one motor is working the next step is to wire-up the second motor and extend the test software to control them both. With this setup it should be possible to drive the robot around a little, and if I can bundle the Raspberry Pi and battery onto the chassis the whole thing should be completely mobile. At that point what remains is iterating on the chassis to accommodate the Pi + battery (or reducing the size of the Pi + battery, probably some of both), adding sensors (minimally the Raspberry Pi camera module) and improving the software by adding some kind of reasonable user interface; possibly integrating with the runmyrobot.com code. As always, sourcecode for the software and hardware can be found on Github.
References
- https://learn.adafruit.com/adafruits-raspberry-pi-lesson-10-stepper-motors/overview
- http://www.winkleink.com/2013/04/raspberry-pi-unipolar-stepper-motors.html?m=1
- https://pinout.xyz/#
- https://www.raspberrypi.org/documentation/usage/gpio/
- https://sourceforge.net/p/raspberry-gpio-python/wiki/BasicUsage/
Comments
〖ℳ¡₭℮〗 (@mikeputnam): Cool!