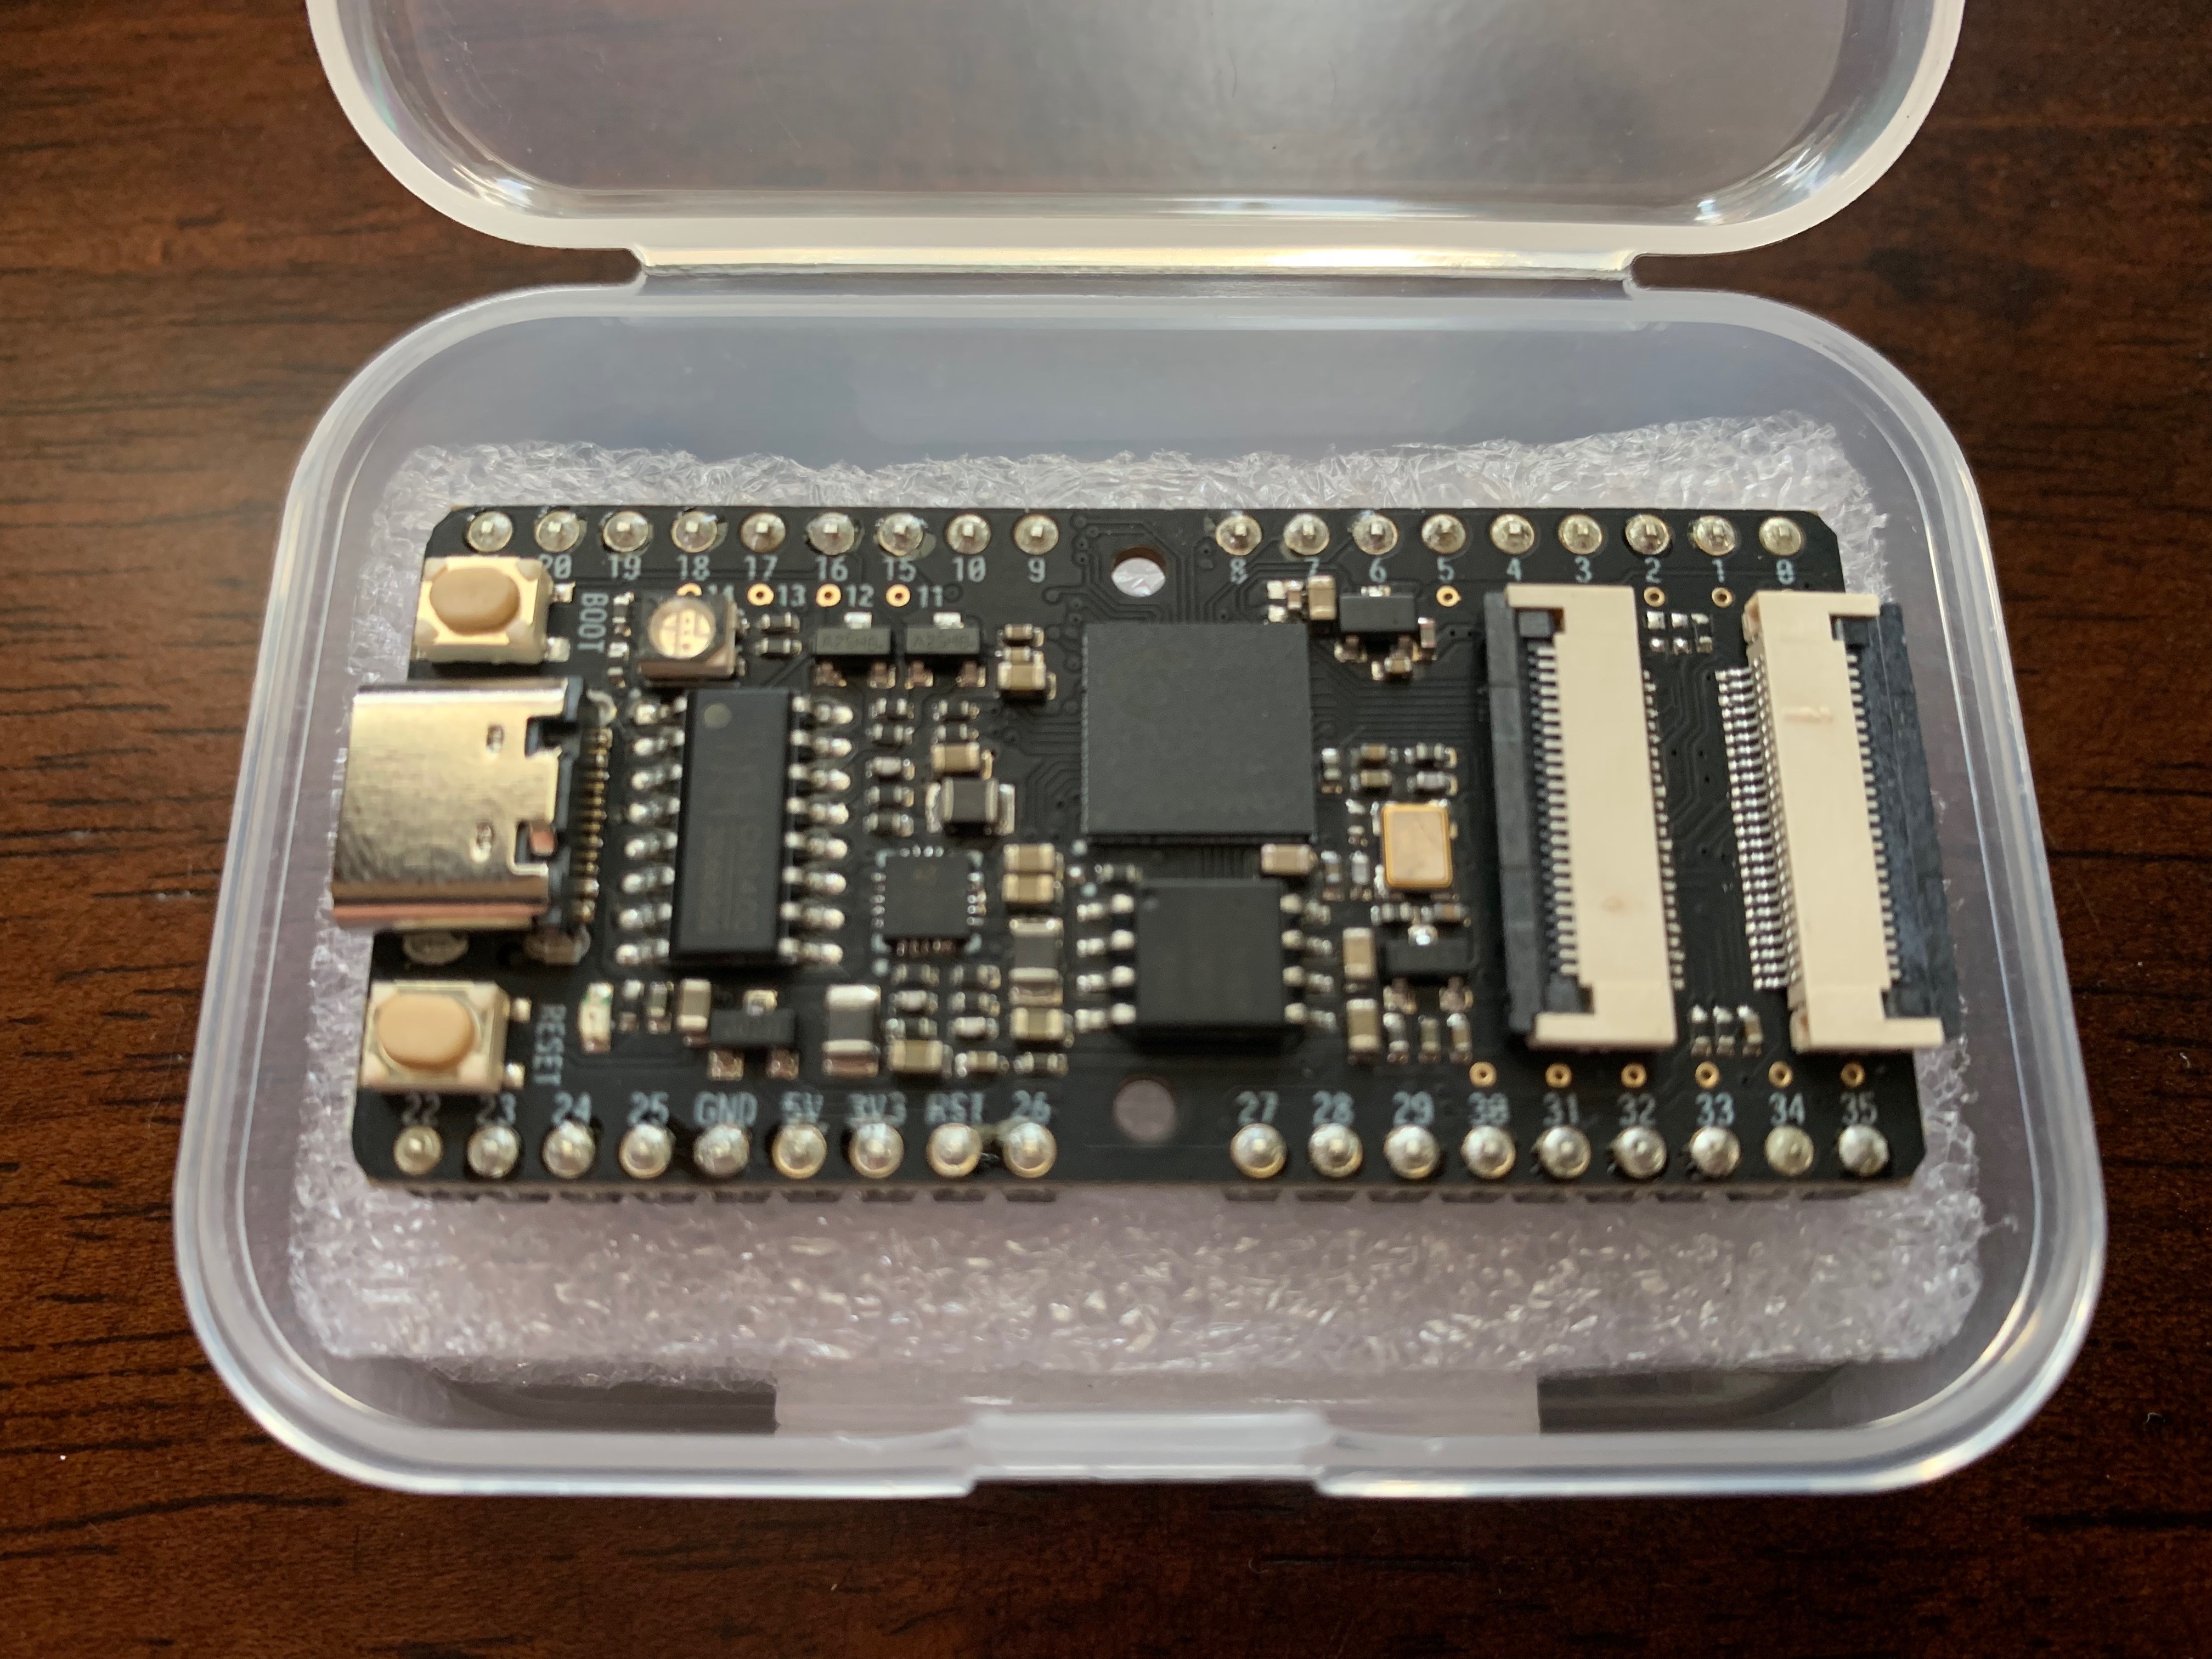
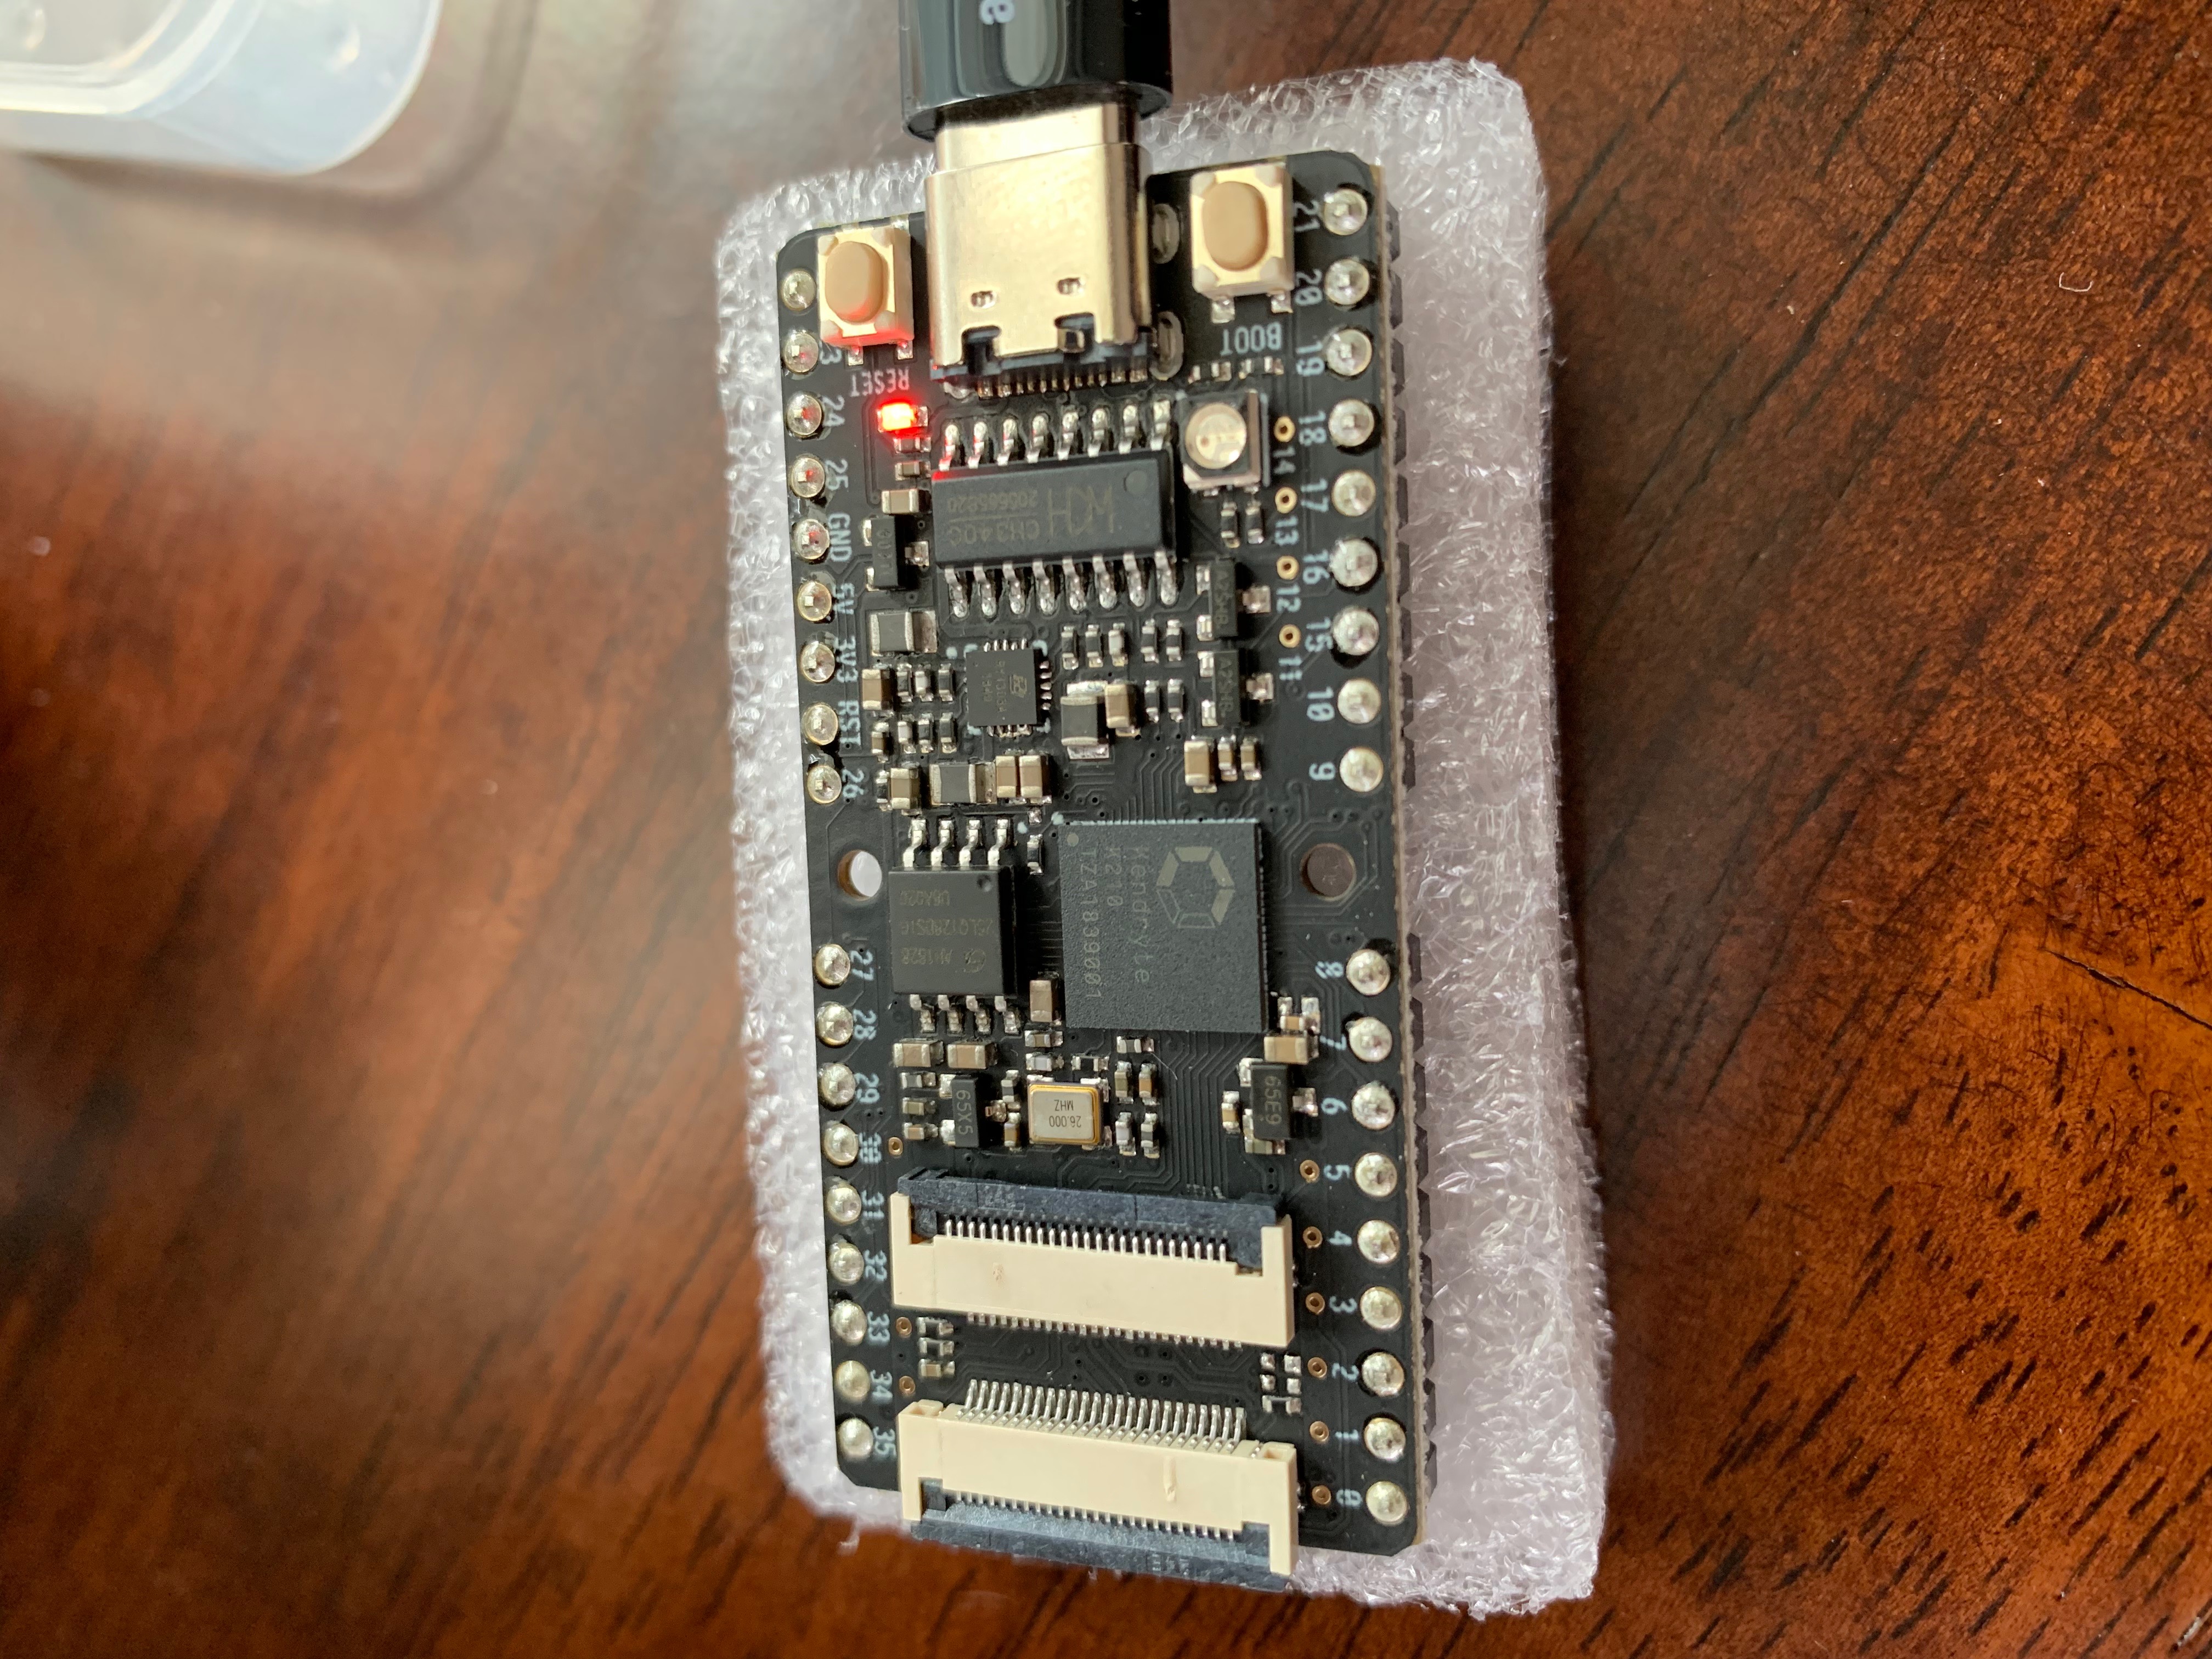
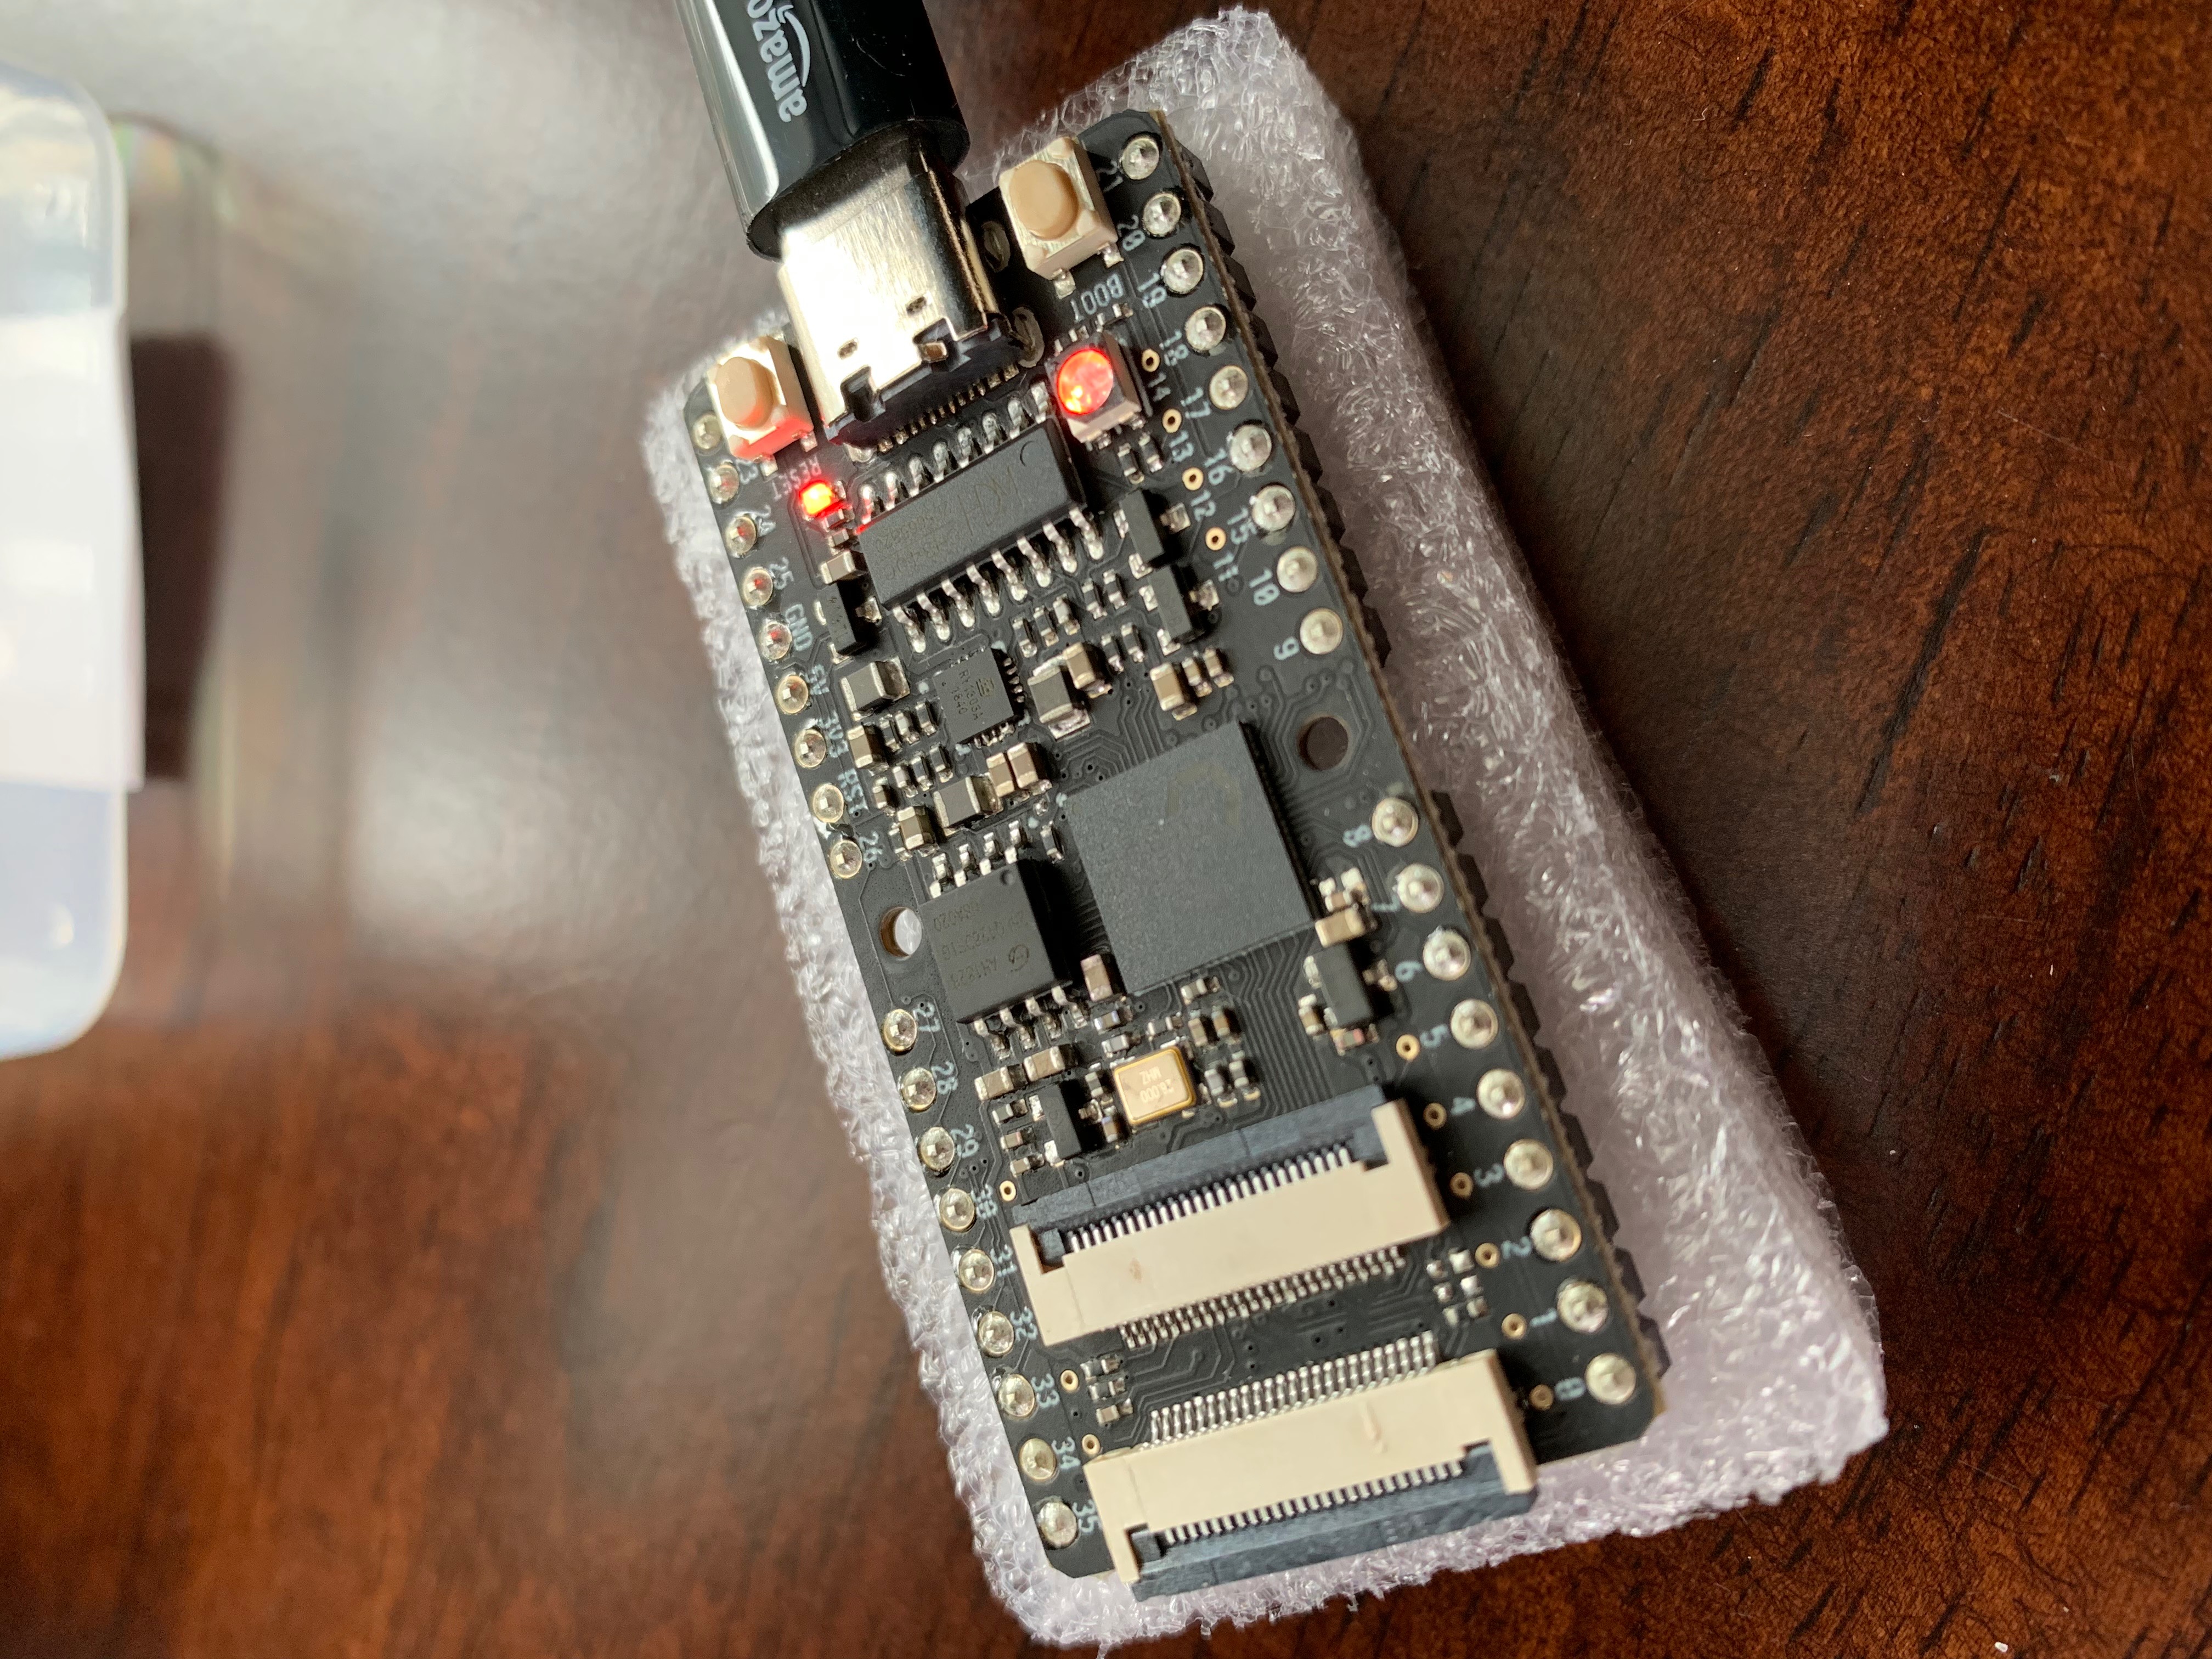
The Sipeed MAIX BiT is one of a family of devices aimed at the “AI at the edge” market. It caught my eye primarily because of its RISC-V CPU, and I’ve been looking for a low-cost way to dip my toes into working with RISC-V hardware, but I’m also curious to see if I can apply the devices hardware-accelerated [machine learning] capabilities to my work on accessible high-performance computing systems.

The Seeed Studio product page provides a lot of detail about the device, but it’s buried in TLA’s and lingo which can be hard to decode. Here’s what I found interesting:
Hardware Details
The heart of the module is the Kendryte K210 system-on-a-chip chip. This SoC combines a dual-core RISC-V CPU, hardware-accelerated neural network accelerator (KPU) & audio processor (APU) along with SRAM, ROM and an array of I/O interfaces.
- CPU
- Dual 64-bit RISC-V cores
- 400MHz (overclockable to 800MHz)
- IMAFDC ISA
- 64-bit Base integer ISA (RV64GC)
- Integer multiplication and division
- Atomics
- Single-precision floating-point
- Double-precision floating-point
- 16-bit Compressed instructions
- 2 (one per core) IEEE754-2008 FPU
- 2 (one per core) 32KiB instruction cache
- 2 (one per core) 32KiB data cache
- 8MiB SRAM
In addition to the RISC-V CPU, the SOC include hardware designed to accelerate AI applications:
- Neural Network Processor (KPU)
- 64 KPU
- 576 bit width
- 0.25 TOPS(tensor operations per second?) @ 400MHz (0.5 TOPS when overclocked to 800MHz)
- Maximum model sizes
- Fixed-point real-time: 5.9MiB
- Floating point (pre-quantisation) realtime: 11.8MiB
- Non-realtime: limited only by flash capacity (fixed or floating point)
- Audio Processor (APU)
- 8 channels of audio input data
- 12, 16, 24 and 32-bit input data widths
- Simultaneous beamforming up to 16 directions
- Built-in 512-point FFT
The SOC has a lot of other features (including the typical I/O interfaces, power management, etc.). Details can be found in the datasheet
Hello Sipeed!
Right now I’m primarily interested in programming the CPU, so the rest of this post will be focused on getting set-up to run code on the RISC-V processor. I’ll leave diving-in to the AI features of the chip for a future post.
Out-of-the box the Maix BiT is setup to run Micropython. This makes getting started easy (especially if you’re already a Python programmer!) but I have to be honest, I was a little disappointed that I wasn’t going to be writing something RISC-V specific. I guess that’s a good thing if the goal is to make it easy to adopt the RISC-V open architecture, but it kind of makes finally getting my hands on RISC-V hardware kind of anti-climatic.
This is my first Micropython device but my understanding is that developing for Micropython is pretty much the same all most hardware:
- Get a USB-C cable
- Connect the board via USB to a computer
- Identify the serial port:
ls /dev/tty* - Open the serial port with
screen:sudo screen /dev/ttyUSB0 115200 - Press
Enterfor MicroPython prompt (REPL)

Now you’re speaking to (Micro)Python! Typing help() gives you some basic information about what’s available:
Welcome to MicroPython on the Sipeed Maix One!
For generic online docs please visit http://maixpy.sipeed.com/
Official website : www.sipeed.com
Current installed module:
os modules:Built-in system operation module and file operation method
machine module:Built in some machine related modules
socket modules:Network operation method
app modules   :Provide some applications
Control commands:
CTRL-A        -- on a blank line, enter raw REPL mode
CTRL-B        -- on a blank line, enter normal REPL mode
CTRL-C        -- interrupt a running program
CTRL-D        -- on a blank line, do a soft reset of the board
CTRL-E        -- on a blank line, enter paste mode
For further help on a specific object, type help(obj)
For a list of available modules, type help('modules')
Use Ctrl+a then k and then y to exit screen.
Update the firmware
This is important. I tried skipping this step because I wasn’t sure which firmware image to use, but the stock firmware was very different from what the documentation describes and I wasn’t even able to blink an LED without updating the firmware first. The good news is that it’s fairly simple:
- Download the firmware image (I used v0.1.1 beta)
- Install the
kflash.pyscript:git clone https://github.com/sipeed/kflash.py.git - Change directories to the
kflash.pyrepository:cd kflash.py - Flash the firmware:
sudo python3 kflash.py -p /dev/ttyUSB0 -b 2000000 -B dan ~/Desktop/maix/maixpy_v0.1.1_beta.bin
You should see something like this:
[INFO] COM Port Selected Manually:  /dev/ttyUSB0
[INFO] Default baudrate is 115200 , later it may be changed to the value you set.
[INFO] Trying to Enter the ISP Mode...
.
[INFO] Greeting Message Detected, Start Downloading ISP
[WARN] Use built-in ISP_PROG2, If you download firmware to flash  failed, please use -i1
Downloading ISP: |██████████████████████████████████████████████████| 100.0%
[INFO] Booting From 0x80000000
[INFO] Wait For 0.3 second for ISP to Boot
[INFO] Boot to Flashmode Successfully
[INFO] Selected Baudrate:  2000000
[INFO] Selected Flash:  On-Board
Downloading: |██████████████████████████████████████████████████| 100.0%
[INFO] Rebooting...
I’m not sure what that [WARN] means exactly, but it didn’t seem to cause any problems so far…
Write some Python
Blinking an LED is the Hello World! of microcontrollers, so we start there.
Re-attach to MicroPython: sudo screen /dev/ttyUSB0 115200
The code below is entered line-by-line into the the serial terminal we attached above (just like the BASIC days):
>>> from Maix import GPIO
>>> fm.register(board_info.LED_R, fm.fpioa.GPIO0)
1
>>> led_r=GPIO(GPIO.GPIO0,GPIO.OUT)
>>> led_r.value(0)
…and of course it’s not “Hello World!’ without some blinking…
>>> import time
>>> for i in range(10):
...     led_r.value(not led_r.value())
...     time.sleep(1)
If everything went as planned, you should see the larger LED blink 10 times!

Writing anything complex this way would get old fast. Fortunately there’s a couple different ways to make it easier. There is a built-in editor called pye that runs directly on the board itself. Using pye, you can load, edit, save and run programs using nothing other than the Sipeed MAix BiT and a serial terminal.
If you prefer to use your own editor, there is a command-line tool called ampy you can use to transfer files back-and-forth between your computer and the board. ampy can transfer Python code you write on your computer over to the board to be run. It can also transfer other files back-and-forth, useful if your programs need images or other media files.
There’s lots of other ways to “integrate” your favorite development tools with the MAix BiT that I haven’t had a chance to check out yet. Theoretically any tool that works with Micropython should be compatible, but some experimenation may be necissary.
What’s Next?
In this post I’ve only scratched the surface of what this device is capable of. I was most excited about the fact that I was able to get my hands on real RISC-V hardware for about $12. I expected there to be a steep learning curve putting that open CPU to work, but as it turns out the learning curve is almost non-existant. Since I can put the CPU to work without much effort, I’m planning to immediately begin diving-in to see what the AI features can do. It’s not clear to me at the moment how useful these features are outside of their prescribed applications, namely “smart” video and audio processing, but from what I’ve read of the documentation it should be possible to use the off-the-shelf features to analyze media from sources other than attached cameras and microphones. It might even be possible to add custom “models” to the device to perform completely differernt AI/machine learning workloads.
I’ve bought a lot of odd development boards in the past and many of them end up in the parts bin after some initial experimenation. Based on my experience so far with the Sipeed MAix BiT, I don’t think this board will be gathering dust in the drawer anytime soon.
