

Open-Source Home Automation with Alexa
Alexa is cool, and I think one of the coolest things you can do with it is control stuff around your house. However, based on numerous experiences with what happens to proprietary, closed-source devices when their creators fail/sell-out/etc. (especially if those devices depend on a cloud service, etc.) I try to avoid becoming dependent on such devices. So I went looking to see if there were open-source alternatives to the kinds of devices (light switches, outlets, etc.) that I wanted to use and it turns out (as often is the case with open-source) someone’s already done most of the work! Even better, this particular implementation is completely stand-alone; there’s no back-end cloud service that needs to be running and accessible just to keep the devices working! The heart of these devices is the ubiquitous and inexpensive ESP8266, coupled with a piece of software called fauxmoESP. This software turns the ESP8266 into something that can emulate the popular WeMo devices which are supported natively by Alexa. Install fauxmoESP on an ESP8266 and it shows up in the Alexa app just like a WeMo device, no additional skills required. Here’s how I got this working in about 30 minutes:
Stuff I used:
- ESP8266
- VisiPort2 USB to FTDI adapter
- Arduino IDE 8.1.8
Software
The first step is to setup the Arduino IDE to compile and install code on the ESP8266. This used to be complex, but now it’s simply a matter of downloading the IDE and installing ESP8266 support using the Boards Manager described in detail here. Once the installation completes, you can close the Arduino IDE and proceed to the hardware step.
Hardware
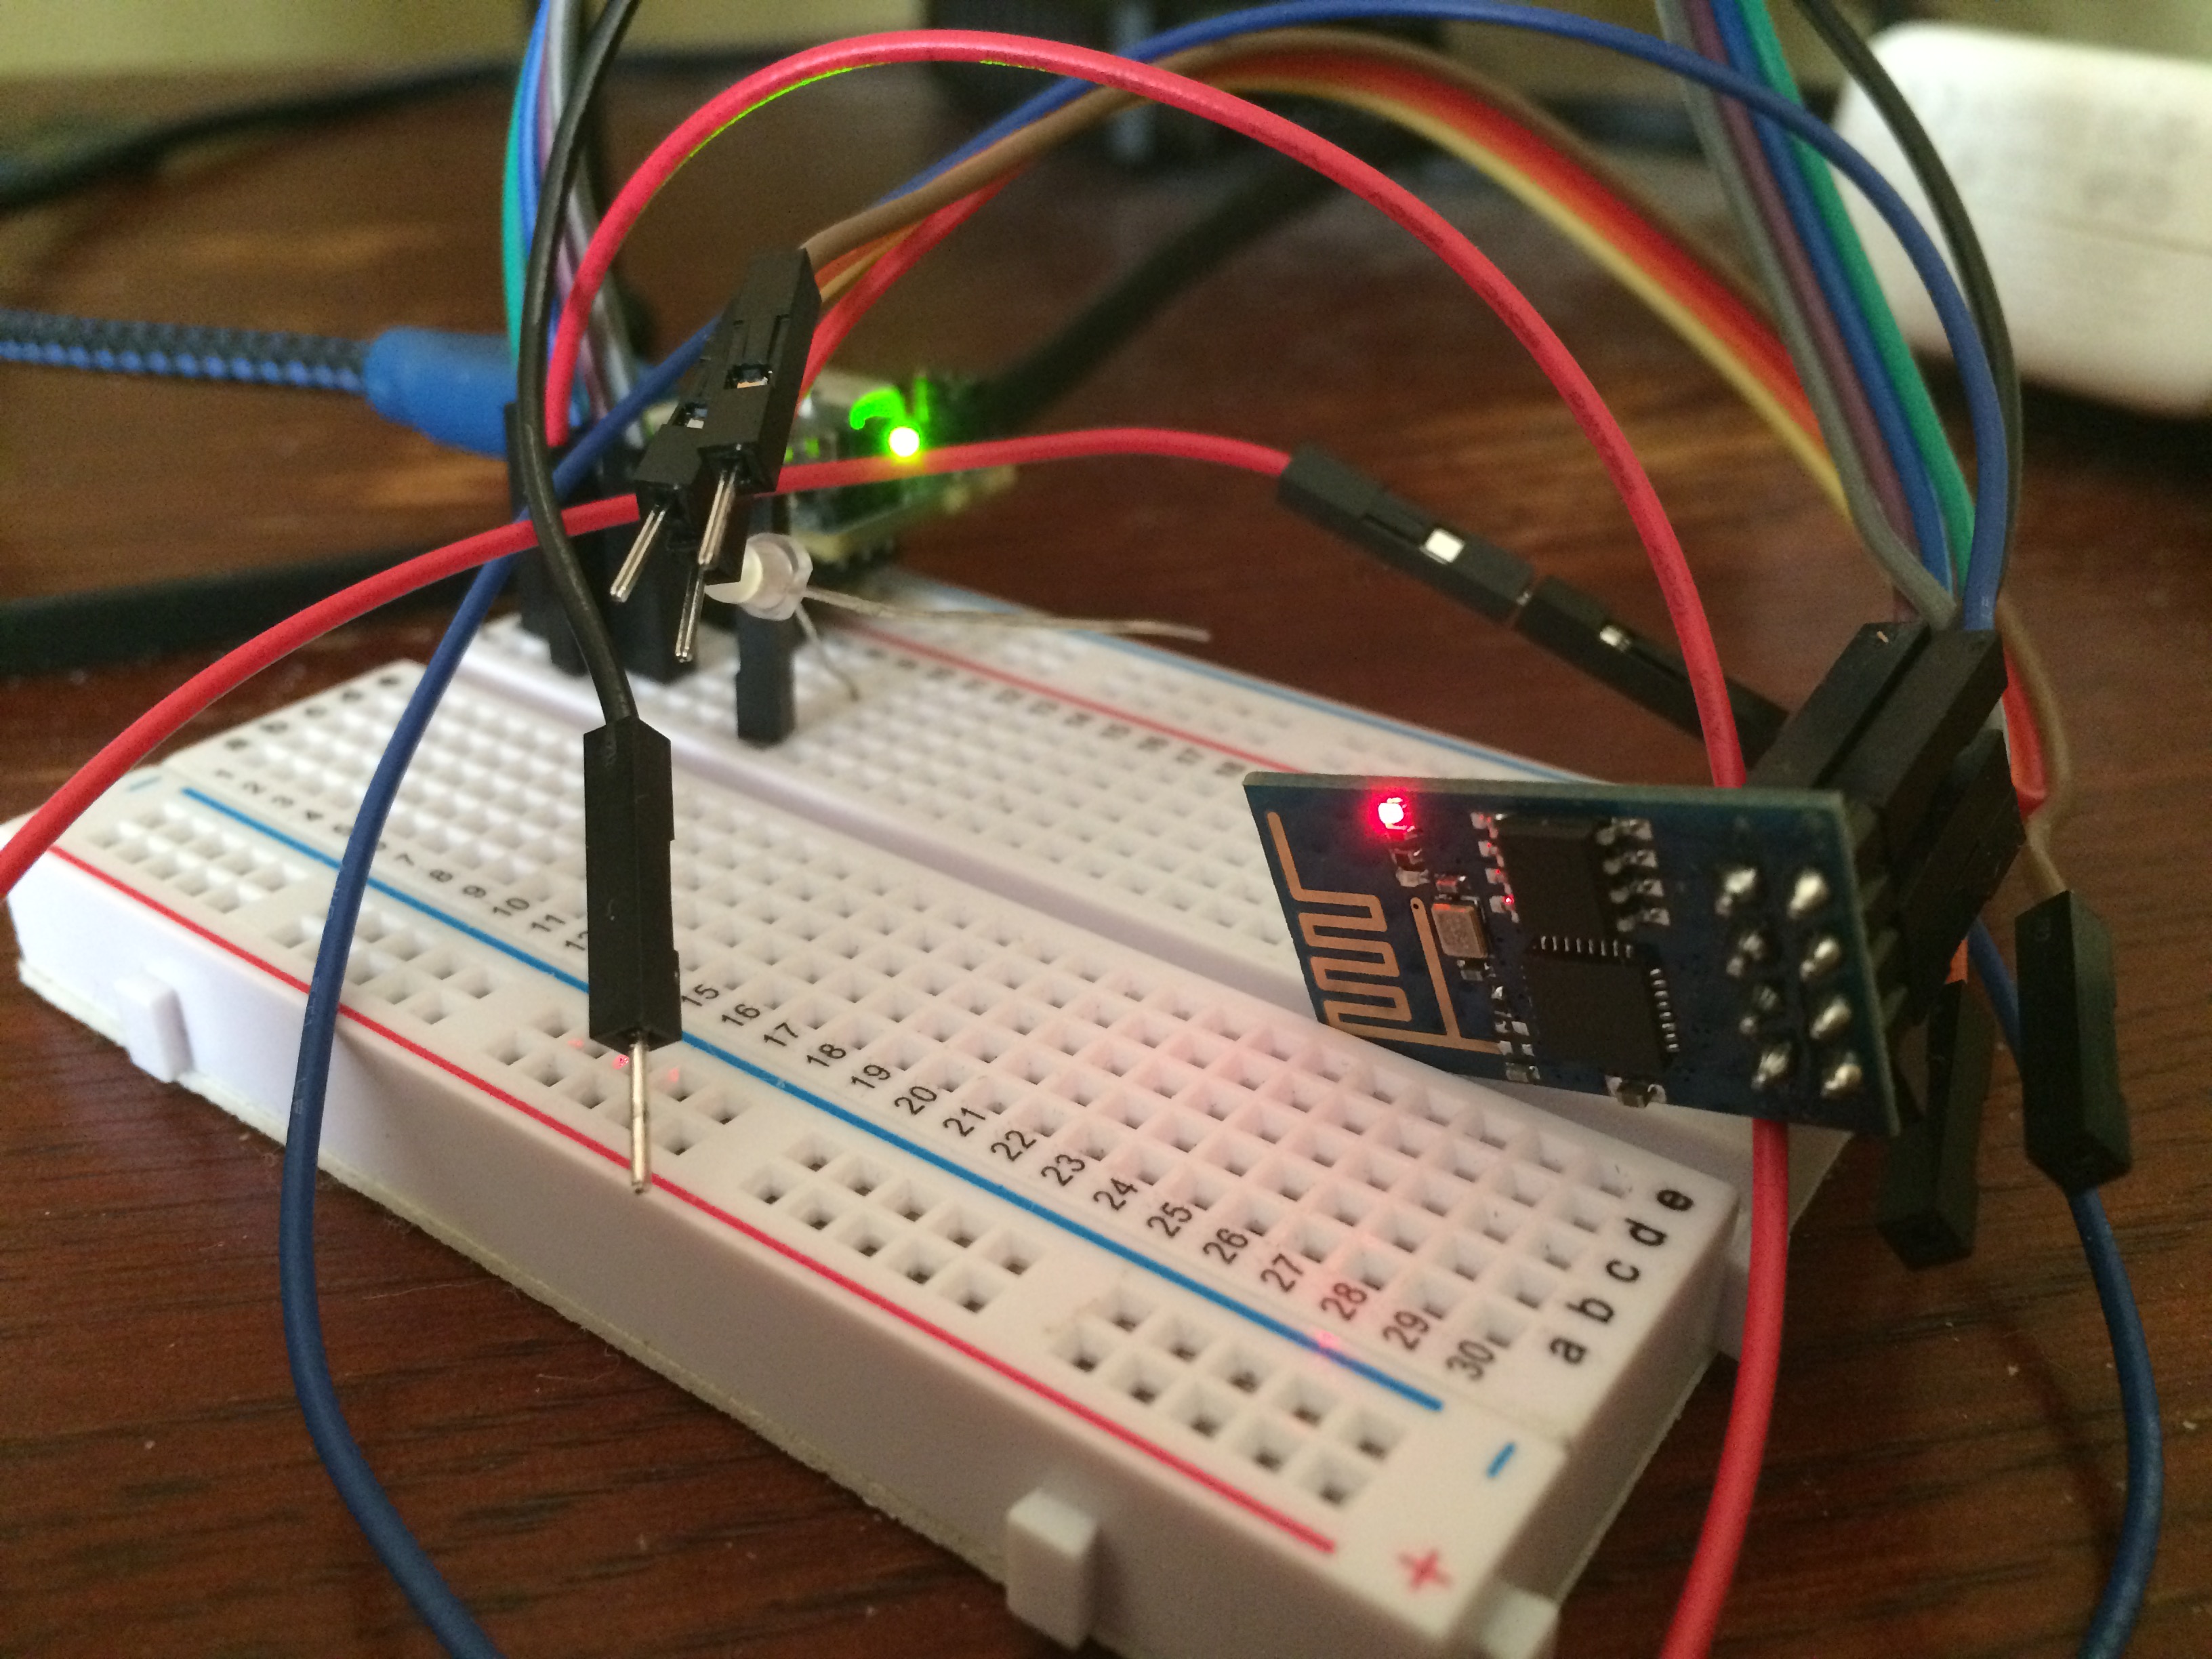
I’m using the cheapest ESP8266 board that I know of, so this was harder for me than it would be if you were to use something like Adafruit’s HUZZAH board. The board I used was selected because it’s what was in the parts bin, and if you’re buying parts for a project like this you can do a lot better (I’ll discuss some of the more interesting options below). To prepare the ESP8266 for programming, connect it to the FTDI adapter like so:
FTDI -> ESP8266
GND -> GND
GND -> GPIO0
VCC -> VCC
VCC -> CH_PD
TX -> RX
RX -> TX Now the hardware can be connected to your computer and we can start preparing the firmware.
Code
fauxmoESP has a few library dependencies that we’ll need to install before we can compile and upload the code to the ESP8266. I use git for this job. Check out the following into your Arduino/libraries directory: git clone https://github.com/me-no-dev/ESPAsyncTCP.git git clone https://github.com/me-no-dev/ESPAsyncWebServer.git …and then finally git clone https://bitbucket.org/xoseperez/fauxmoesp.git Now you’re read to re-open the Arduino IDE and try running the example. From the File menu select File -> Examples -> FauxmoESP -> FauxmoESP_Basic. The example sketch includes a credentials file you’ll need to customize to match the settings of your WiFi network, so once you open the example, click-over to the credentials.sample.h tab and set your WiFi SSID and password. Then select File -> Save and save a copy of the sketch to your Arduino directory. Finally, make a copy of the credentials.sample.h file named credentials.h. That’s all changes you need to make to the code to test things out. The next step is to compile and upload the code to the ESP8266. Make sure the device is connected via USB and select “Generic ESP8266 Module” (or whatever your particular module is called) from the Tools -> Board menu, and select the Port that the FTDI adapter is connected to as well. If the gods are with you, you should now be able to click the “Upload” button and the sketch will compile & install onto the ESP8266. This can take a few minutes but once it’s complete you can switch the module over to “run” mode, restart it and use the Serial Console to see if it’s working. To switch to run mode, remove the connection between GND and GPIO0, then remove and re-apply the VCC connection on the module. Select Tools -> Serial Monitor from the Arduino IDE (make sure the baud rate is set to 115200) and you should see messages from the ESP8266 about connecting to your WiFi network. Once the connection is complete, open the Alexa app on your phone and select “Smart Home” from the hamburger menu. Scroll down to the “Your Devices” section and tap “Discover Devices”. After a few minutes this should come back with a list of new devices with names like “light one”, “light two”, etc. If you look at the code in the example sketch you’ll see that these are the names of the devices configured on the ESP8266. If you say “Alexa, turn on light one”, you should see a message in the serial console indicating that the command was received.
What’s Next
From here you can modify the code to suit your application. The example code simply sets the GPIO0 pin high or low regardless of what light is requested depending on whether an on or off command is received. With a basic ESP8266 you could connect the GPIO0 pin to a relay or MOSFET and switch high-power devices like lights, fans, etc. on and off. For a less DIY-approach I was excited to find out that there are a number of off-the-shelf devices available on that incorporate the ESP8266 along with the required electronics and switching components that are inexpensive and ready to use. All that you need to do is configure and install the FauxmoESP firmware on them and you’re ready to go. Ultimately, using this approach may save you some money on automating your household, but more importantly it gives you control over the devices that you would be giving up if you used a proprietary device. It’s a little more work, and a little less convenient to configure, but once they are setup you know that they will continue to work even if the company who made the hardware goes out of business or is bought by a competitor. Additionally, these devices will work even without an Internet connection, and should Amazon retire Alexa (or turn it into something incompatible with these devices), you can easily modify the firmware and use them with another system.