Open Digital 8 - First Moving Pictures
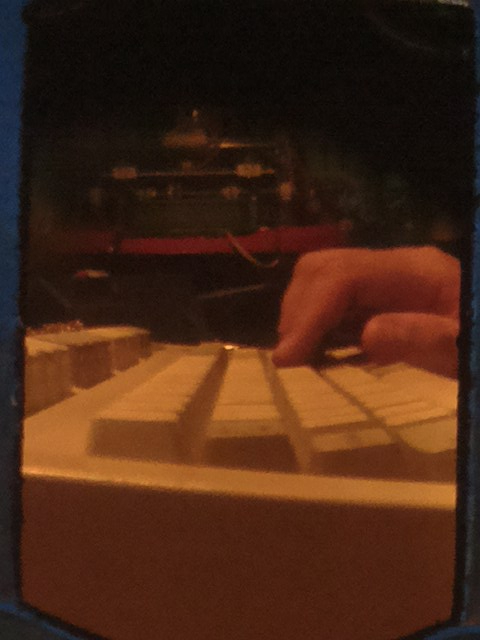
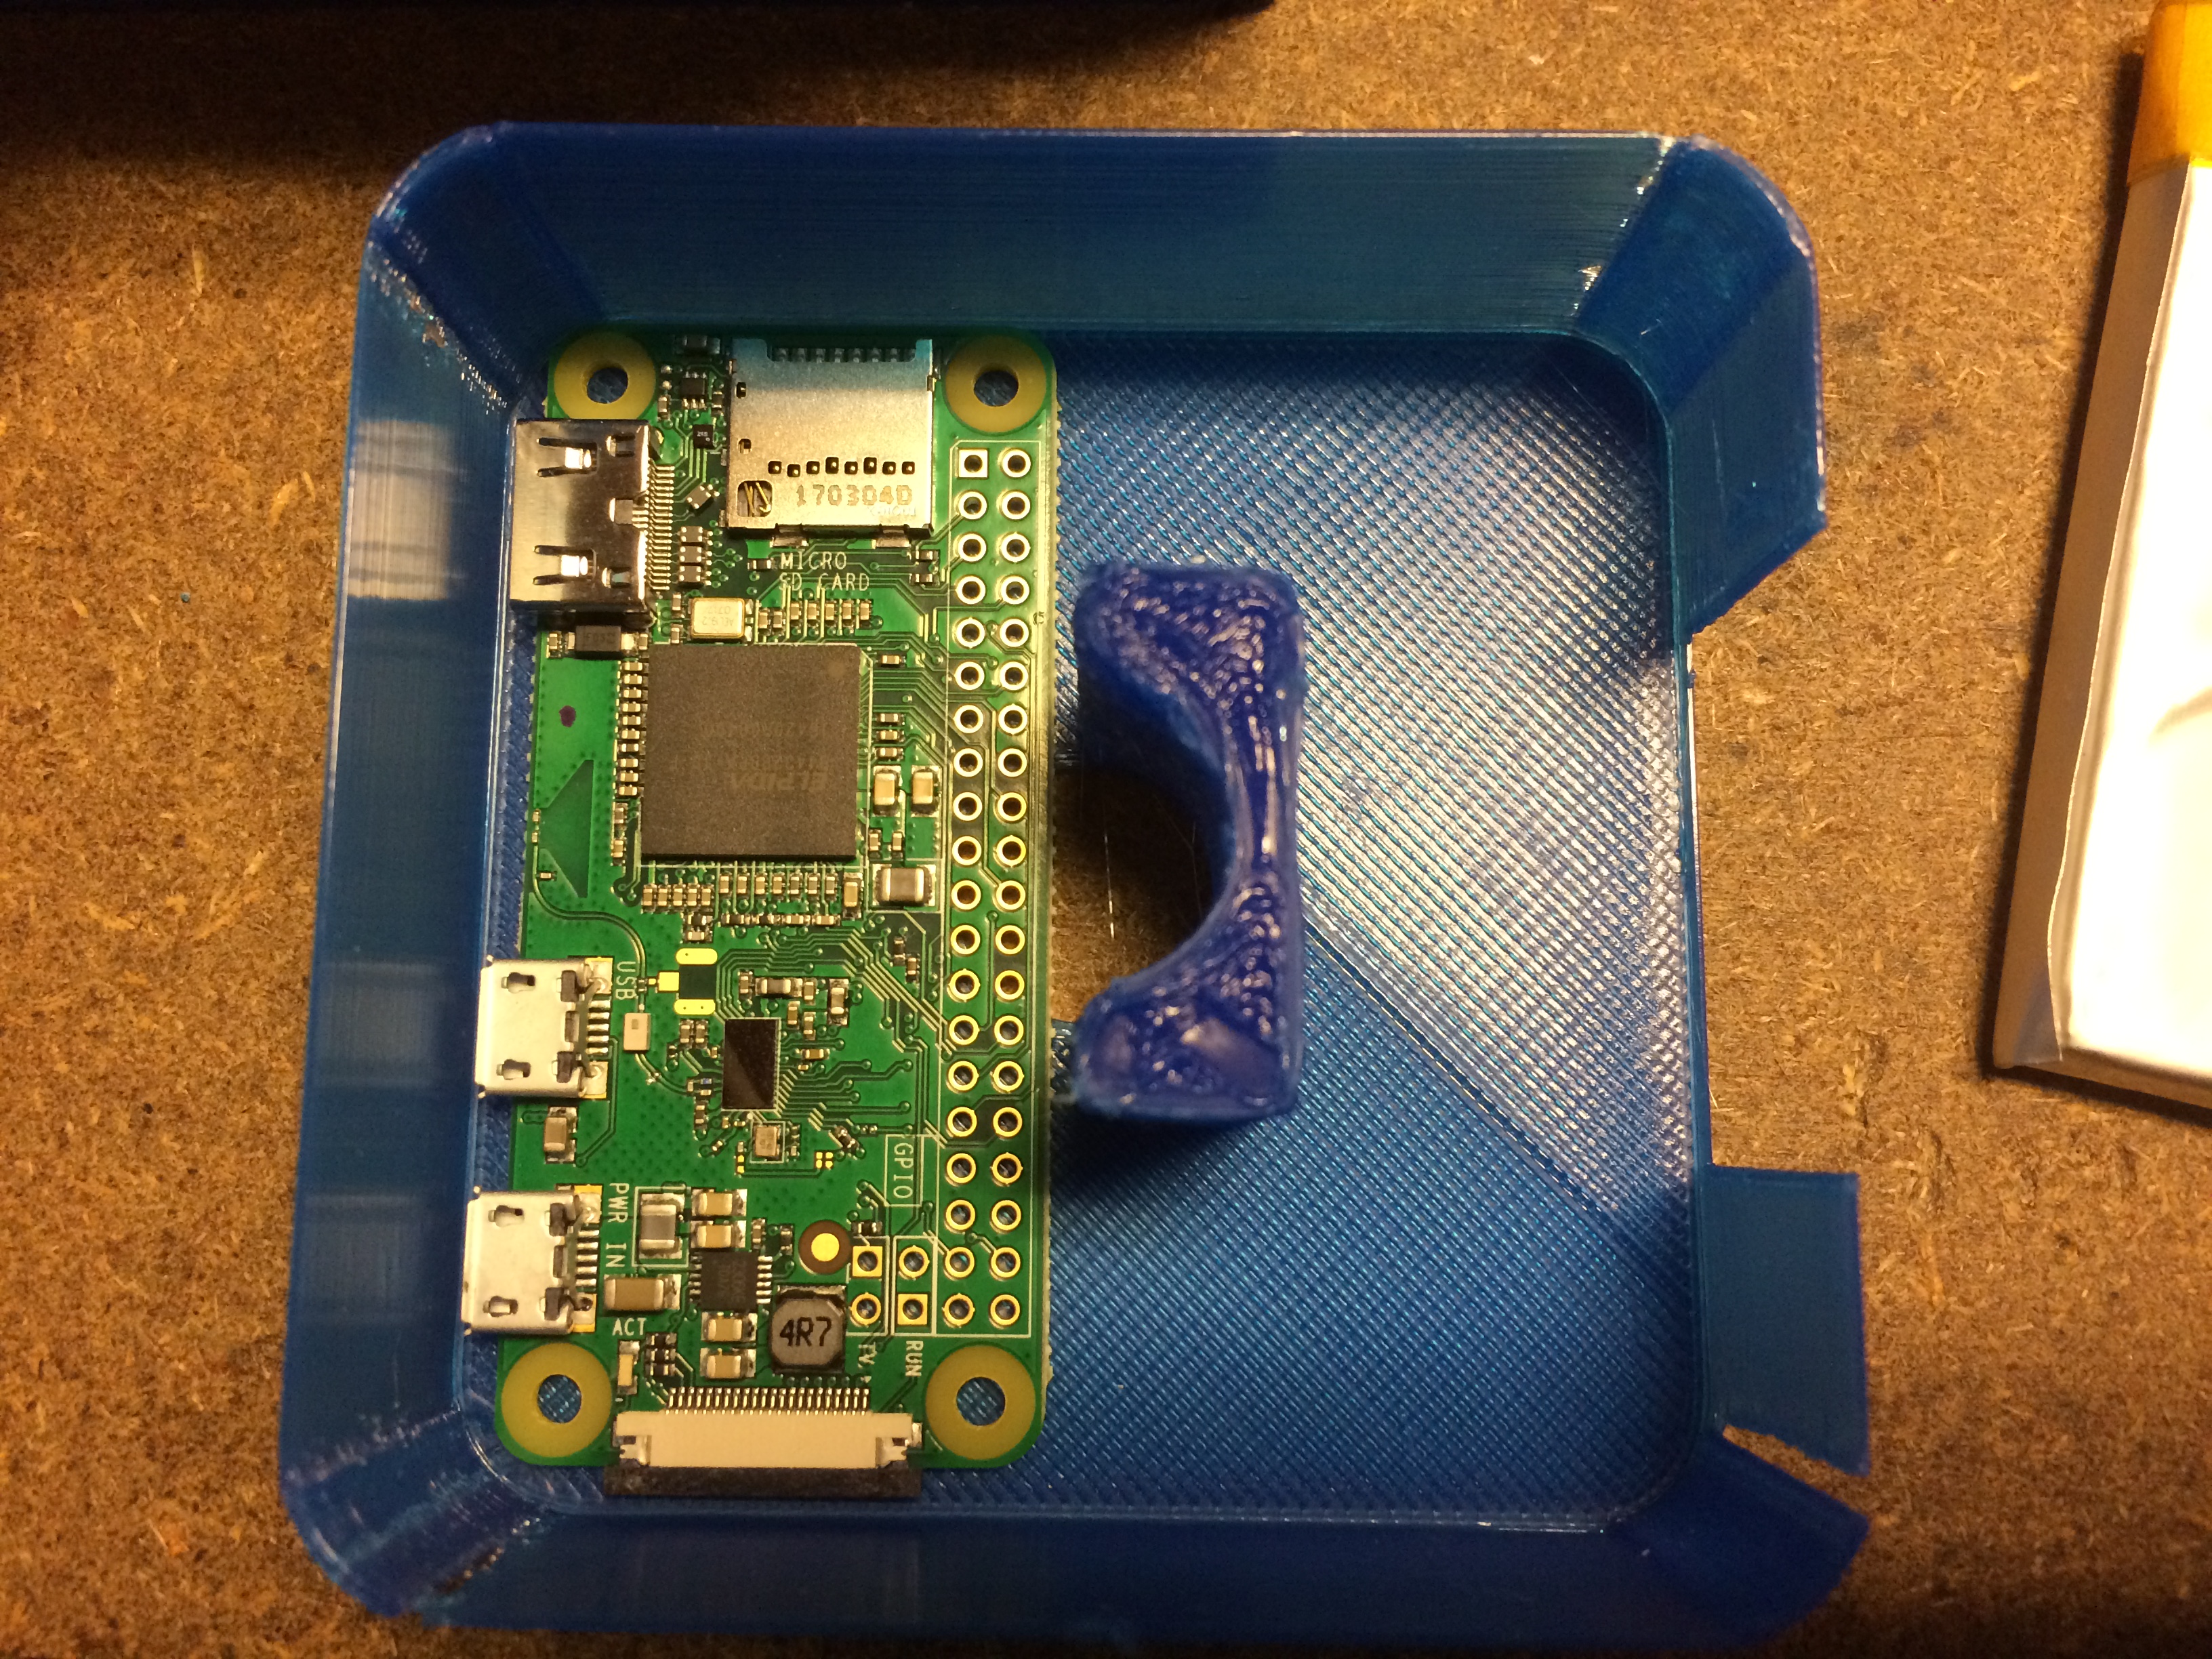
I spend some time experimenting with the software side of this project and made some progress capturing the portion of the camera module’s image that I’m actually interested in. https://archive.org/download/jgullickson_od8_Bar/bar.mp4 As discussed last time, one approach to dealing with the fact that I can’t get the Raspberry Pi camera module close enough to the aperture (should I be calling it the film gate?) is to take a larger picture and throw-away the non-moving parts.  There’s a few ways to go about this. One way is to crop the image in the output file. Another way is to crop the input image by only using the portion of the sensor aimed at the interesting part of the frame. I have a theory that the latter approach is superior because it could reduce the amount of data that needs to be compressed for a given output resolution, therefore reducing compression artifacts, etc. After a little experimentation I was able to feed the right command-line arguments to raspivid to capture only the part of the frame which contained the moving images from the Super8 camera’s lens. [gallery ids=“4115,4116,4117,4118,4119,4120,4121”] I’m not sure if this is producing higher-quality output than simply cropping the image in the output file. Looking at the two side-by-side on-screen, I can’t see a significant difference. This could be attributed to many factors since I don’t know yet enough about exactly what happens to the image between the time it hits the sensor and when raspivid writes the file to disk. Clearly I’m going to need to dig deeper into this pipeline before I can expect to get quality results. However, I think this demonstrates that the cropping technique is “good enough” to run with for a bit and I can turn my focus toward packaging. Right now I’m still using a full-sized Raspberry Pi and the original camera module, which means the I can’t close the film door on the Super8 camera and the whole thing has to lie on it’s side on the bench (hence the orientation of these photos & video).
  Now that I have an approach that seems to work (even if the quality isn’t great), I think the time has come to work on cramming everything into the cartridge so I can close the door and have more flexibility to test the camera under various lighting conditions, etc. This will also make it easier to experiment with the camera’s settings to work on improving the picture.
  One thing that will also need to be in order before the cartridge can work like real film is a way to toggle recording using the camera’s trigger switch. Ideally this would be coordinated with the film speed setting of the camera, (my original idea was to measure the movement of the prong that normally moves the film) but it might be simpler to measure the speed of the take-up reel drive hub. For now it could be even simpler and simply toggle on/off based on the movement of the hub, since at the moment I’m making no effort to coordinate the shutter between the Super8 camera and the Raspberry Pi camera module.
