

The goal of OffGRiD Iteration Zero is to quickly build an outdoor-usable computer suitable for writing (in English or Python or whatever).
Iteration Zero hardware
- Lenovo IdeaPad S10-2
- Pixel Qi display
- 120 GB SSD
- 2GB RAM Upgrade
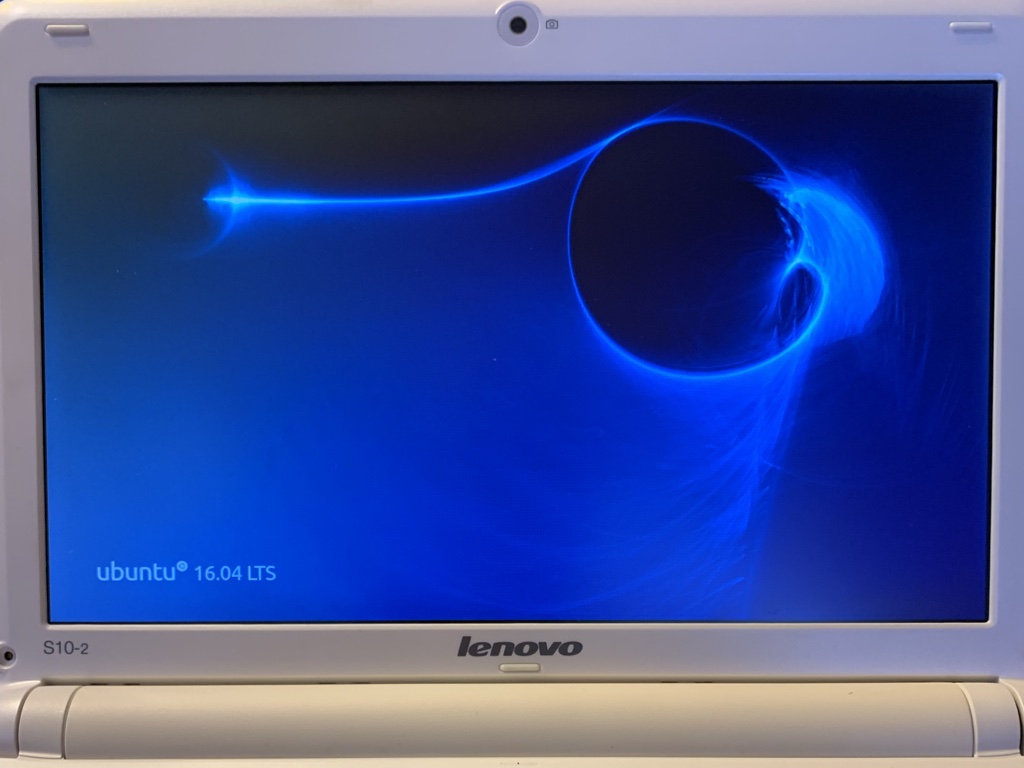
The build centers around the 10.1” Pixel Qi display. Its dual-mode nature makes it perfect for this application, and as such the Pixel Qi has been my display of choice for every OffGRiD design I’ve made. I thought the display was no longer available (which is part of why I stopped working on OffGRiD), but I was able to find some NOS on eBay, so I picked one up for this project.
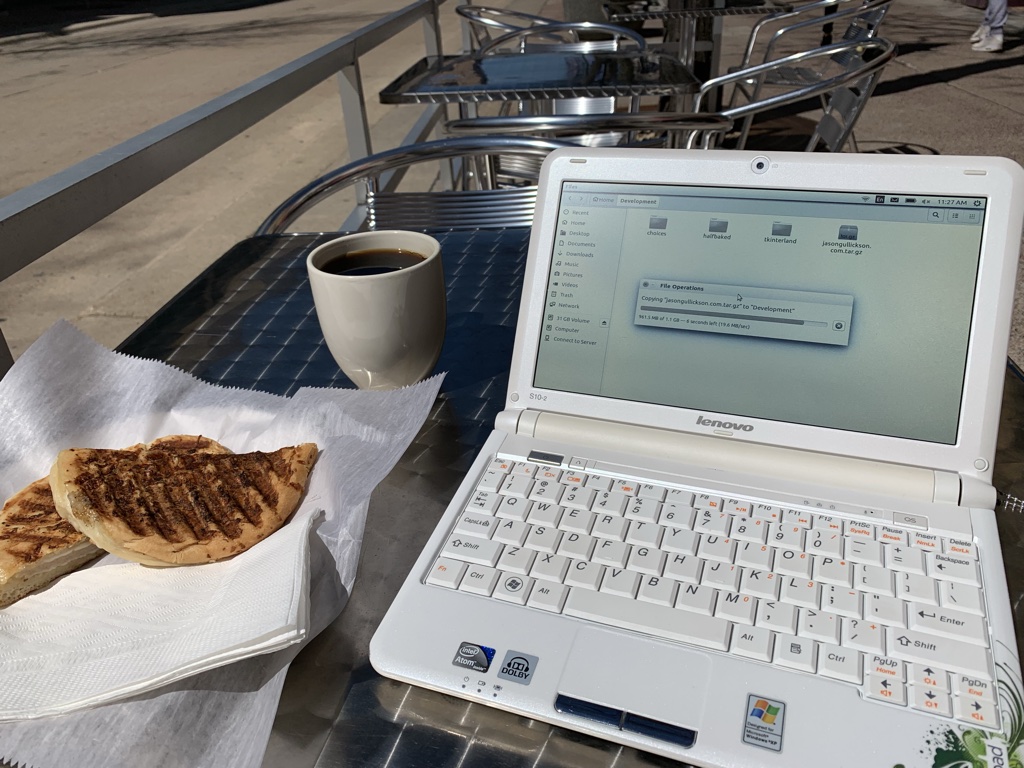
Lenovo IdeaPad S10-2
I chose the IdeaPad S10-2 primarily because it is known to work with the Pixel Qi display. As it turns out the netbook has a number of additional qualities which make it well-suited for this application. In particular, these include a decent keyboard, a fairly rugged chassis, radio killswitch and huge (for a netbook) battery. It also turns out to be a surprisingly easy machine to work on with user-serviceable access to the RAM and hard disk.
There were a few things that surprised me about the machine (not necessarily bad, just unexpected). The first is the weight, it’s really heavy for its size. Most of that is probably the battery, but some of it might be attributed to thermal management (I don’t know what the Intel Atom processor’s power dissipation numbers are but the machine often feels warm). I also forgot how machines with mechanical disks vibrate; not just when the disk is “seeking” but just the constant “whir” of the spinning drive. I never noticed this before solid-state storage was common, but now it really stands out.
Speaking of the hard disk, I had also forgotten just how slow mechanical drives are. To be fair, this disk is probably one of the worst even for its time (designed to be a low-power, low-speed laptop drive) and it’s particularly bad when the disk has gone “asleep” and then has to spin-up to read a file.
Memory-wise 1GB is pretty small even for an older version of Ubuntu, and if you run more than on or two programs at a time, the O/S quickly resorts to swapping which reduces performance. This performance drop is magnified by the slow mechanical disk.
The good news is that most of these problems don’t really interfere with the primary goals of this project, and in the case of slow disk and “snug” RAM, both will be addressed by upgrades that are part of this iteration.
Pixel Qi installation
Replacing the stock LCD with the Pixel Qi display was as simple as any other laptop LCD replacement, which is to say that it’s a bit spooky and involves both the sensation of breaking things as well as a little bit of actually breaking things.
The first step is to shut the machine down and remove the battery. This is not only good for safety reasons, but necessary to let the lid fold back enough to remove the display.
The most stressful part is removing the bezel. There are only two screws which means there are countless fragile plastic clips holding the rest of the assembly together. There may be better ways to do this, but how I went about it is to carefully slide something thin, strong and ideally softer than the plastic along the gap between the front and the back of the lid. Of course when this doesn’t work a large flat screwdriver will do.
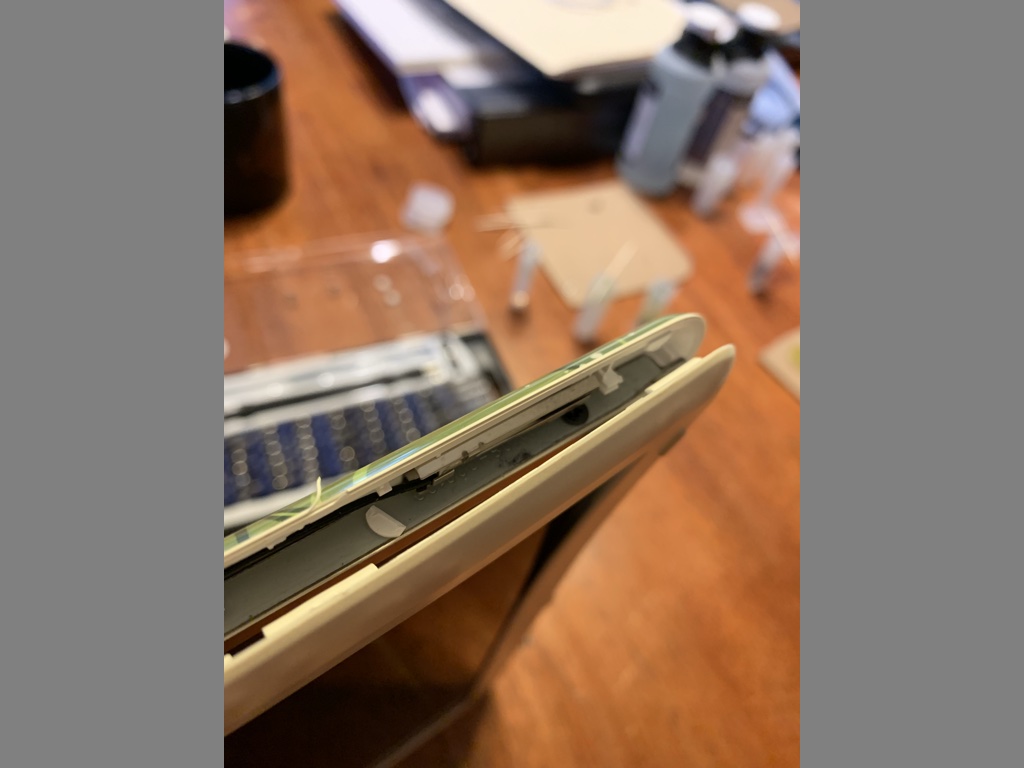
Once you’ve broken all the tabs on the left, right and top of the bezel there’s two more at the bottom which fortunately don’t need to be forced. There’s two slots for a flathead screwdriver to be placed turned carefully to release the remaining clips. At this point the bezel should be free.
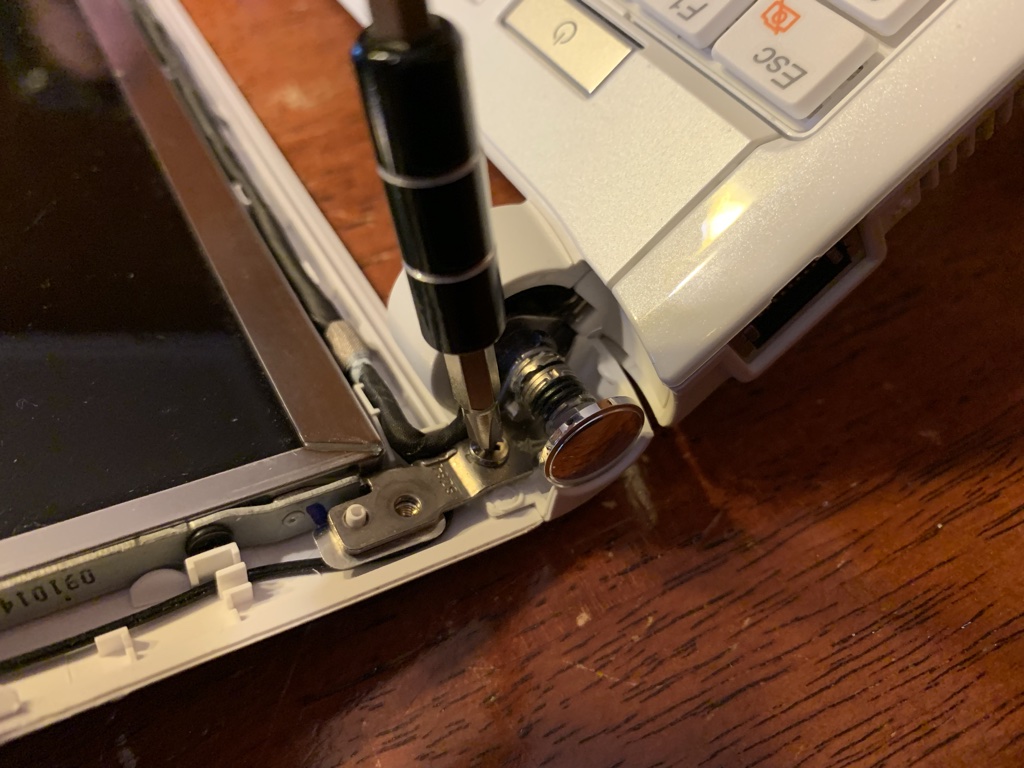
Next there’s four screws which secure the back of the lid to the frame. These don’t put up much of a fight but be careful removing the last screw (there’s a cable for the webcam that runs to the back of the lid, you don’t want to put any unnecessary stress on that guy). At this point you can lay the whole thing out like an open-face sandwich.

OK I lied, the next part is the most stressful. Before removing the original LCD from the frame, Remove its cable to prevent damaging it when the LCD is freed from the frame. These connectors are delicate, and there’s a piece of non-obvious (clear) piece of tape holding the connectors together. I didn’t trust myself to pull this tape completely off, so I eased it off the screen side of the connectors and left it on the cable side so I could re-use it on the replacement display.
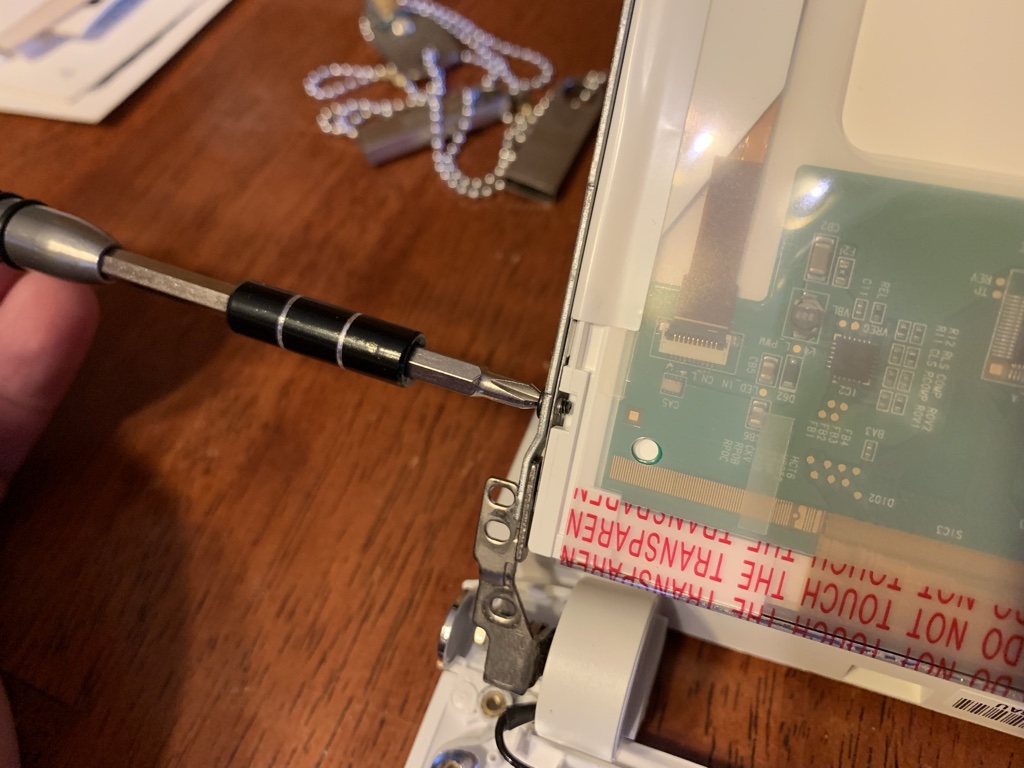
Once the cable is, free removing the original LCD is just a matter of removing four screws on the edge of the frame. Don’t be fooled into removing unnecessary screws (I almost did this).
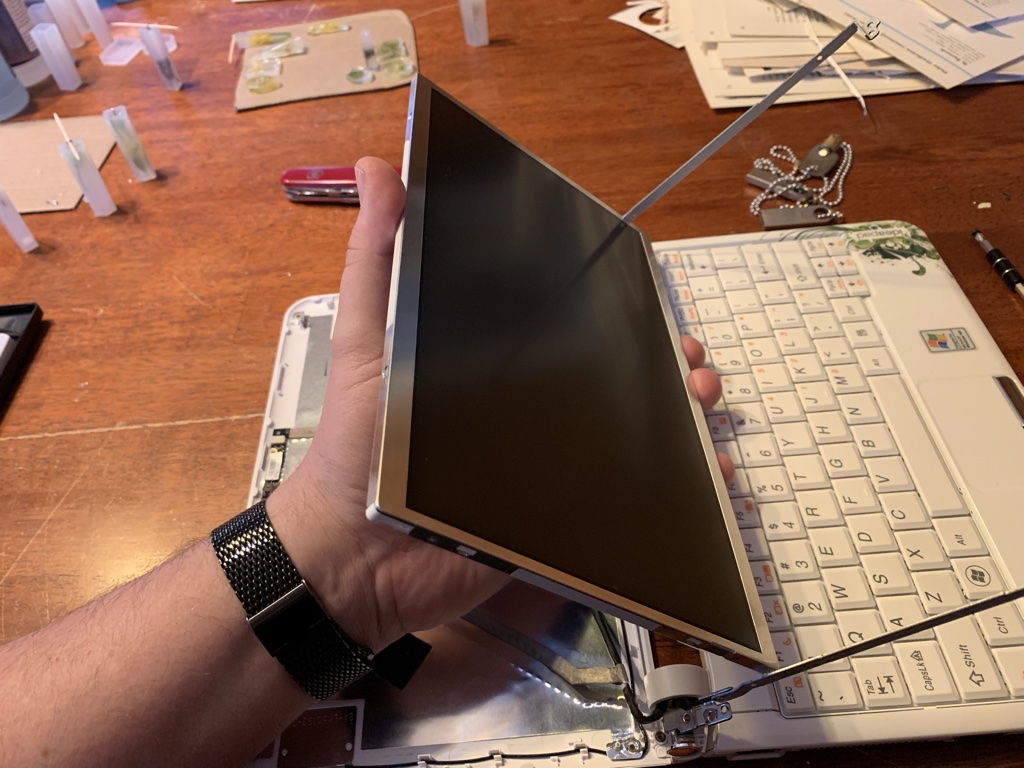
Mounting the new display is just the reverse of removing the original. Hold the new panel in one hand while fastening the bottom two screws loosely, then pivot the screen into place for the last two screws. This way you can snug everything up without worrying about twisting the frame or putting any harmful forces on the new display.
Remember when I said removing the connector was stressful? I was wrong about that being the worst, because reconnecting it means putting some pressure on the most expensive component of the build (the new display), and LCD’s are not fans of having too much pressure applied to them. There’s also so many fine pins in this connector, getting it lined-up right is as difficult as it is important.
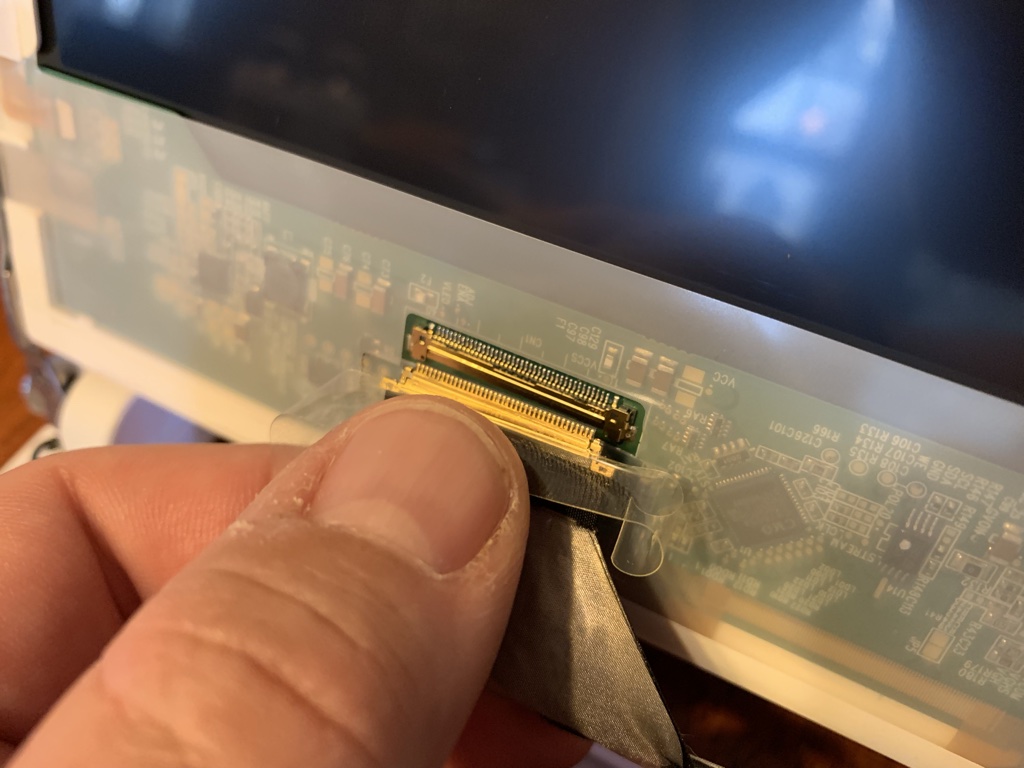
Very carefully, slide the cable side connector on to the Pixel Qi. It puts up a little resistance, so very, very carefully apply force to the connector while holding the rest of the display as gently as possible (try to spread the load out to the edges). I wasn’t able to get the connector on as completely as I would have liked, but it felt secure enough and I taped it back in as-is (I’d rather have to re-do it than break the new display).
With the wiring connected I was anxious to see if the connection was good enough, so I carefully re-installed the battery and turned the machine on just long enough to see the BIOS screen. Once this appeared successfully, I powered everything back down, removed the battery and finished buttoning it up properly.
Overall the process took about an hour. Now that I know my way around it I could probably go a bit faster, but I wouldn’t want to rush it if I didn’t have to. At the least I can say with some confidence that I could do the job again without much fear of causing unrecoverable damage to the machine.
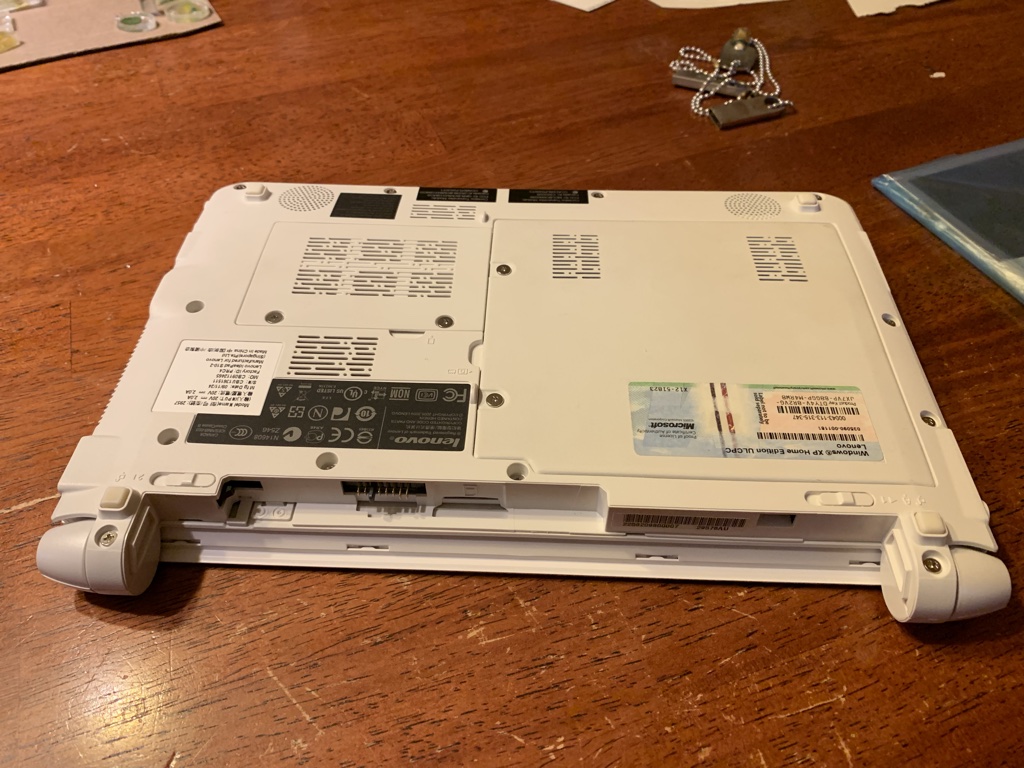
SSD and RAM Upgrades
Originally I had only planned to upgrade the display during this iteration of the project but while researching the S10-2 I came across a very inexpensive SSD drive to replace the stock hard disk. Given the power saving and performance benefits of SSD over mechanical hard drives (as well as the user-serviceability of the S10-2) I decided to include this upgrade in the first iteration.
I also going to upgraded the machine’s RAM from 1GB to 2GB (the maximum supported). I thought the machine would come with 2GB but I must have mixed up the specs. with another eBay listing.
Replacing the disk and upgrading the RAM was pretty uneventful. Both are easily accessible by unscrewing screws in their respective access covers on the bottom of the machine.
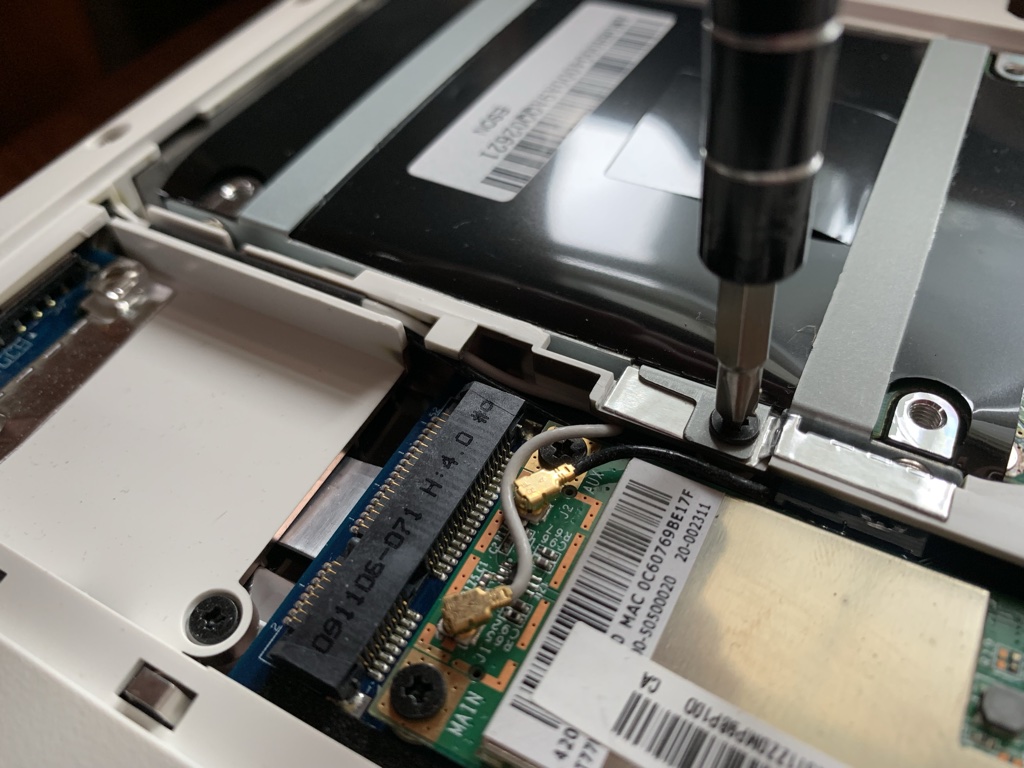
The only difficulty was in fastening the new SSD to the existing hard disk’s tray. The holes in the tray were slightly out of alignment with the thread holes in the SSD, so the screws used for the factory disk didn’t fit right in the SSD. However, with some “convincing”, I was able to get two screws installed and reassemble the machine.
A quick check of the BIOS to make sure everything is recognized and it’s time to reboot and install the operating system on the new drive.
These inexpensive upgrades make the machine feel much more responsive than before. Getting rid of the hard disk removes some of the weight, heat and noise of the stock machine and I expect there will be measurable improvements in battery life as well.
Iteration Zero Software
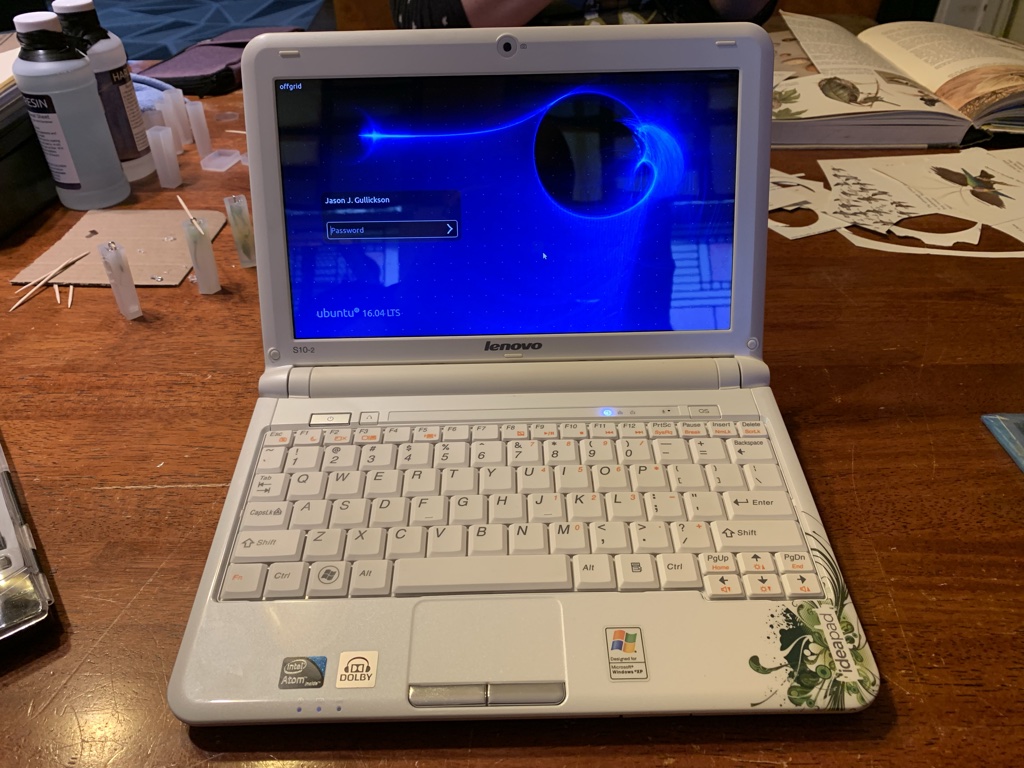
To keep things simple I found the latest 32-bit image on the Ubuntu website (16.04.6 LTS xenial) and performed a default install on the machine. I could have found a more appropriate distro for older hardware like this, but I wanted to quickly determine if there were any problems and figure out how well the hardware was supported by Linux. In the long run I’ll put together an O/S build that makes better use of the S10-2’s meager hardware.
That said I was surprised at just how well a “modern” stock Ubuntu ran on the little netbook. As far as I can tell all of the hardware works (WiFi FTW!) and performance isn’t bad as long as you’re not hitting the disk too hard. With only 1GB memory is tight, and I imagine if you were to run a few memory-hungry applications the O/S would start reaching for swap and things would go downhill quickly, but even with the stock hardware I’m able to comfortably write this post, listen to some FLAC files and have Firefox open to pull-up reference material.
Iteration Zero Cost
| Qty. | Price | Desc. | Notes |
|---|---|---|---|
| 1 | $57.70 | Lenovo IdeaPad S10-2 | Used, eBay, $35.00 + $22.70 shipping |
| 1 | $110.00 | Pixel Qi LCD Display | NOS, eBay, $110.00 |
| 1 | $18.99 | Dierya K1 120GB SSD | 2.5” SATA II, Amazon |
| 1 | $9.95 | 2GB DDR SDRAM | generic PC2-5300 667MHZ, Amazon |
| $196.64 | Total |
Results
Initial testing shows everything to be working correctly.
Over the next few weeks I’ll be spending a lot of time working with this machine and gathering statistics on battery life as well as taking notes on usability, versatility and durability. The objective will be to establish the performance envelope of this iteration and experiment with the software side of things to find an optimal configuration that provides the most utility while maximizing the primary goal of outdoor, off-grid computing.