

Last weekend I spent most of my birthday setting-up the “K40” laser I purchased on eBay. I was excited to get the machine online, but after reading a lot about the machine I wanted to dedicate some time to setting it up carefully.
Make room
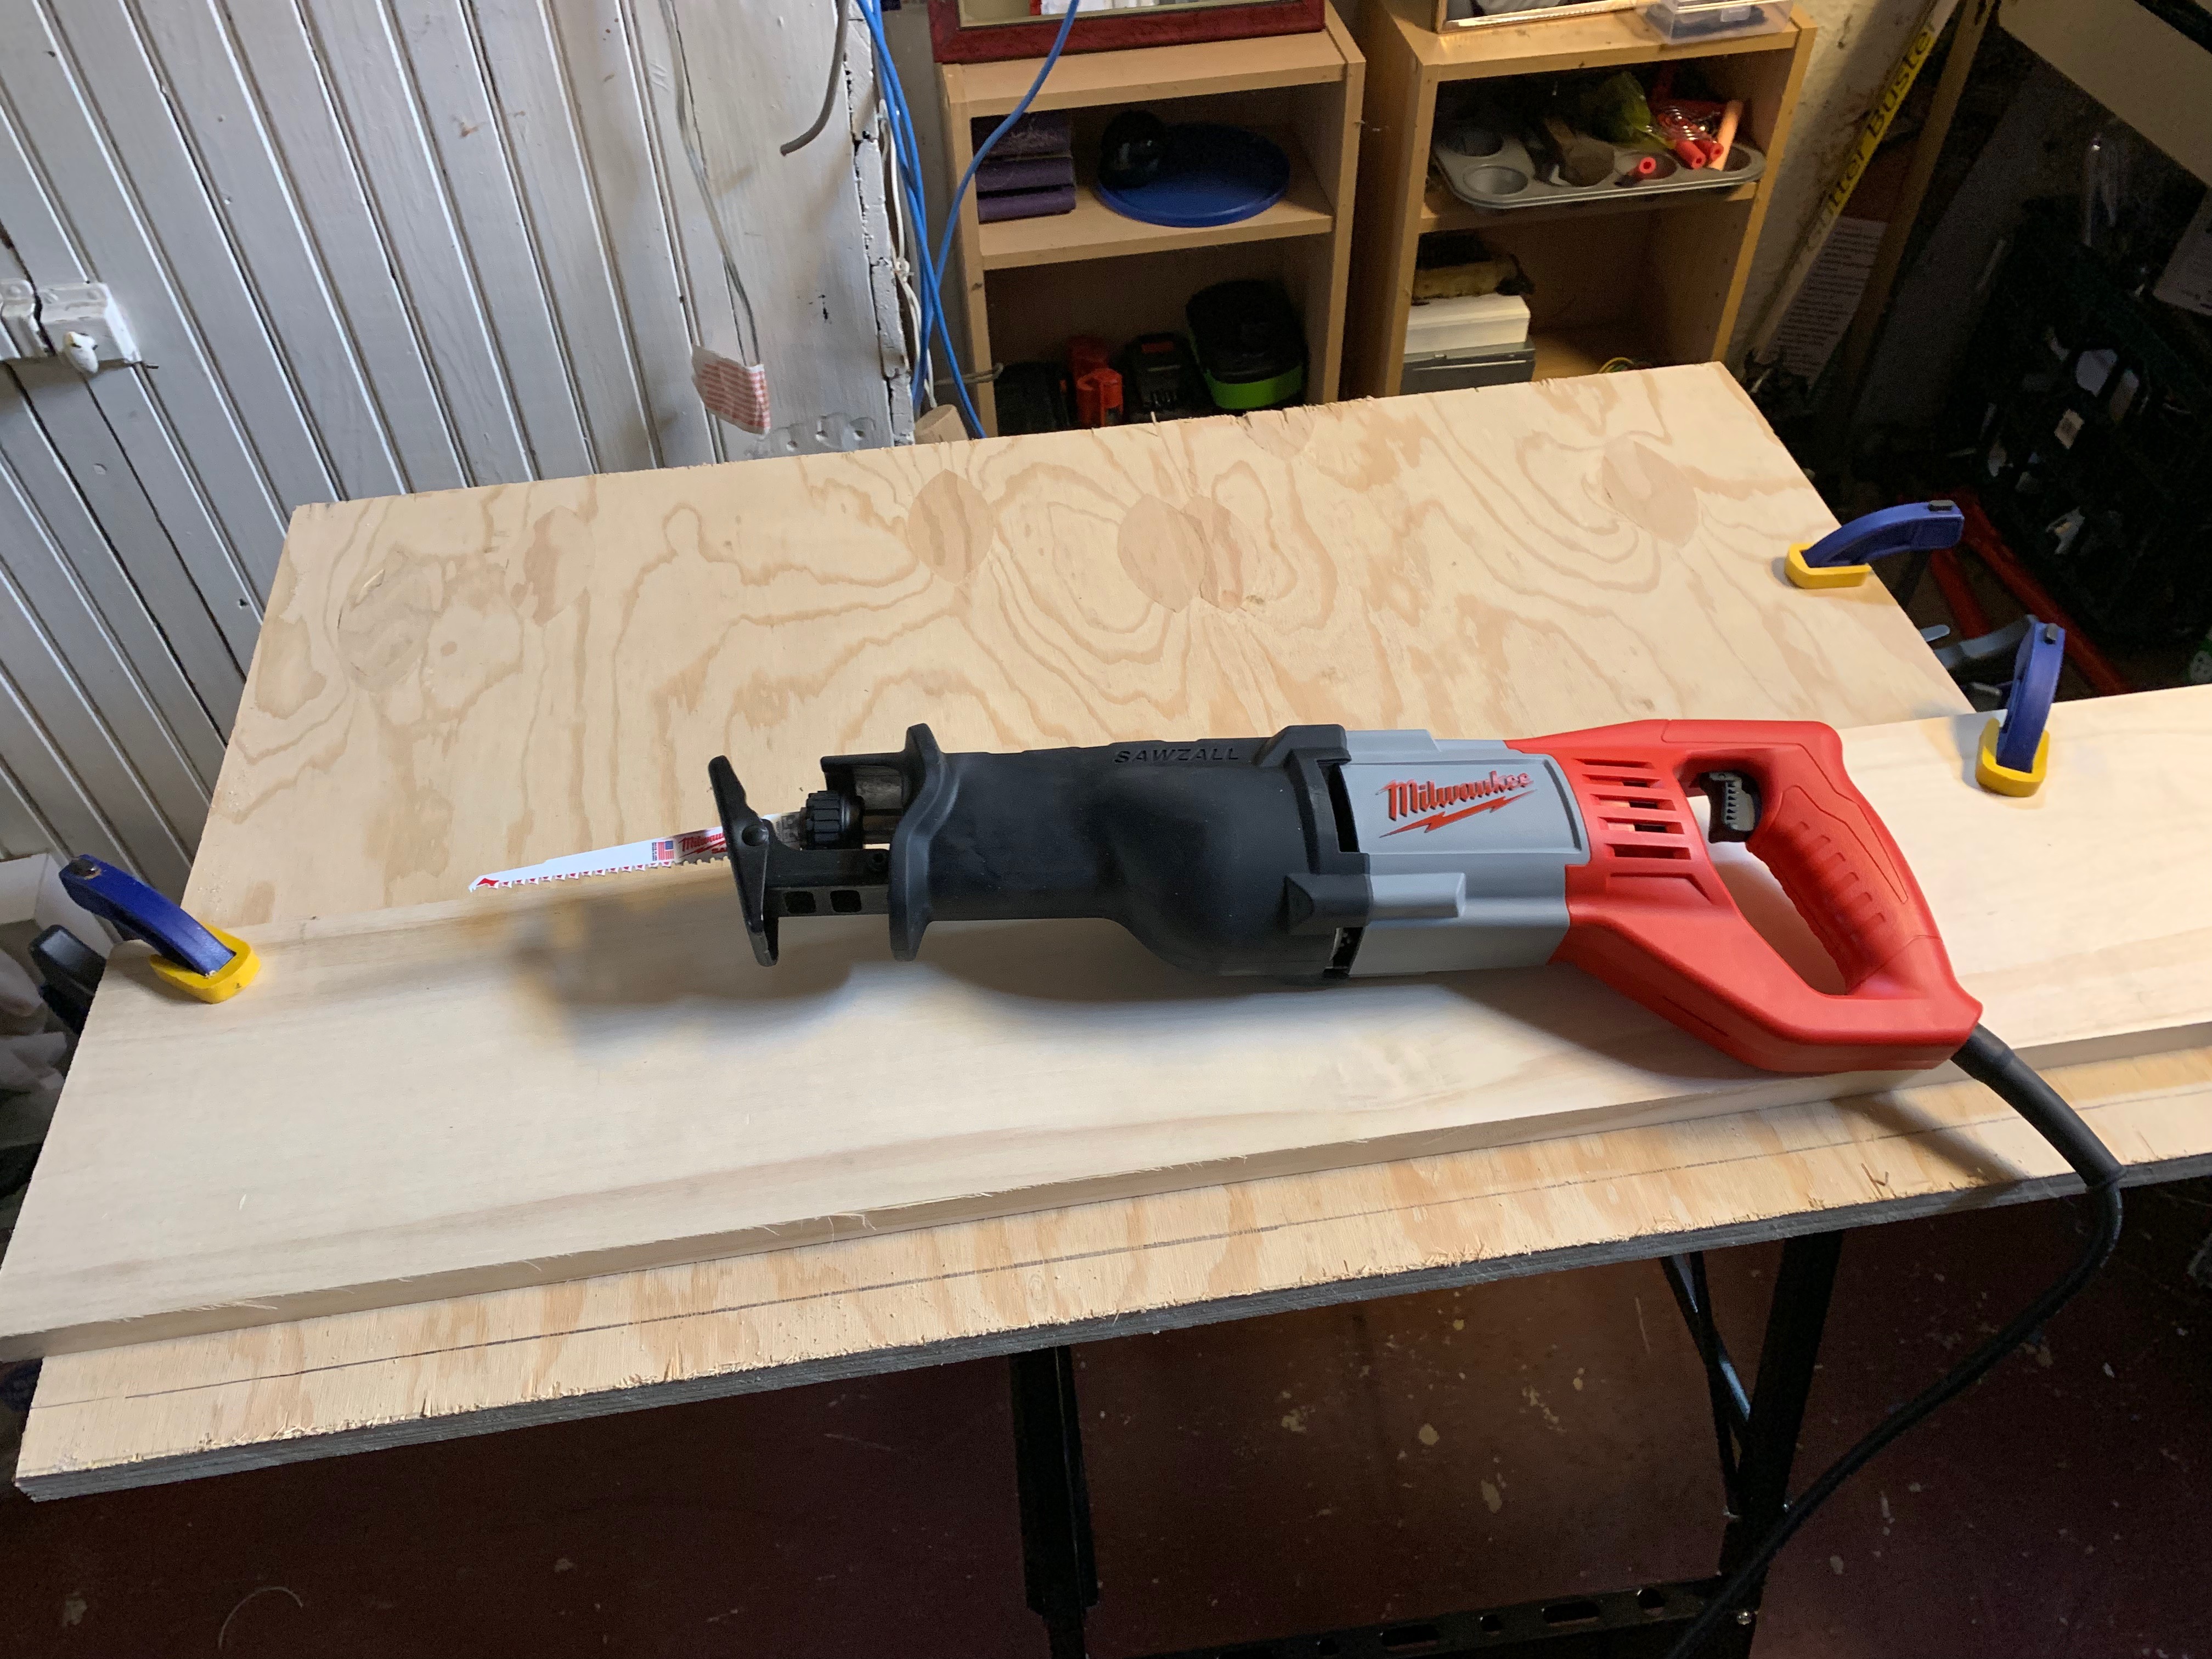
The first step was to clear some space. I needed a stand for the machine and unfortunately it was slightly too big to fit on the desk I had hoped to use. If the weather was more cooperative I would have just cut a larger top for the desk but as those tools are located in the garage (and it’s January), that will have to wait until things thaw out a bit.
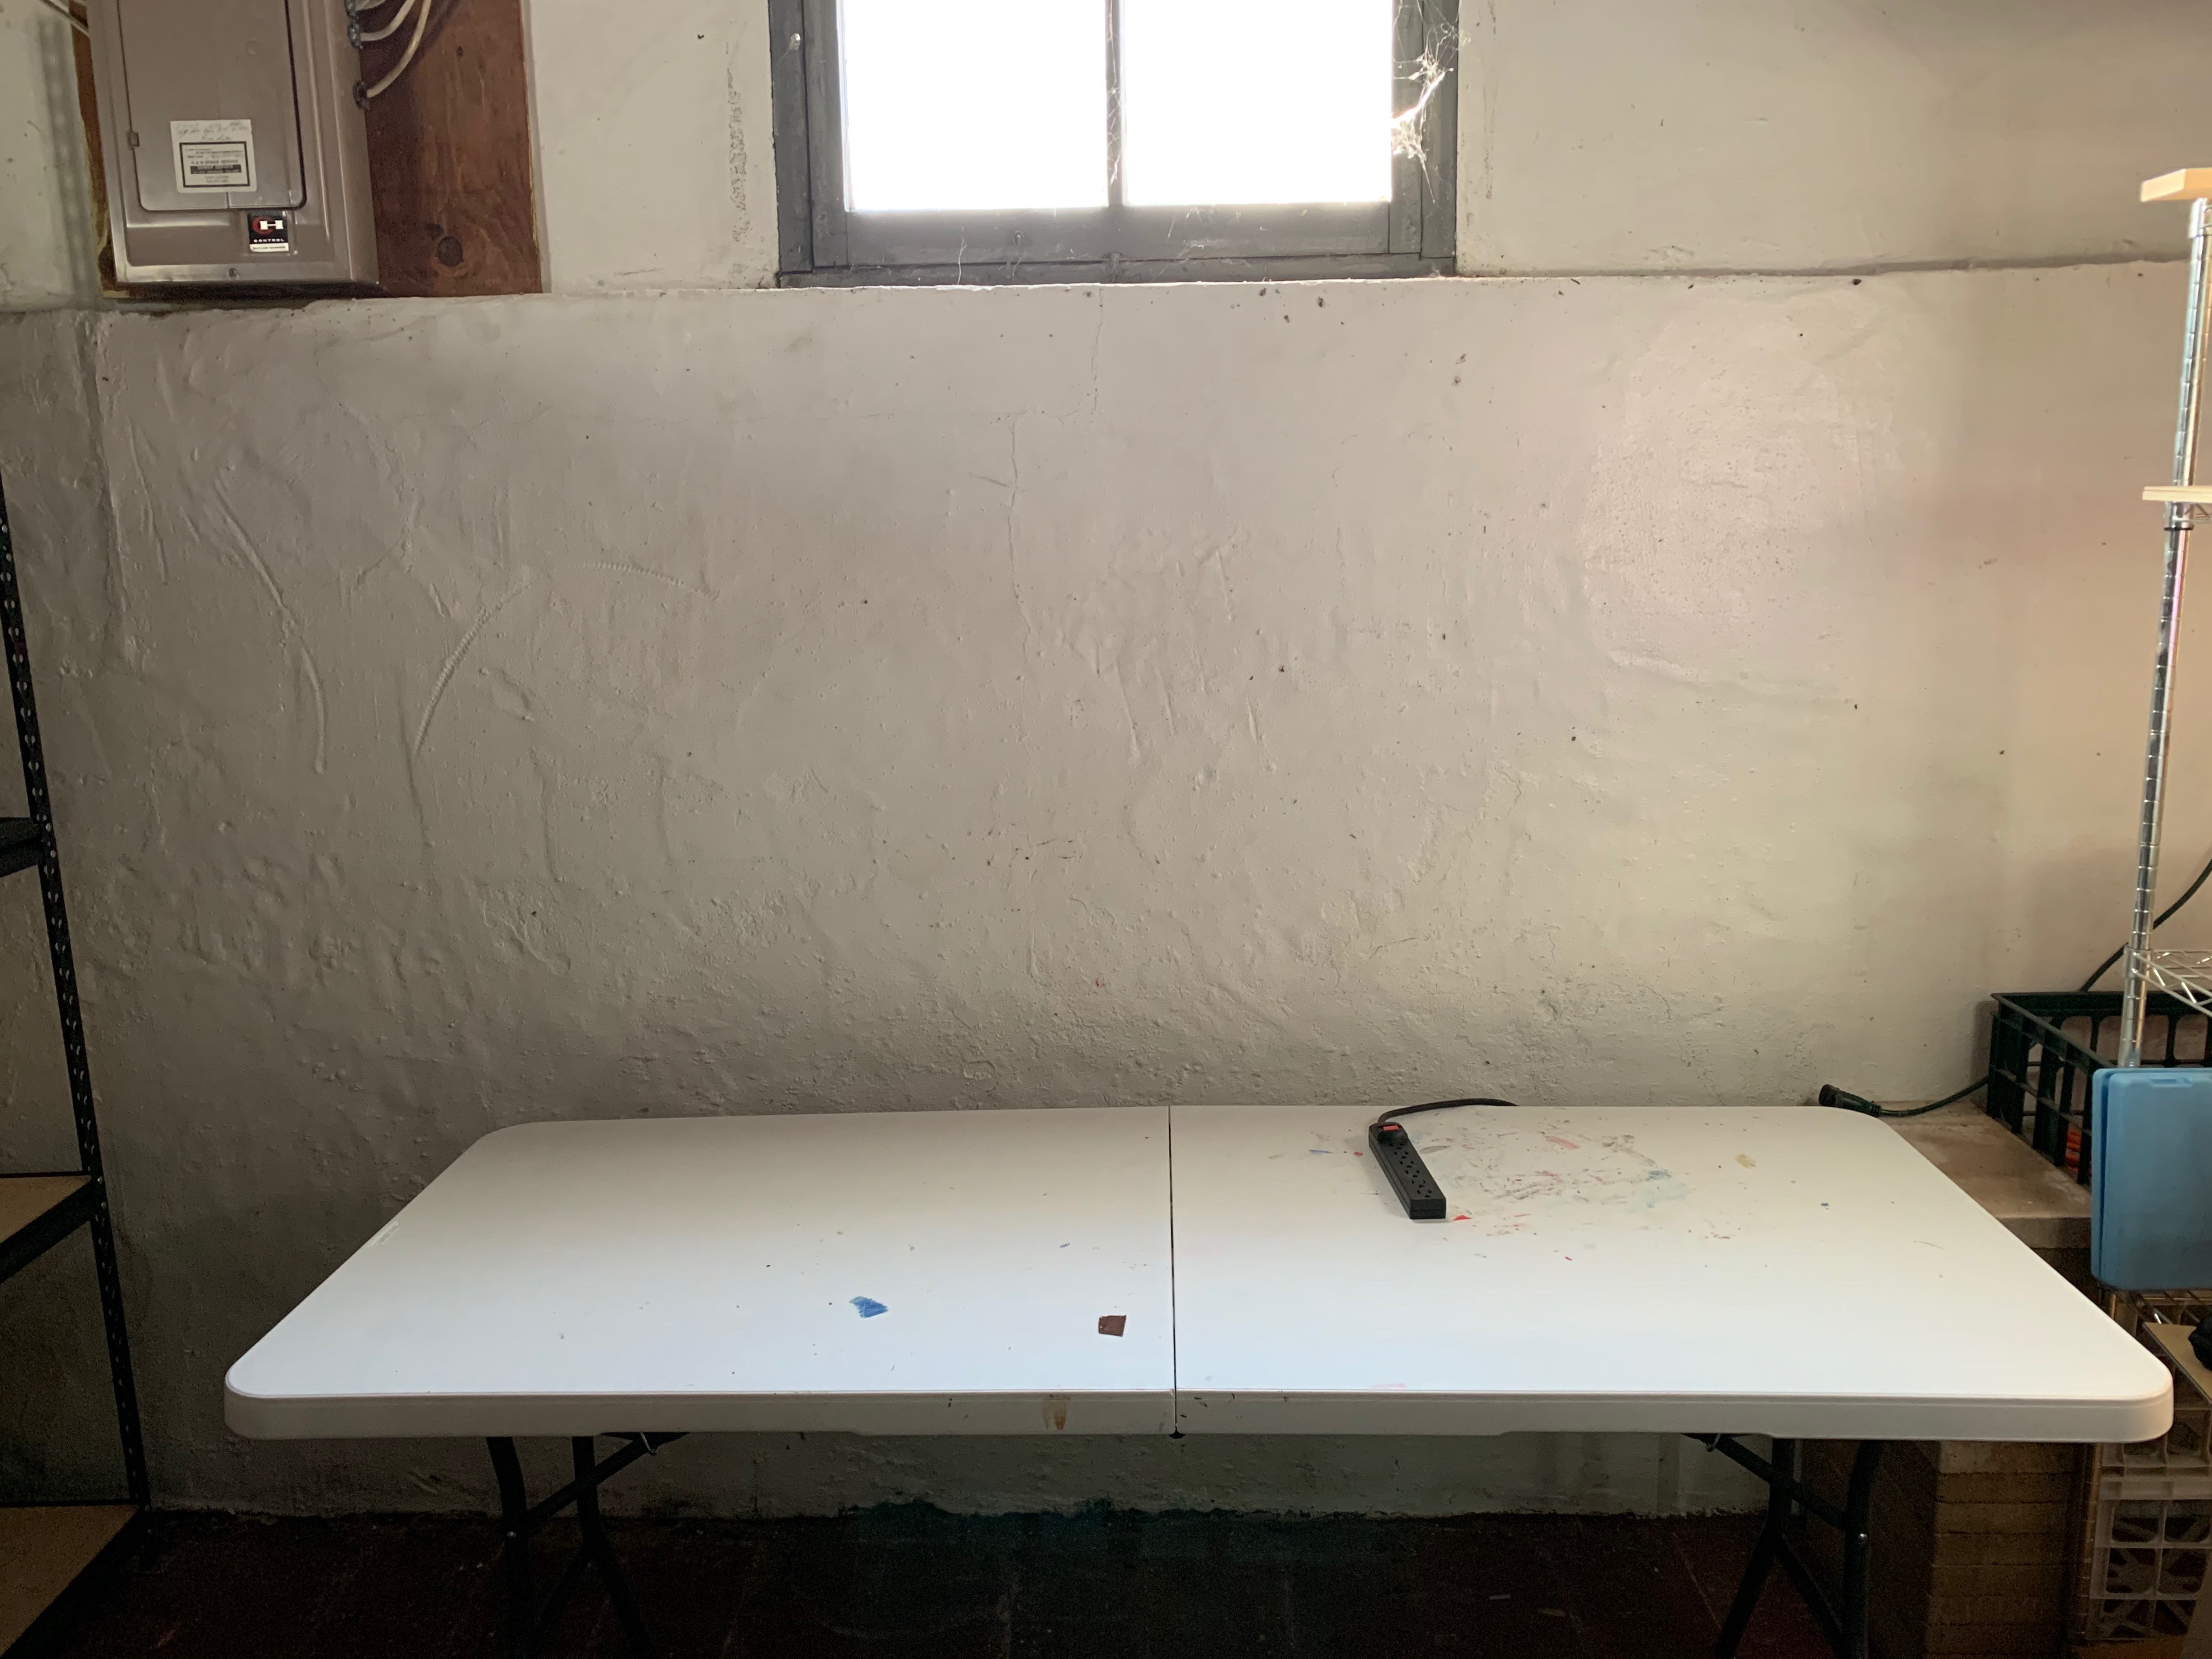
In the meantime I found a sturdy folding table to use. It’s almost twice as large as it needs to be, but it will do until I can get a new top cut for the intended desk.
Power
I want to make sure the laser has enough power to function properly and minimize the chances of interruption due to something else on the same circuit tripping a breaker. I found an outlet on a relatively unused 15A circuit, and although this is the same circuit that the (gas) dryer uses, the dryer is in the same room I can make sure that the two machines are not running at the same time.
In the long run I’d like to have a dedicated circuit for the laser, which is one of the reasons I located it near the breaker box.
Cooling
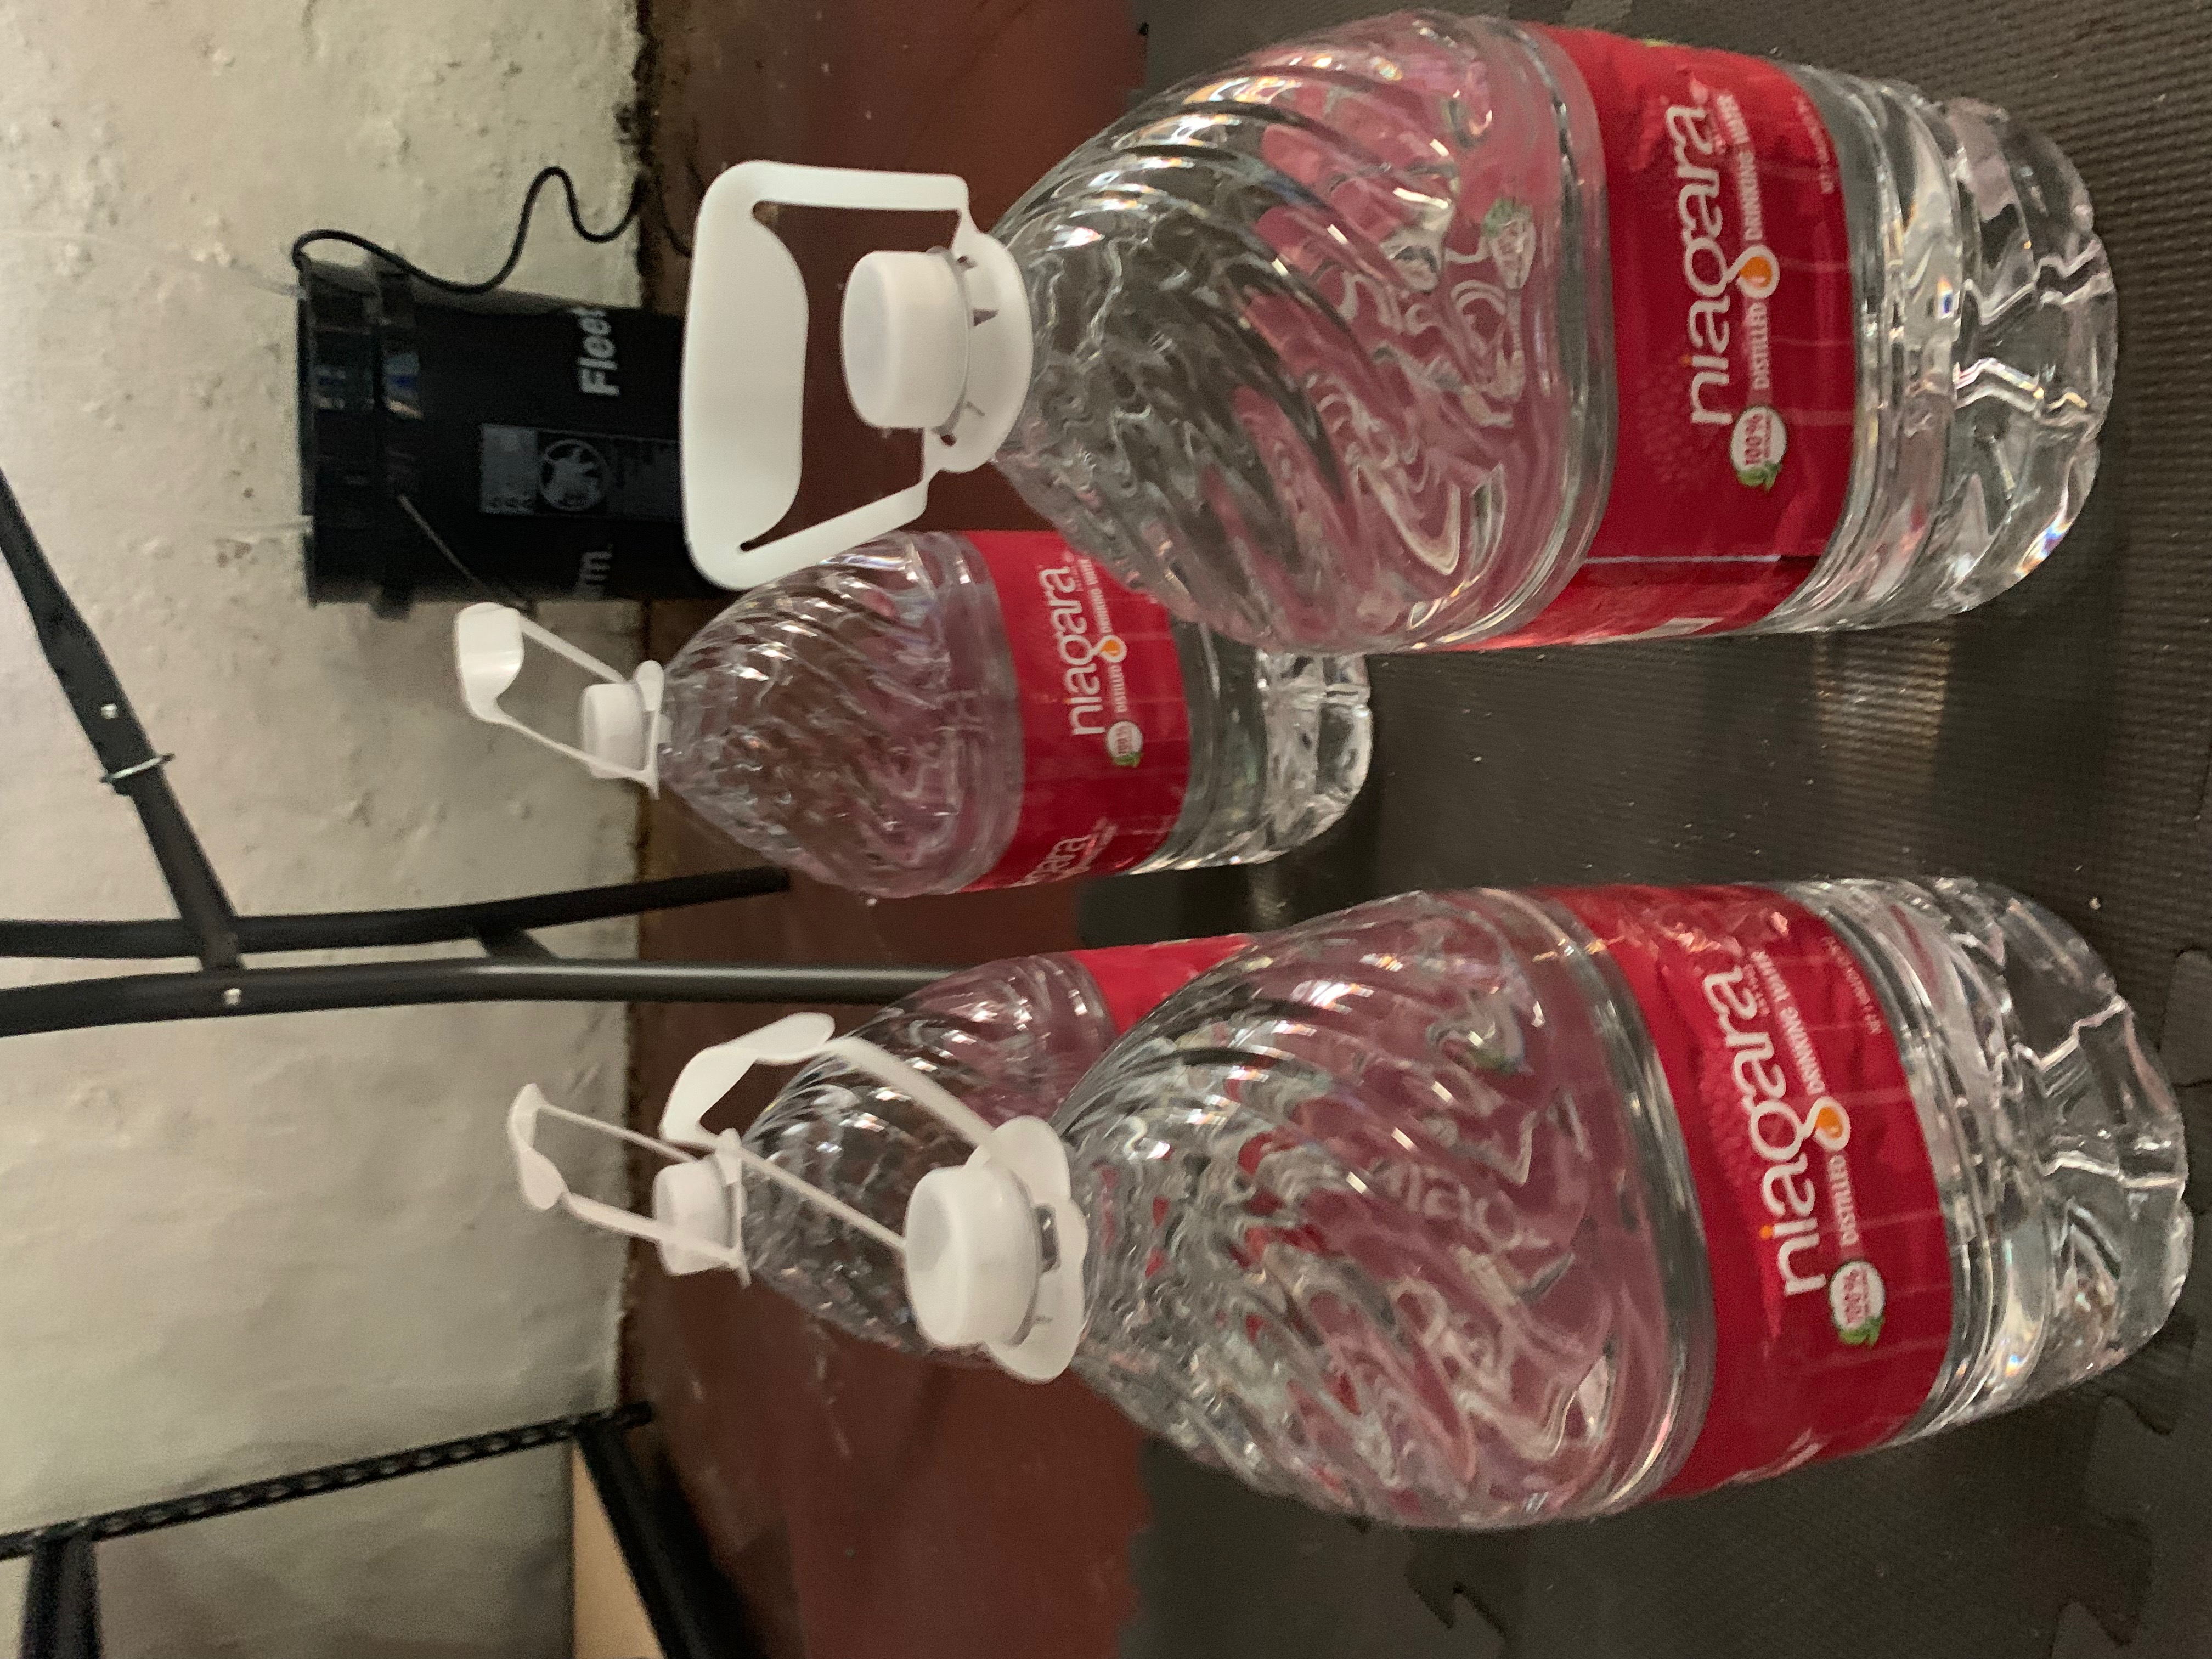
The laser is liquid cooled and comes with a small “garden pond”-style pump to circulate water through the machine. There’s a lot of discussion about what the best mix of liquids is but for now I’m starting with simple distilled water and a few drops of dishwasher soap. I may add something to prevent alge/etc. growth but as long as I keep the water moving I don’t expect even that to be a problem.
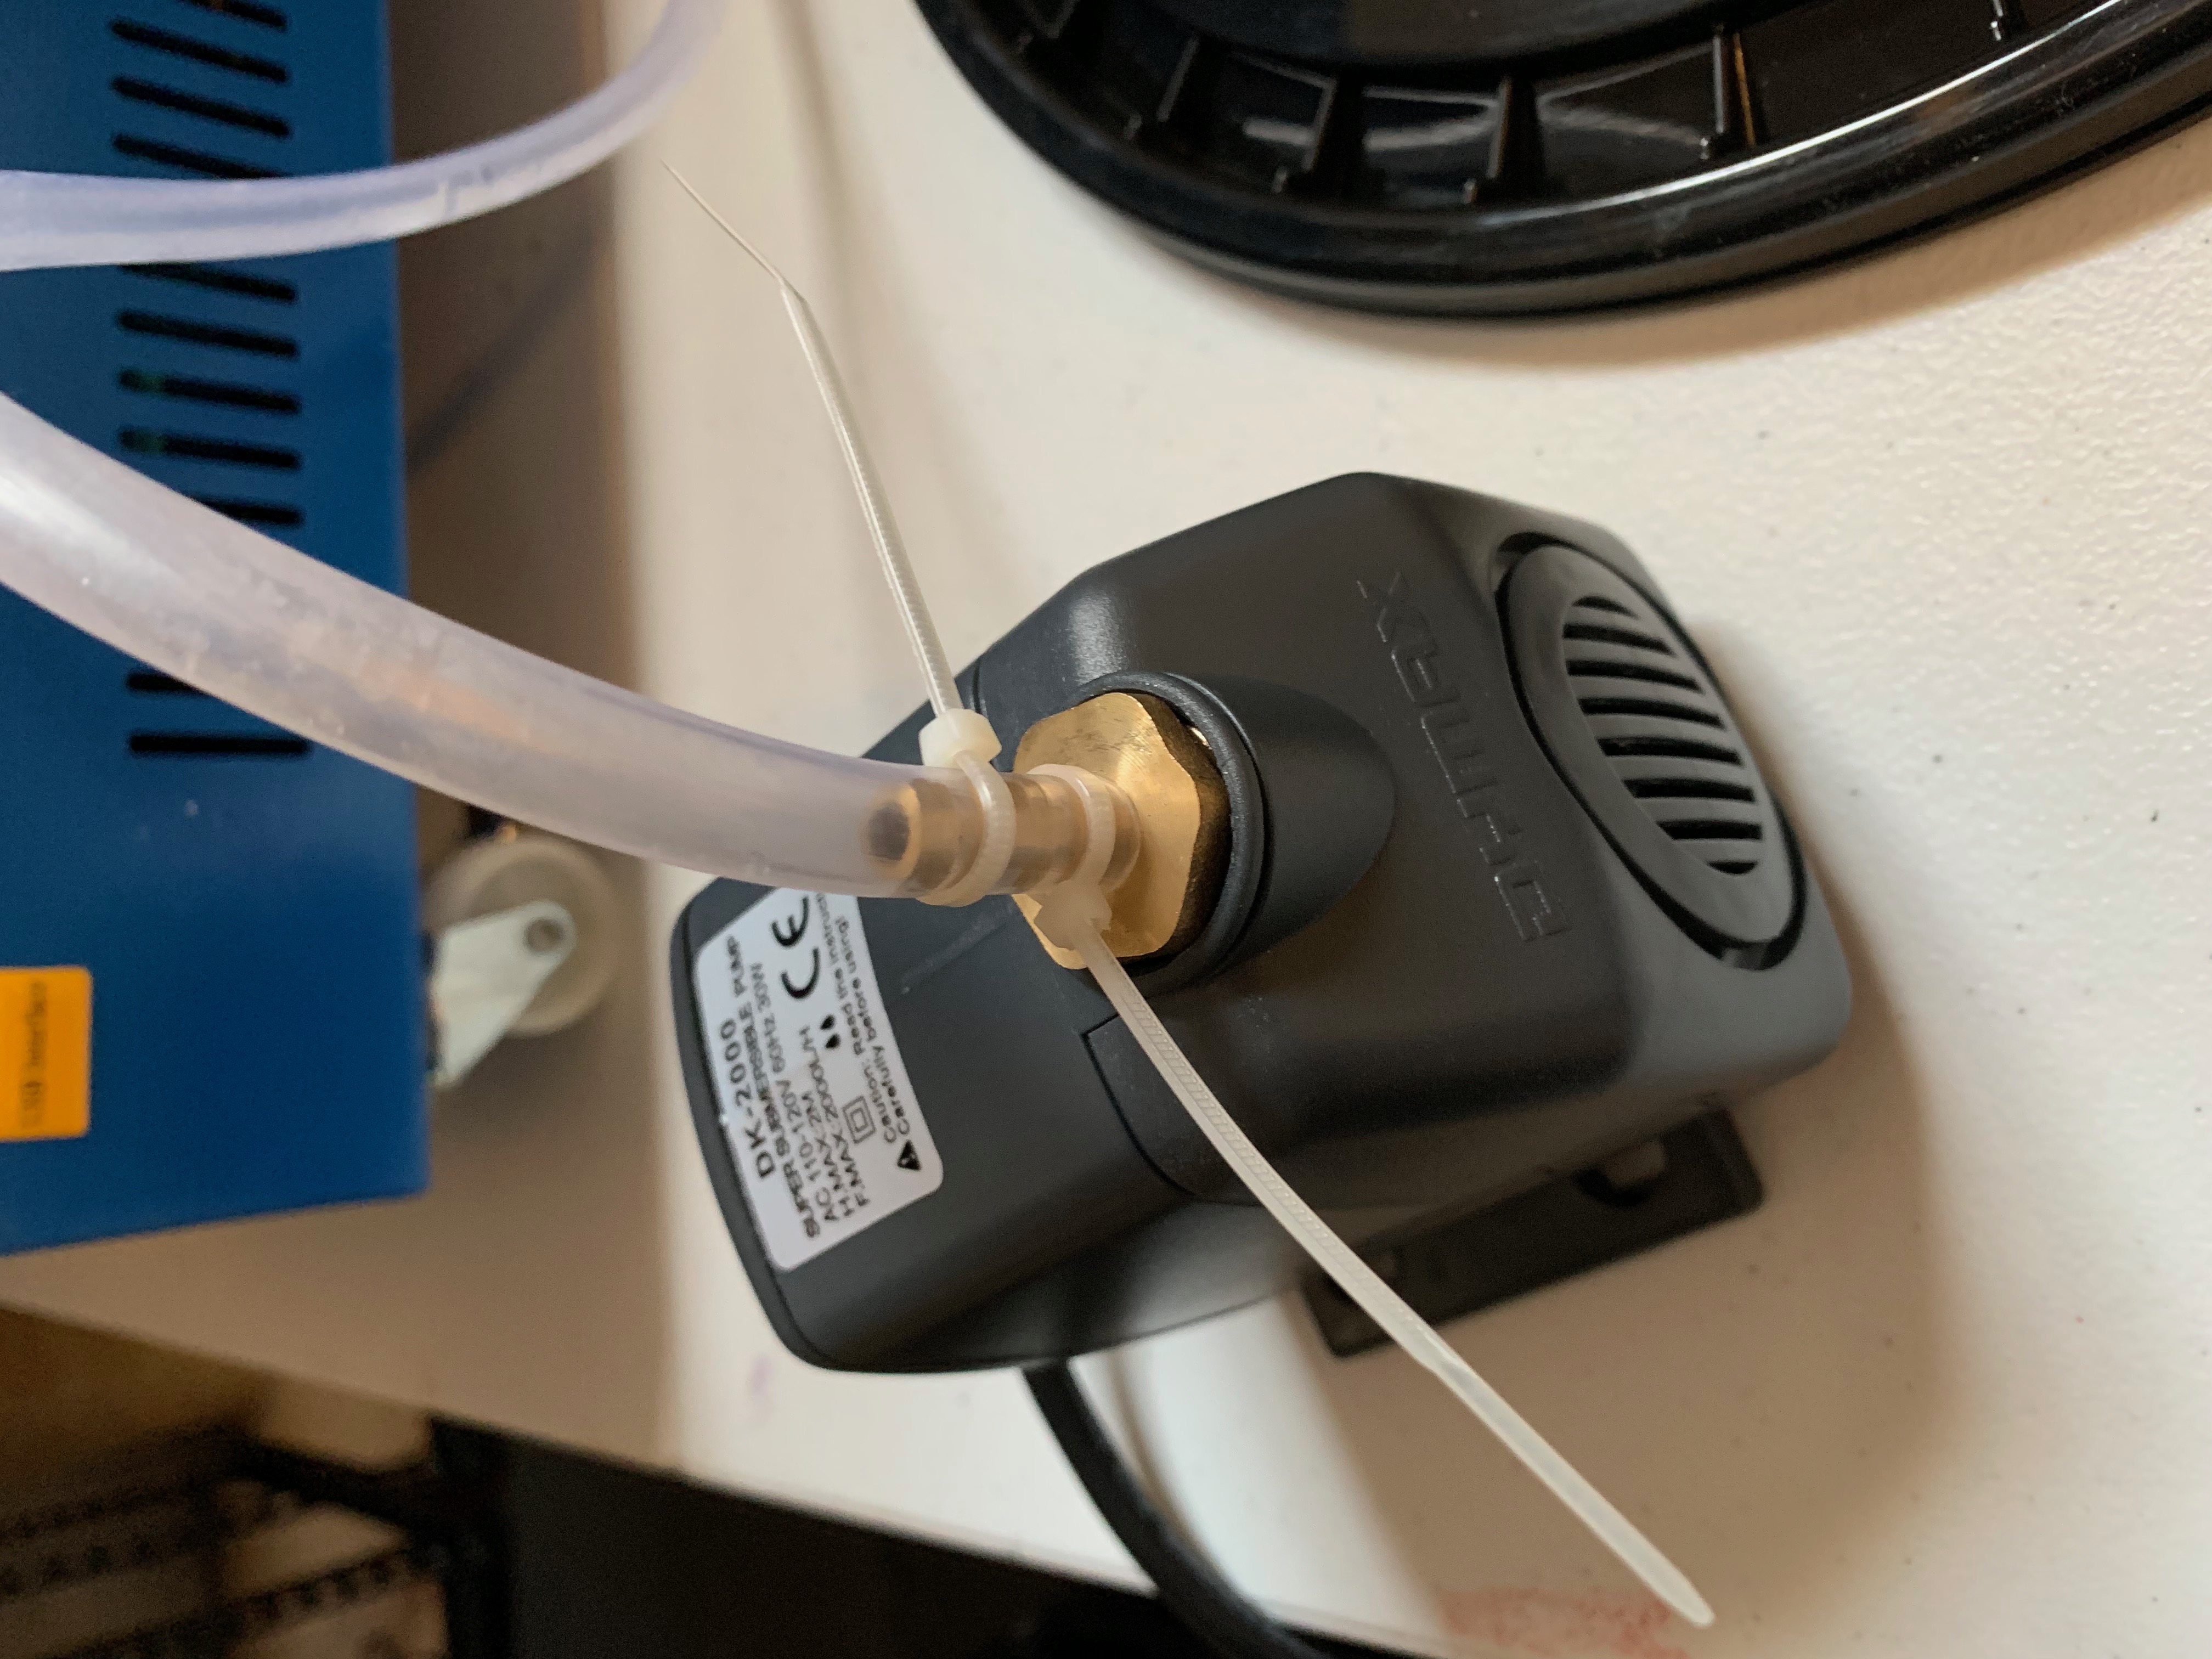
As the pump and hoses were included with the machine the only additional costs are distilled water, a storage tank (5 gallon bucket & lid) and a flowmeter to make it easy to tell when the coolant is flowing.
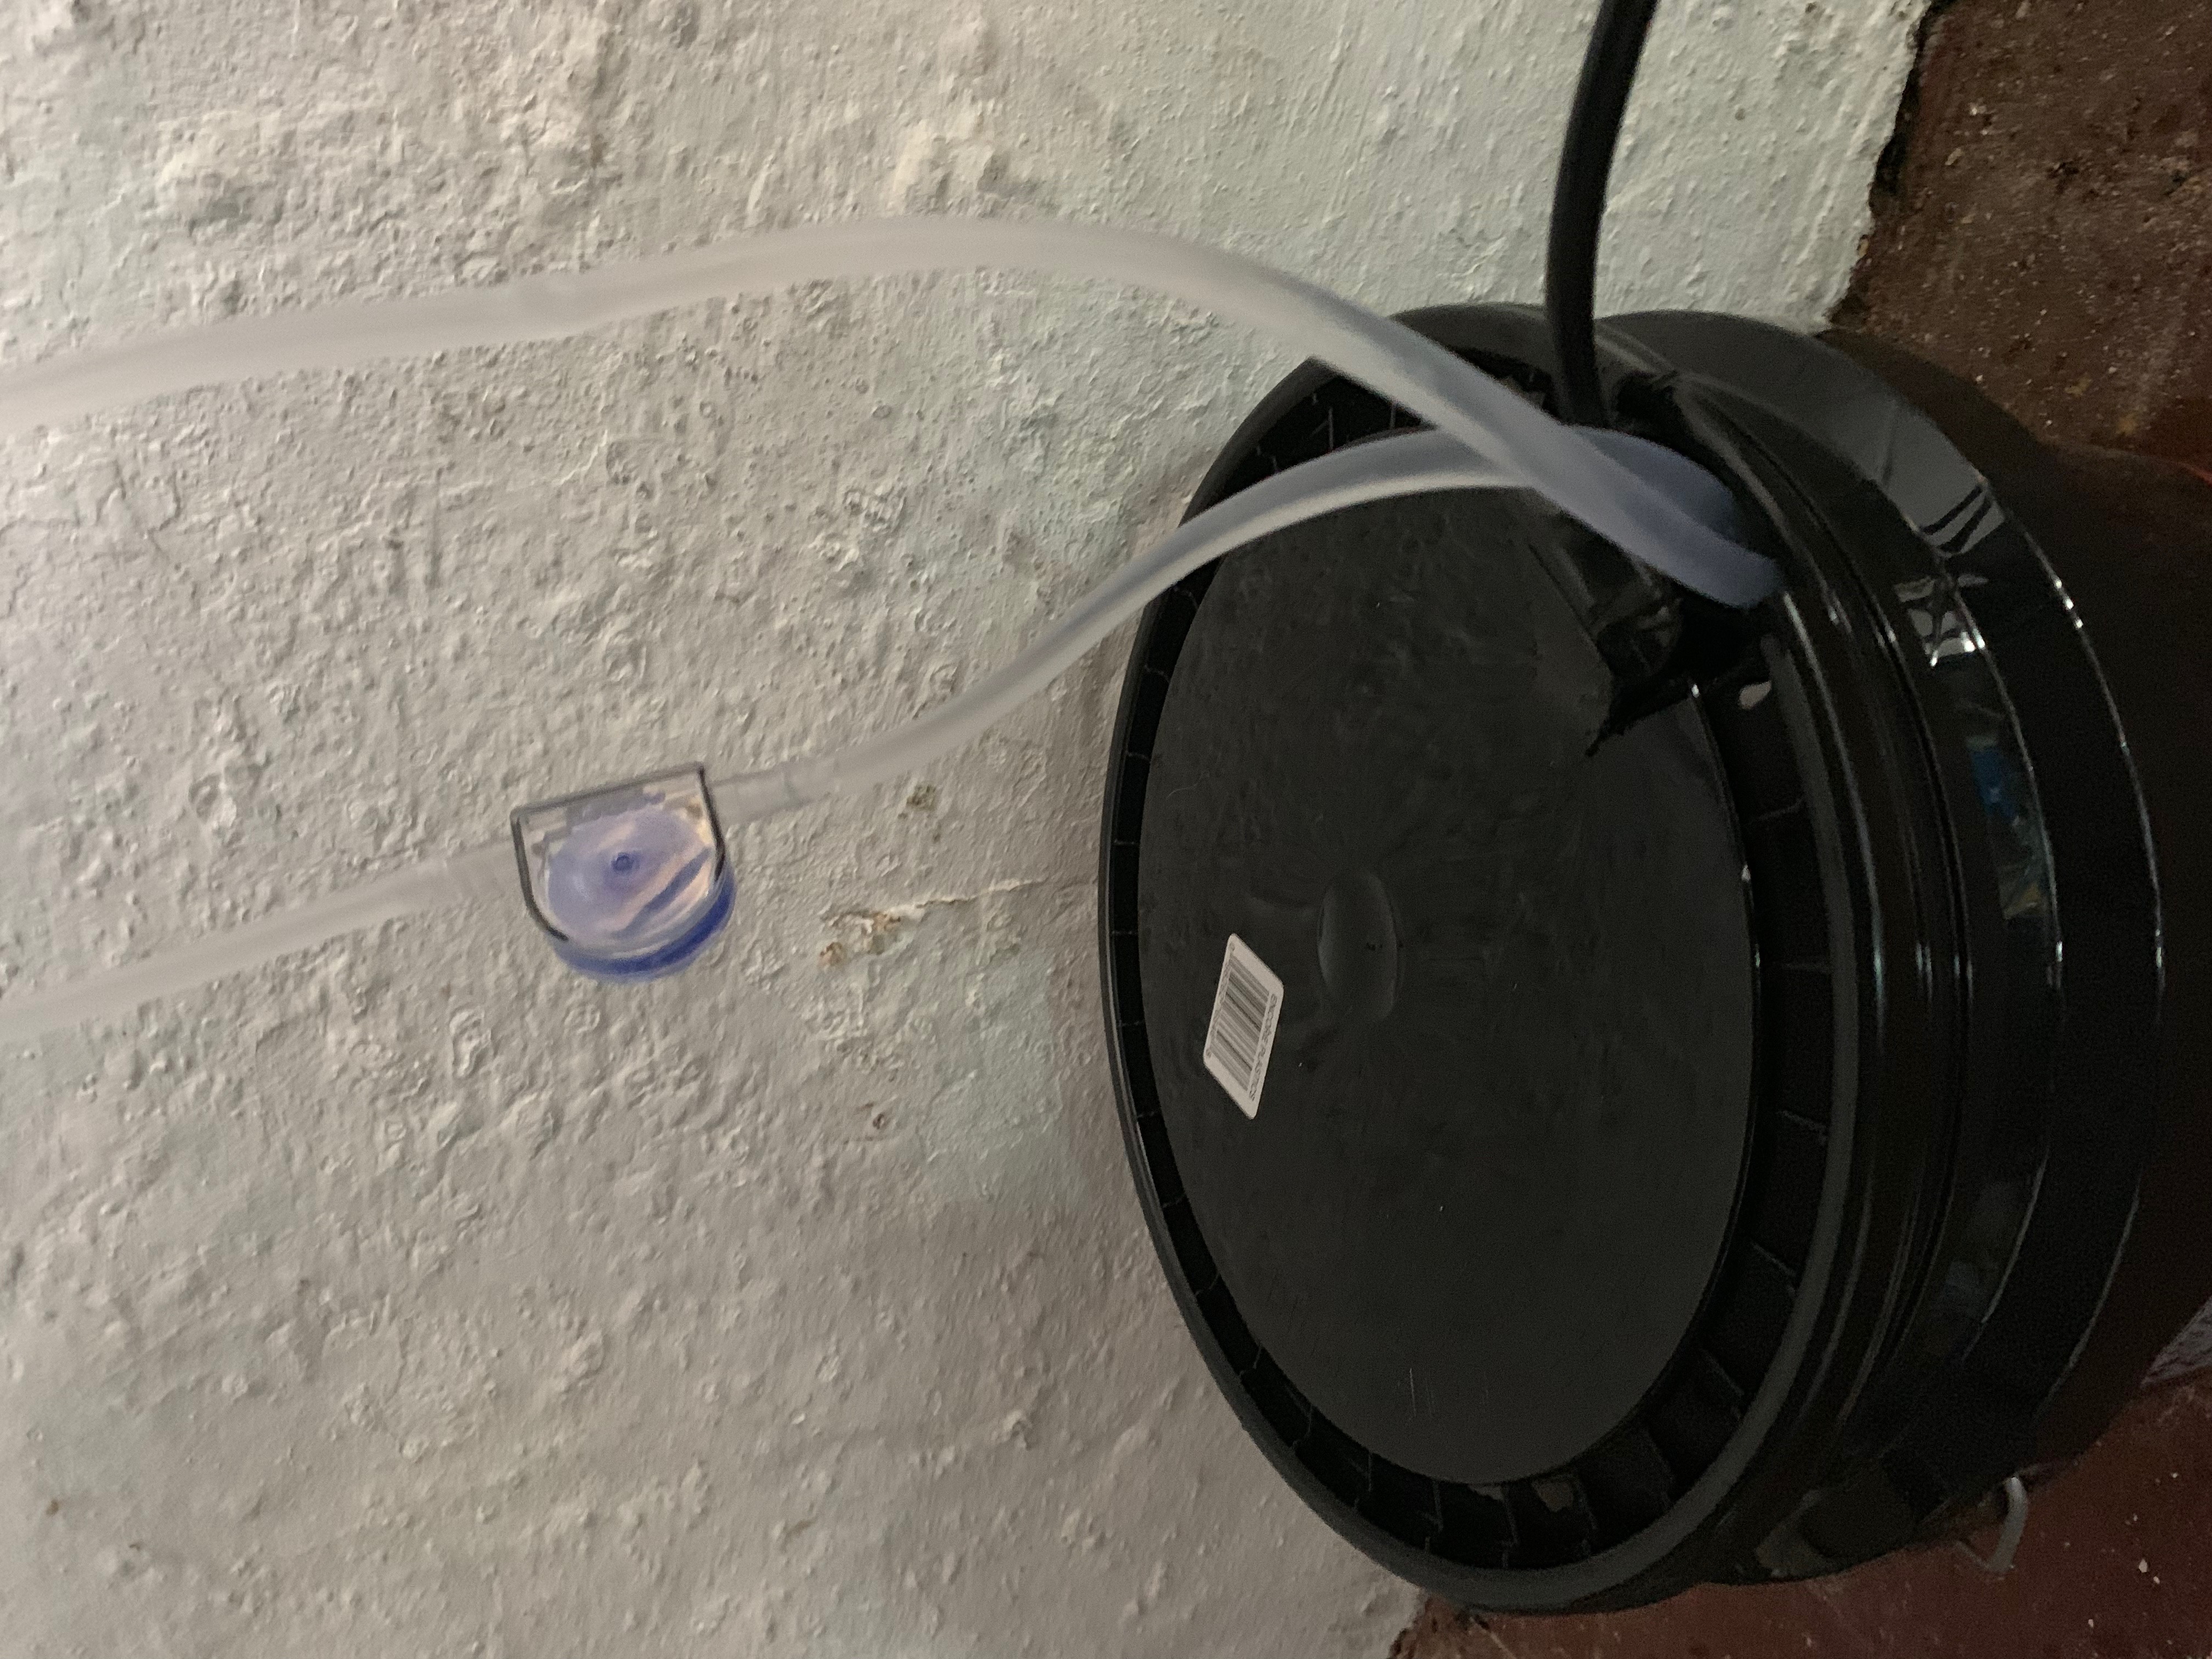
At some point I might invest in a more sophisticated flow measurement device (something that could shut-down the laser automatically if flow is interrupted) but for now this is enough to keep an eye on things.
Aside from making sure the coolant is flowing (and not leaking) the most important thing to do at this stage is eliminate any air bubbles in the cooling system. I had a couple of stubborn bubbles in the laser tube, but I was able to work these free by (carefully!) tipping the machine with the coolant pump running.
Ventilation
This turns out to be the most difficult part of my installation. I chose a location near a window to make things easier, but after testing the exaust fan included with the machine I decided that I’d be more comfortable with something more robust. Toxic fumes are one of the biggest dangers of these machines and I didn’t want to take any chances.
After a lot of reading and shopping around I was able to locate a few additional parts to complete the ventilation system:
- Exaust manifold/adapter
- Fan
- Hose
- Exterior exaust port
Aside from assembling these components the bulk of the work is getting the end of the exaust system outside of the house. I want to avoid making this any more permanent than it has to be (just in case I decide to relocate the laser later), so I removed the inside and outside panes from a nearby window and cut a piece of plywood to fit the space.
I then cut a hole in the plywood for the exaust port and mounted the whole thing in the window frame. Once this was secure I mounted the fan near the exaust port (this lets the fan pull the exaust through the hose instead of pushing it up from the back of the laser) and connected the manifold, fan and exaust port with hose.

I’m not certain that this fan will be enough, but it was inexpensive and I couldn’t find one that I felt better about for less than 10x the price, so I’ll experiment with this and upgrade if necissary.
Test fire
At this point it’s finally time to test the laser! I was really anxious about this because there’s a lot of ways to break one of these, and I was especially nervous about something happening to the giant piece of glassware that is the heart of the operation. It’s also the most expensive part and not something I can pick-up locally, so I was looking forward to finding out if it worked or not.
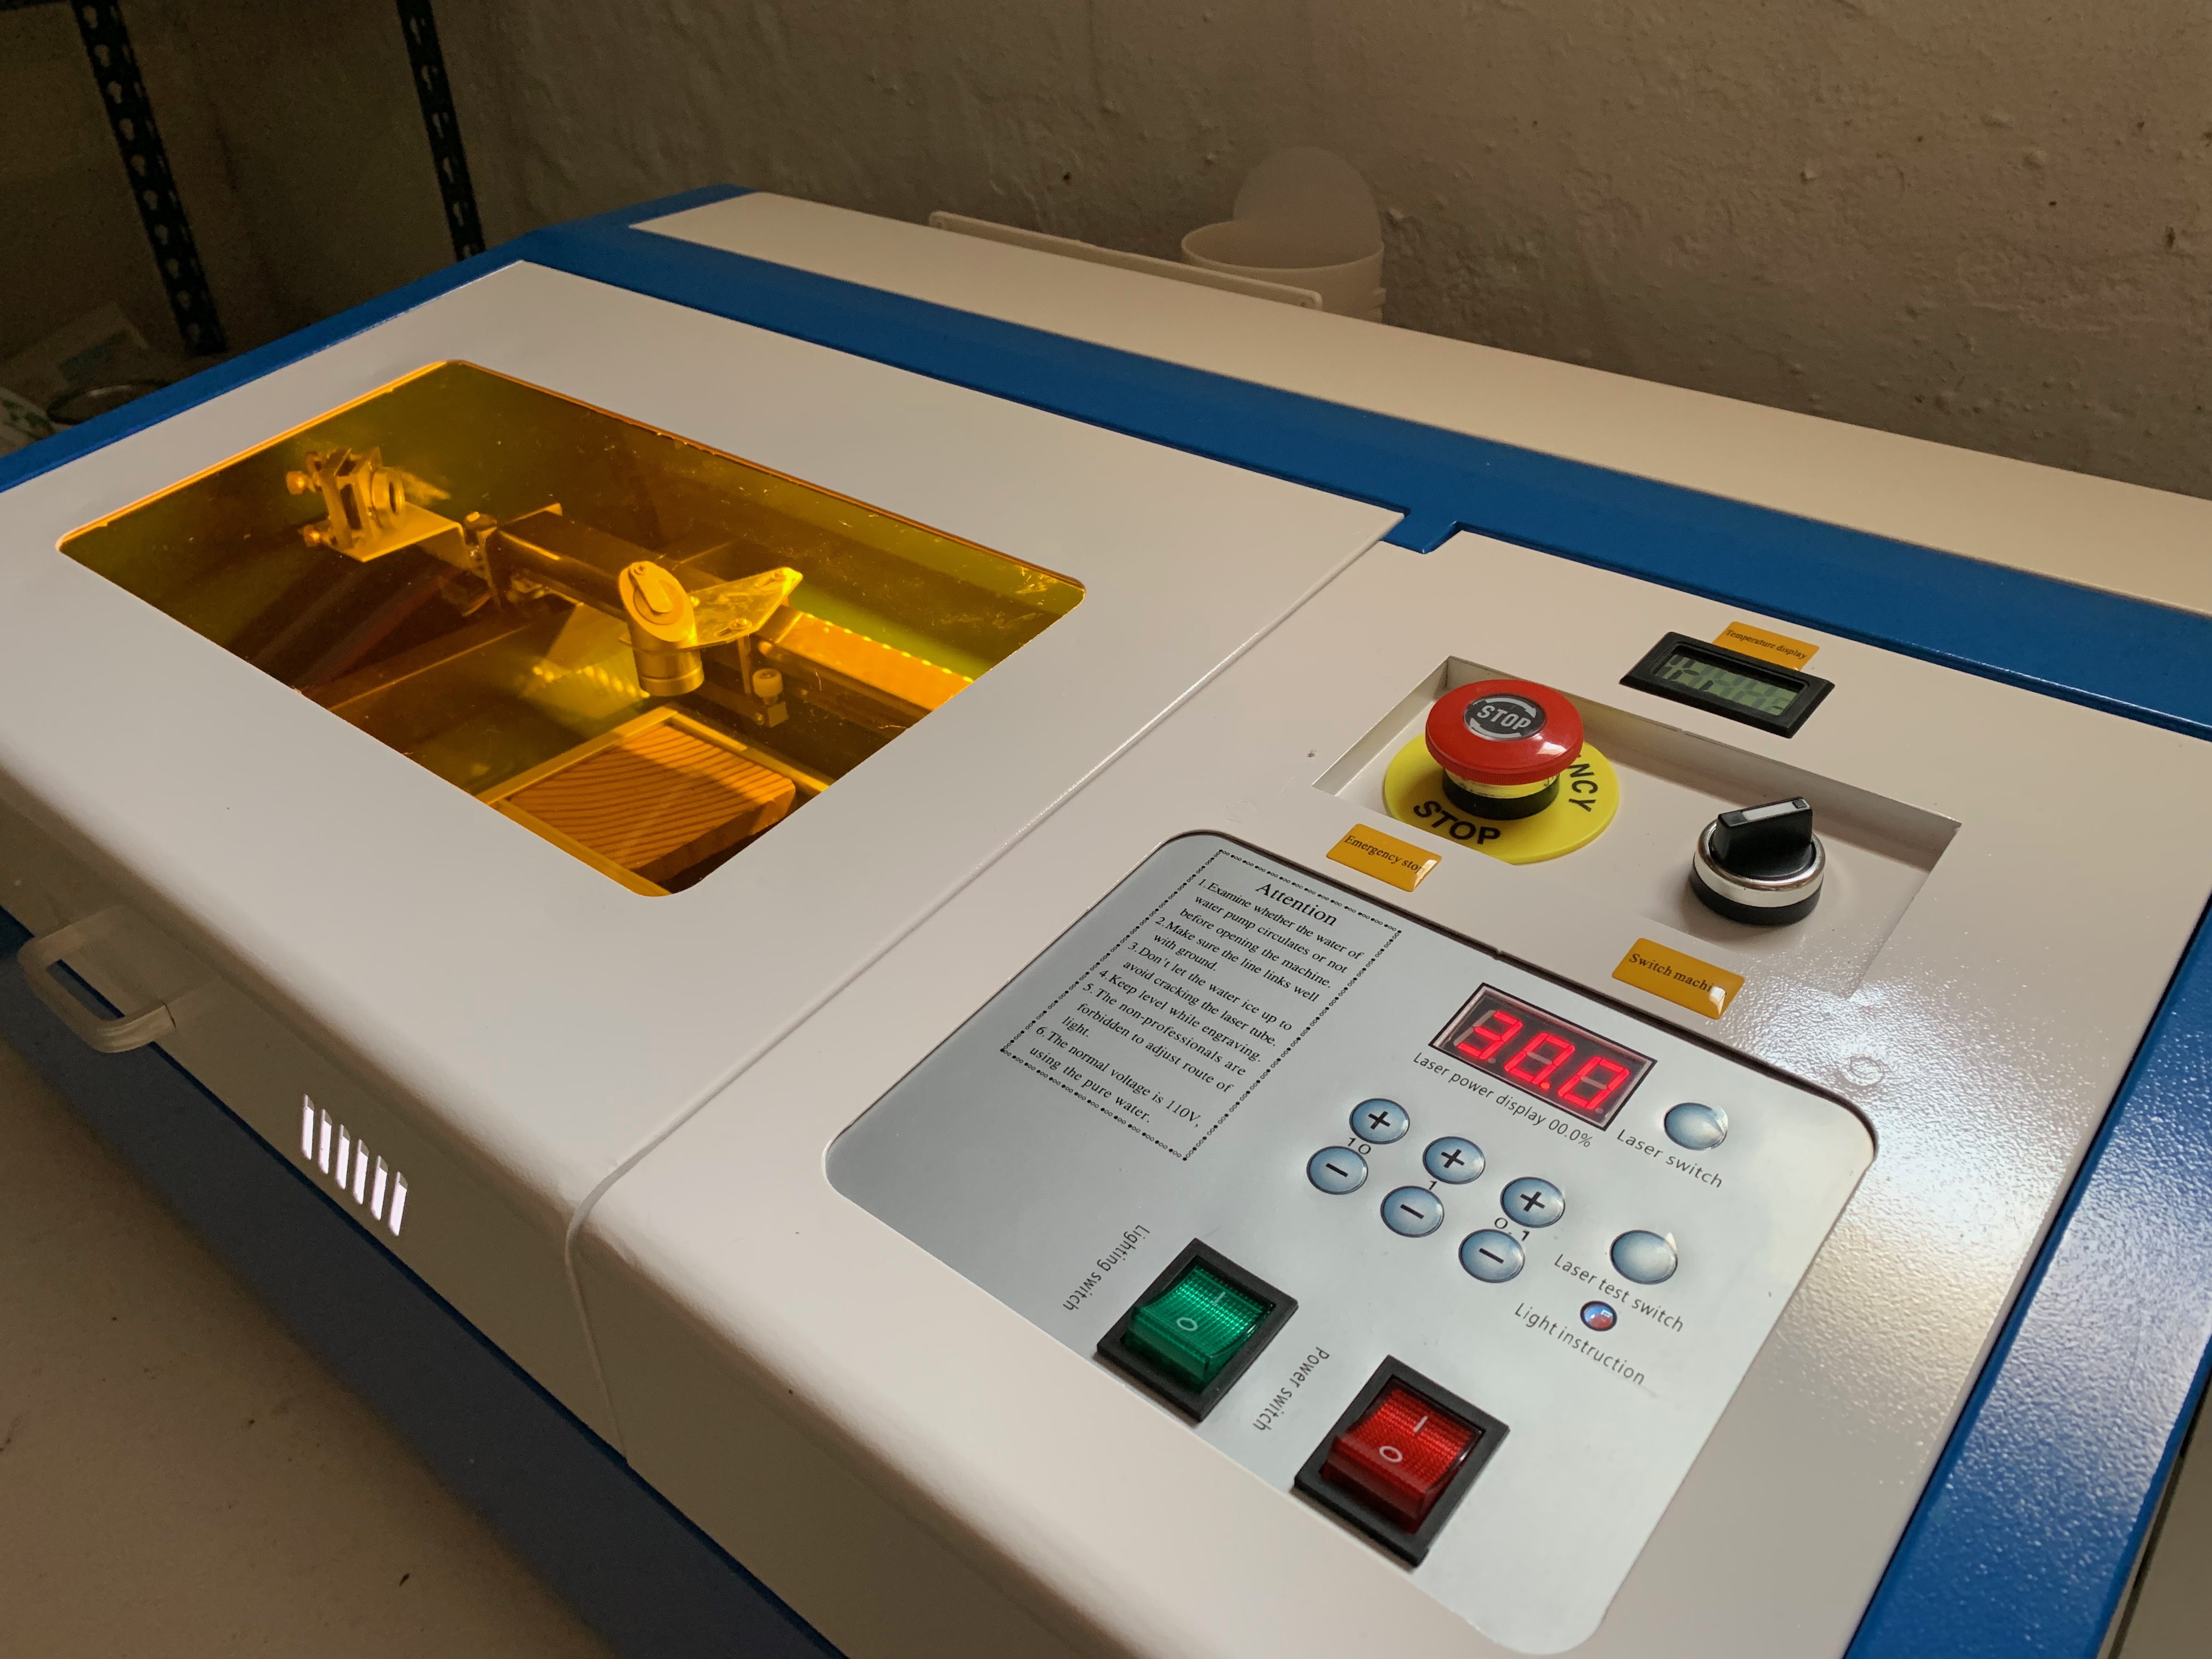
While a computer is needed to do anything useful with the machine, you can fire the laser using only the control panel. First double-check power, cooling & ventilation and then execute the following steps:
- Place a test target in the clamp
- Carefully move the laser head axis to the center of the target
- Connect the main power
- Disengage the e-stop button (twist in the direction of the arrows and it will pop-up)
- Turn the “machine switch” to the right
- Flip the “power switch”
- Flip the “lighting switch”
- Reduce laser power to 10%
- Watch the target and press “laser test switch”
A puff of smoke and a dark spot on the target (along with no terrible sounds or smoke elsewhere) confirm that the laser is operational!
Control
Now that the machine itself checks-out, it’s time to control it using a computer. For this I’m using K40 Whisperer, a great piece of free software designed to replace the Windows-only proprietary tools that come with the machine.
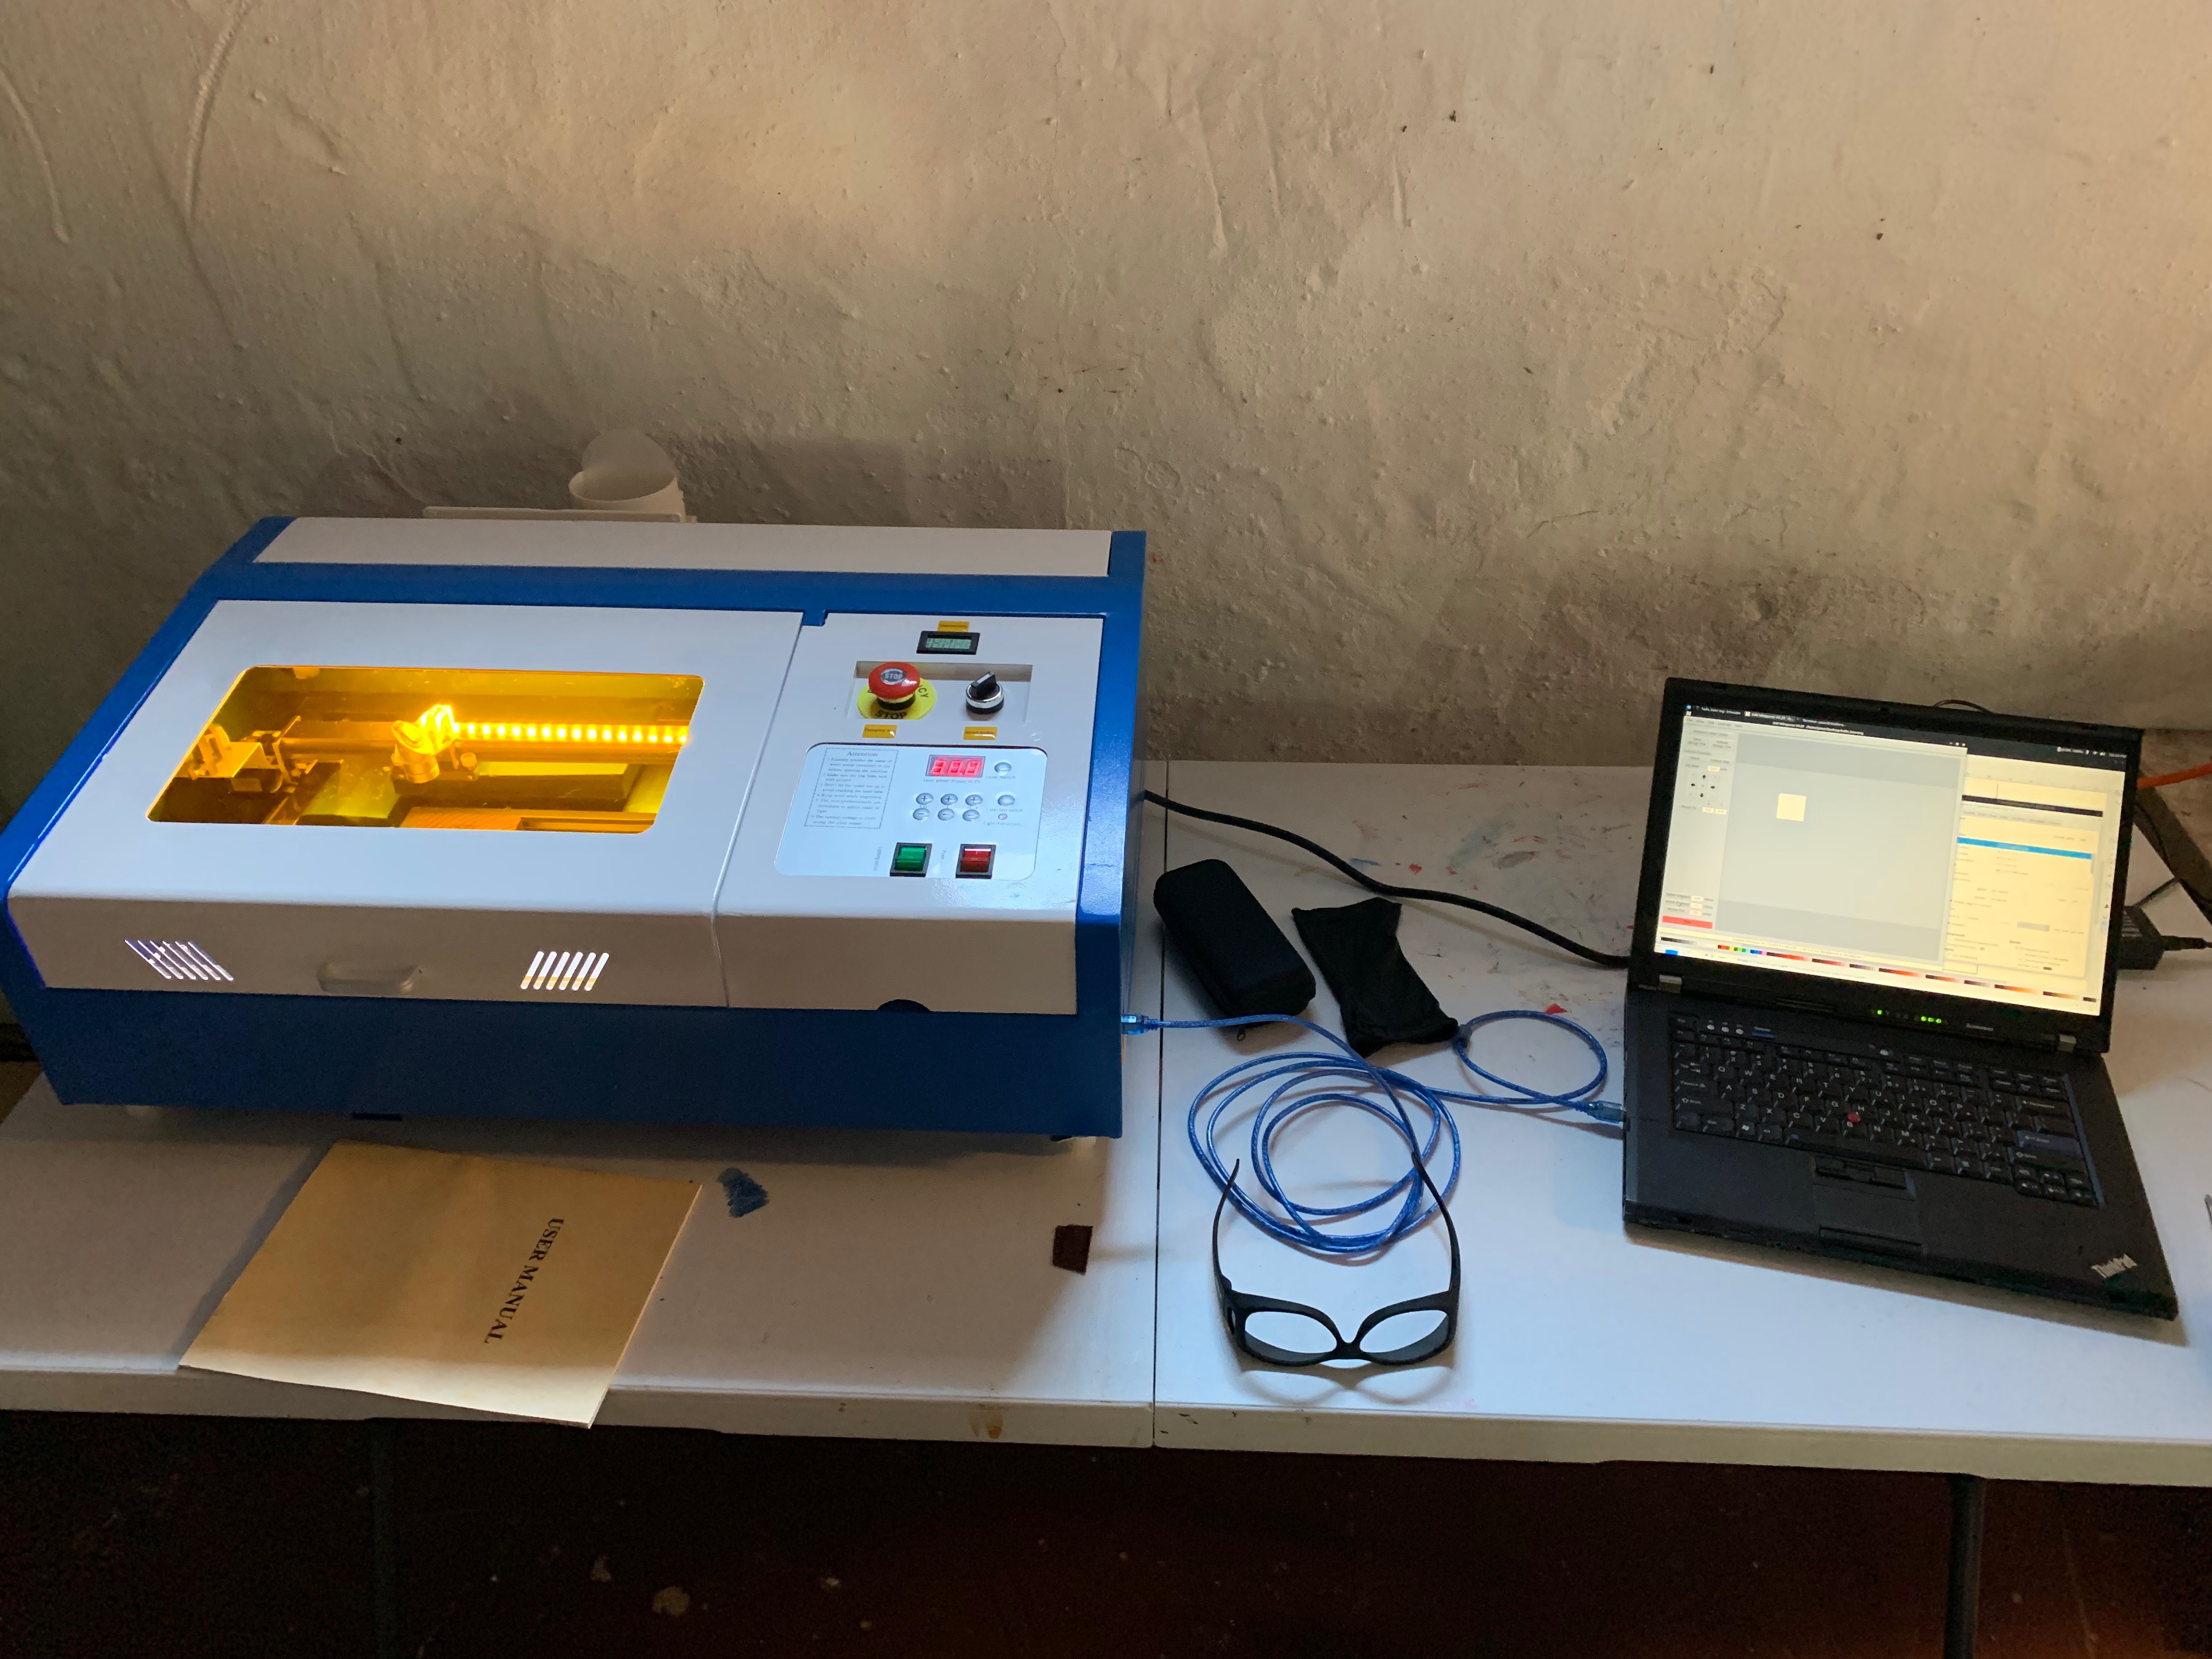
Other than the usual Linux permissions problems, getting K40 Whisperer working is a piece of cake. After following the directions I was able to manually move the laser’s axis around using the on-screen controls. The next (and final step) is to make the laser do some real work.
Burn baby burn!
I used Inkscape to create a simple drawing in SVG format (this is one of the formats suppored by K40 Whisperer). I could have made this easier by drawing a shape instead of using text, but I didn’t realize that until I had already done it so I had to add one additional step to the process.
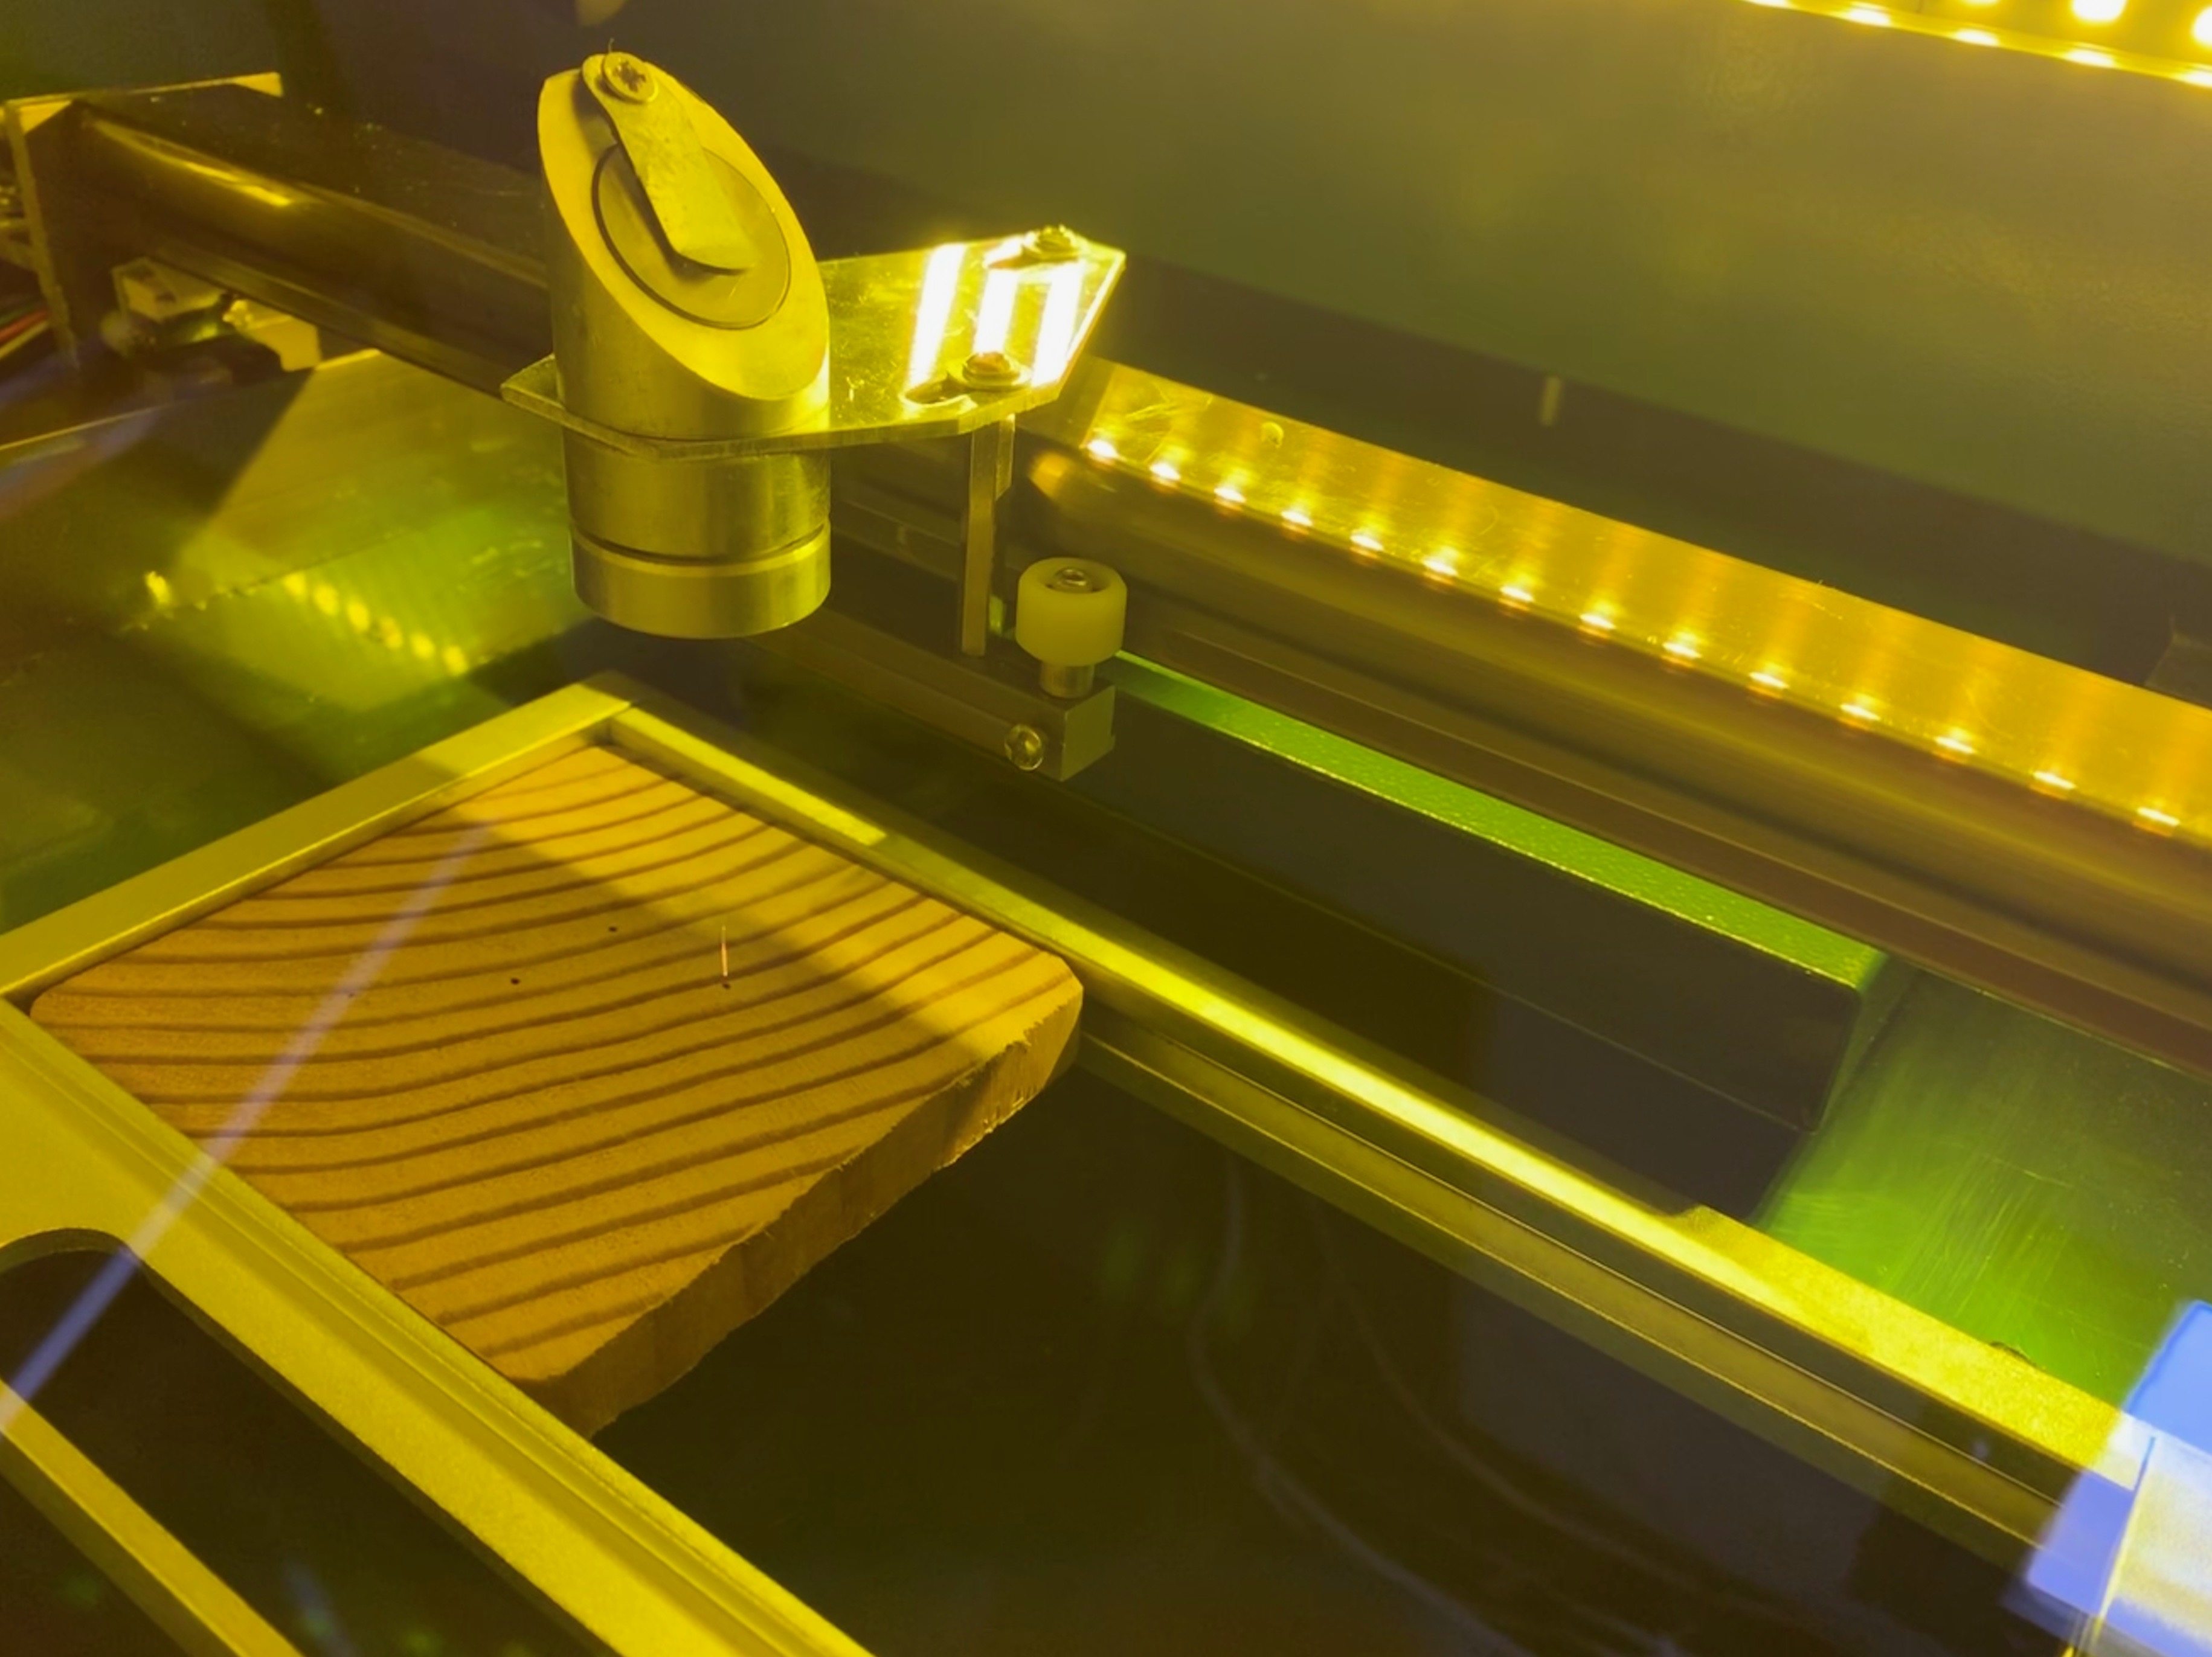
Once the file was properly formatted I opened it up in K40 Whisperer and positioned the laser on my test piece. I dialed the laser power up to 30%, re-checked cooling & ventilation and then clicked “vector engrave”.
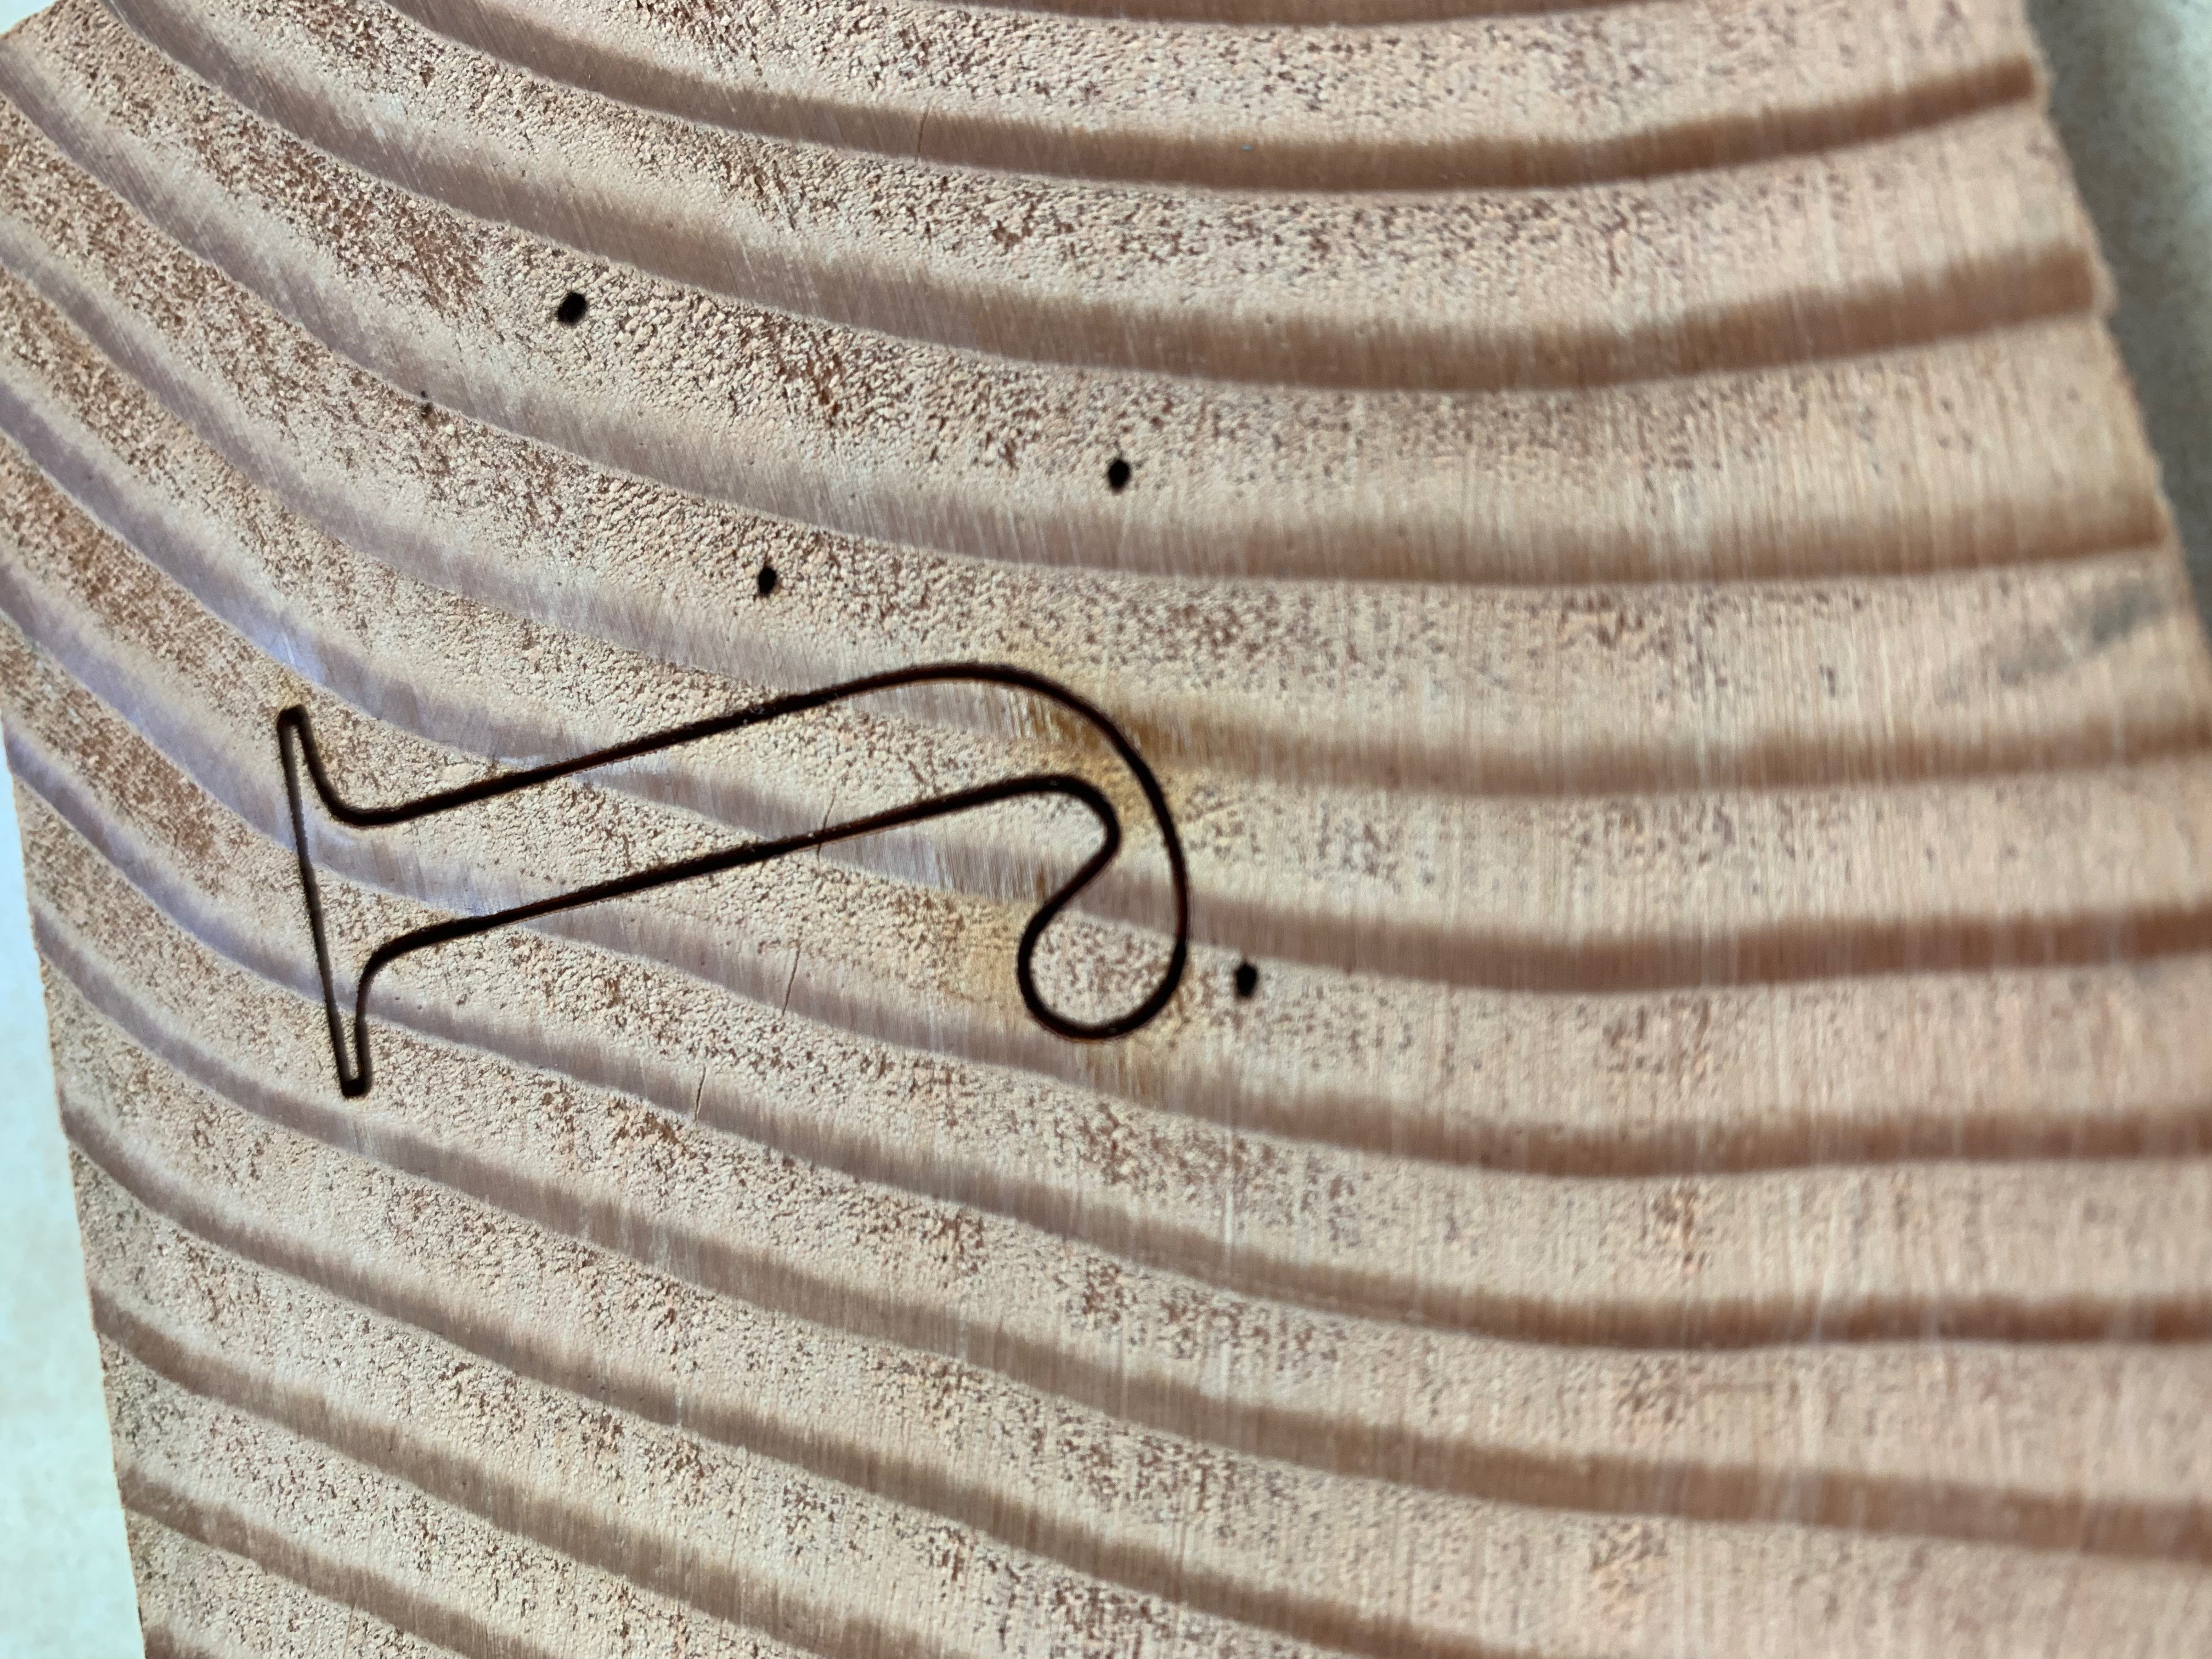
The machine leapt into action and within a second or two the job was complete!
What’s next?
There’s a lot more to do. The stock bed doesn’t allow you to use the whole capacity of the laser and doesn’t provide much ability to focus the laser, so that might be the next thing I change.
Another modification is to add “air assist” to help make cuts cleaner, keep the optics from getting smoked-out and prevent material from starting on fire.
I also want to add an ammeter to measure the current going to the laser tube to get a more accurate idea of how hard I’m pushing it.
Finally I’m planning to upgrade the exhaust system as it works OK, but I don’t trust the stock fan and I think a more powerful system will reduce the amount of cleaning & maintenance needed to keep the machine running.
There’s also lots of work to do to determine the best parameters to use for various materials. I expect this to be an ongoing effort.