

After replacing the tiny, strange and very inefficient bulbs in our hallway lights upstairs once again we decided to find a replacement that could work with common CF or LED bulbs.
One of the problems with old houses is that they don’t always have modern junction boxes (in our case, never), and most new fixtures, etc. expect this. In this case it means that the tiny little base of the new lamp can’t possibly hold all the wiring involved.
There is probably an existing, off-the-shelf solution to this but I haven’t seen one that I love, and even if there was, they often require on-site customization that ends up looking less than awesome (at least when I do it).
Of course once you’ve built a 3D printer, every problem looks like a modeling problem, so instead of wasting time looking for another thing to buy to solve the problem I took a few measurements and fired up OpenSCAD .
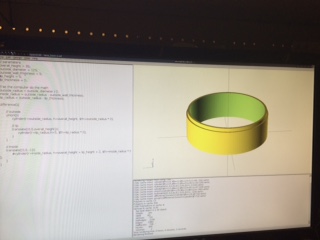
It’s always tempting to do something fancy when you’re designing parts to be 3D printed, as “complexity is cheap” but all I really needed was a tube of the right diameter and height so other than adding a little lip to keep things aligned I left the scroll-work and gargoyles out of this version. Also with a limited amount of Black PLA on-hand and with a 3+ hour print time I didn’t want to take unnecessary chances.
At 125mm diameter this is one of the widest prints I’ve attempted in a long time. Printing anything larger than 100mm has been a challenge with this printer so this job would be a good test of the recent upgrades and improvements I’ve made.
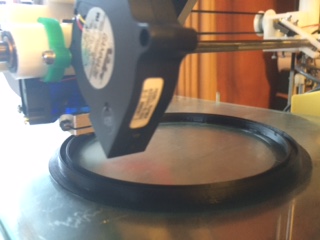
Fortunately, other than some “wandering spool” problems the print completed without a hitch and the part came out fine. I’m not sure if that’s due to better calibration on my part or perhaps the new gluestick I’m using to prepare the print bed, but in either case I’m planning to try some more ambitious prints to see just how far I can push the printer now dimension- wise.
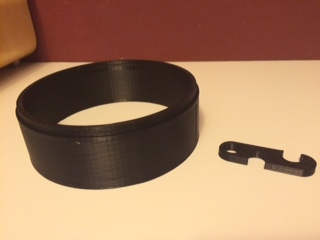
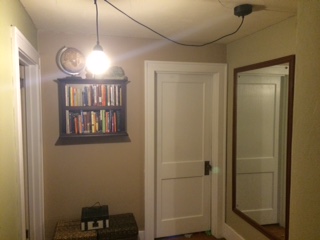
While the base was printing I realized that I’d also need one of those little “hook” things to feed the cord through so the lamp could hang from a specific part of the ceiling (not directly under where the previous lamp had been). Here again this is probably something you can find off-the-shelf, but with 10 minutes of CAD time and about 15 minutes of print time (and a few pennies of plastic) I was able to have one in-hand and ready to use without wasting time and fuel driving around town.
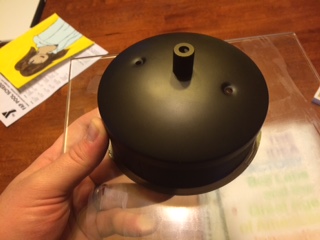
With these parts in hand I was able to finish the job that afternoon without having to make any more “parts runs”, and minimal additional cost besides my time. You could argue that the time cost a lot more than the money it would have cost to purchase these parts, but I don’t think it would have taken a lot less time to find them and purchase them, and the time I spent modeling and printing them not only got the job done, but it made me a better modeler and designer, and taught me new things about the printer as well.
It’s this last part that is really the redeeming value of DIY in my eyes. When you do something yourself it may not be less expensive in strict financial terms, but the time and money spent is spent making you smarter, and less dependent. I think this is good for both you and the world you participate in, especially if you then share your experience so others can learn from it as well.
All of the design files for this project are open-source and available for download here:
http://github.com/jjg/lamp-base
- Jason