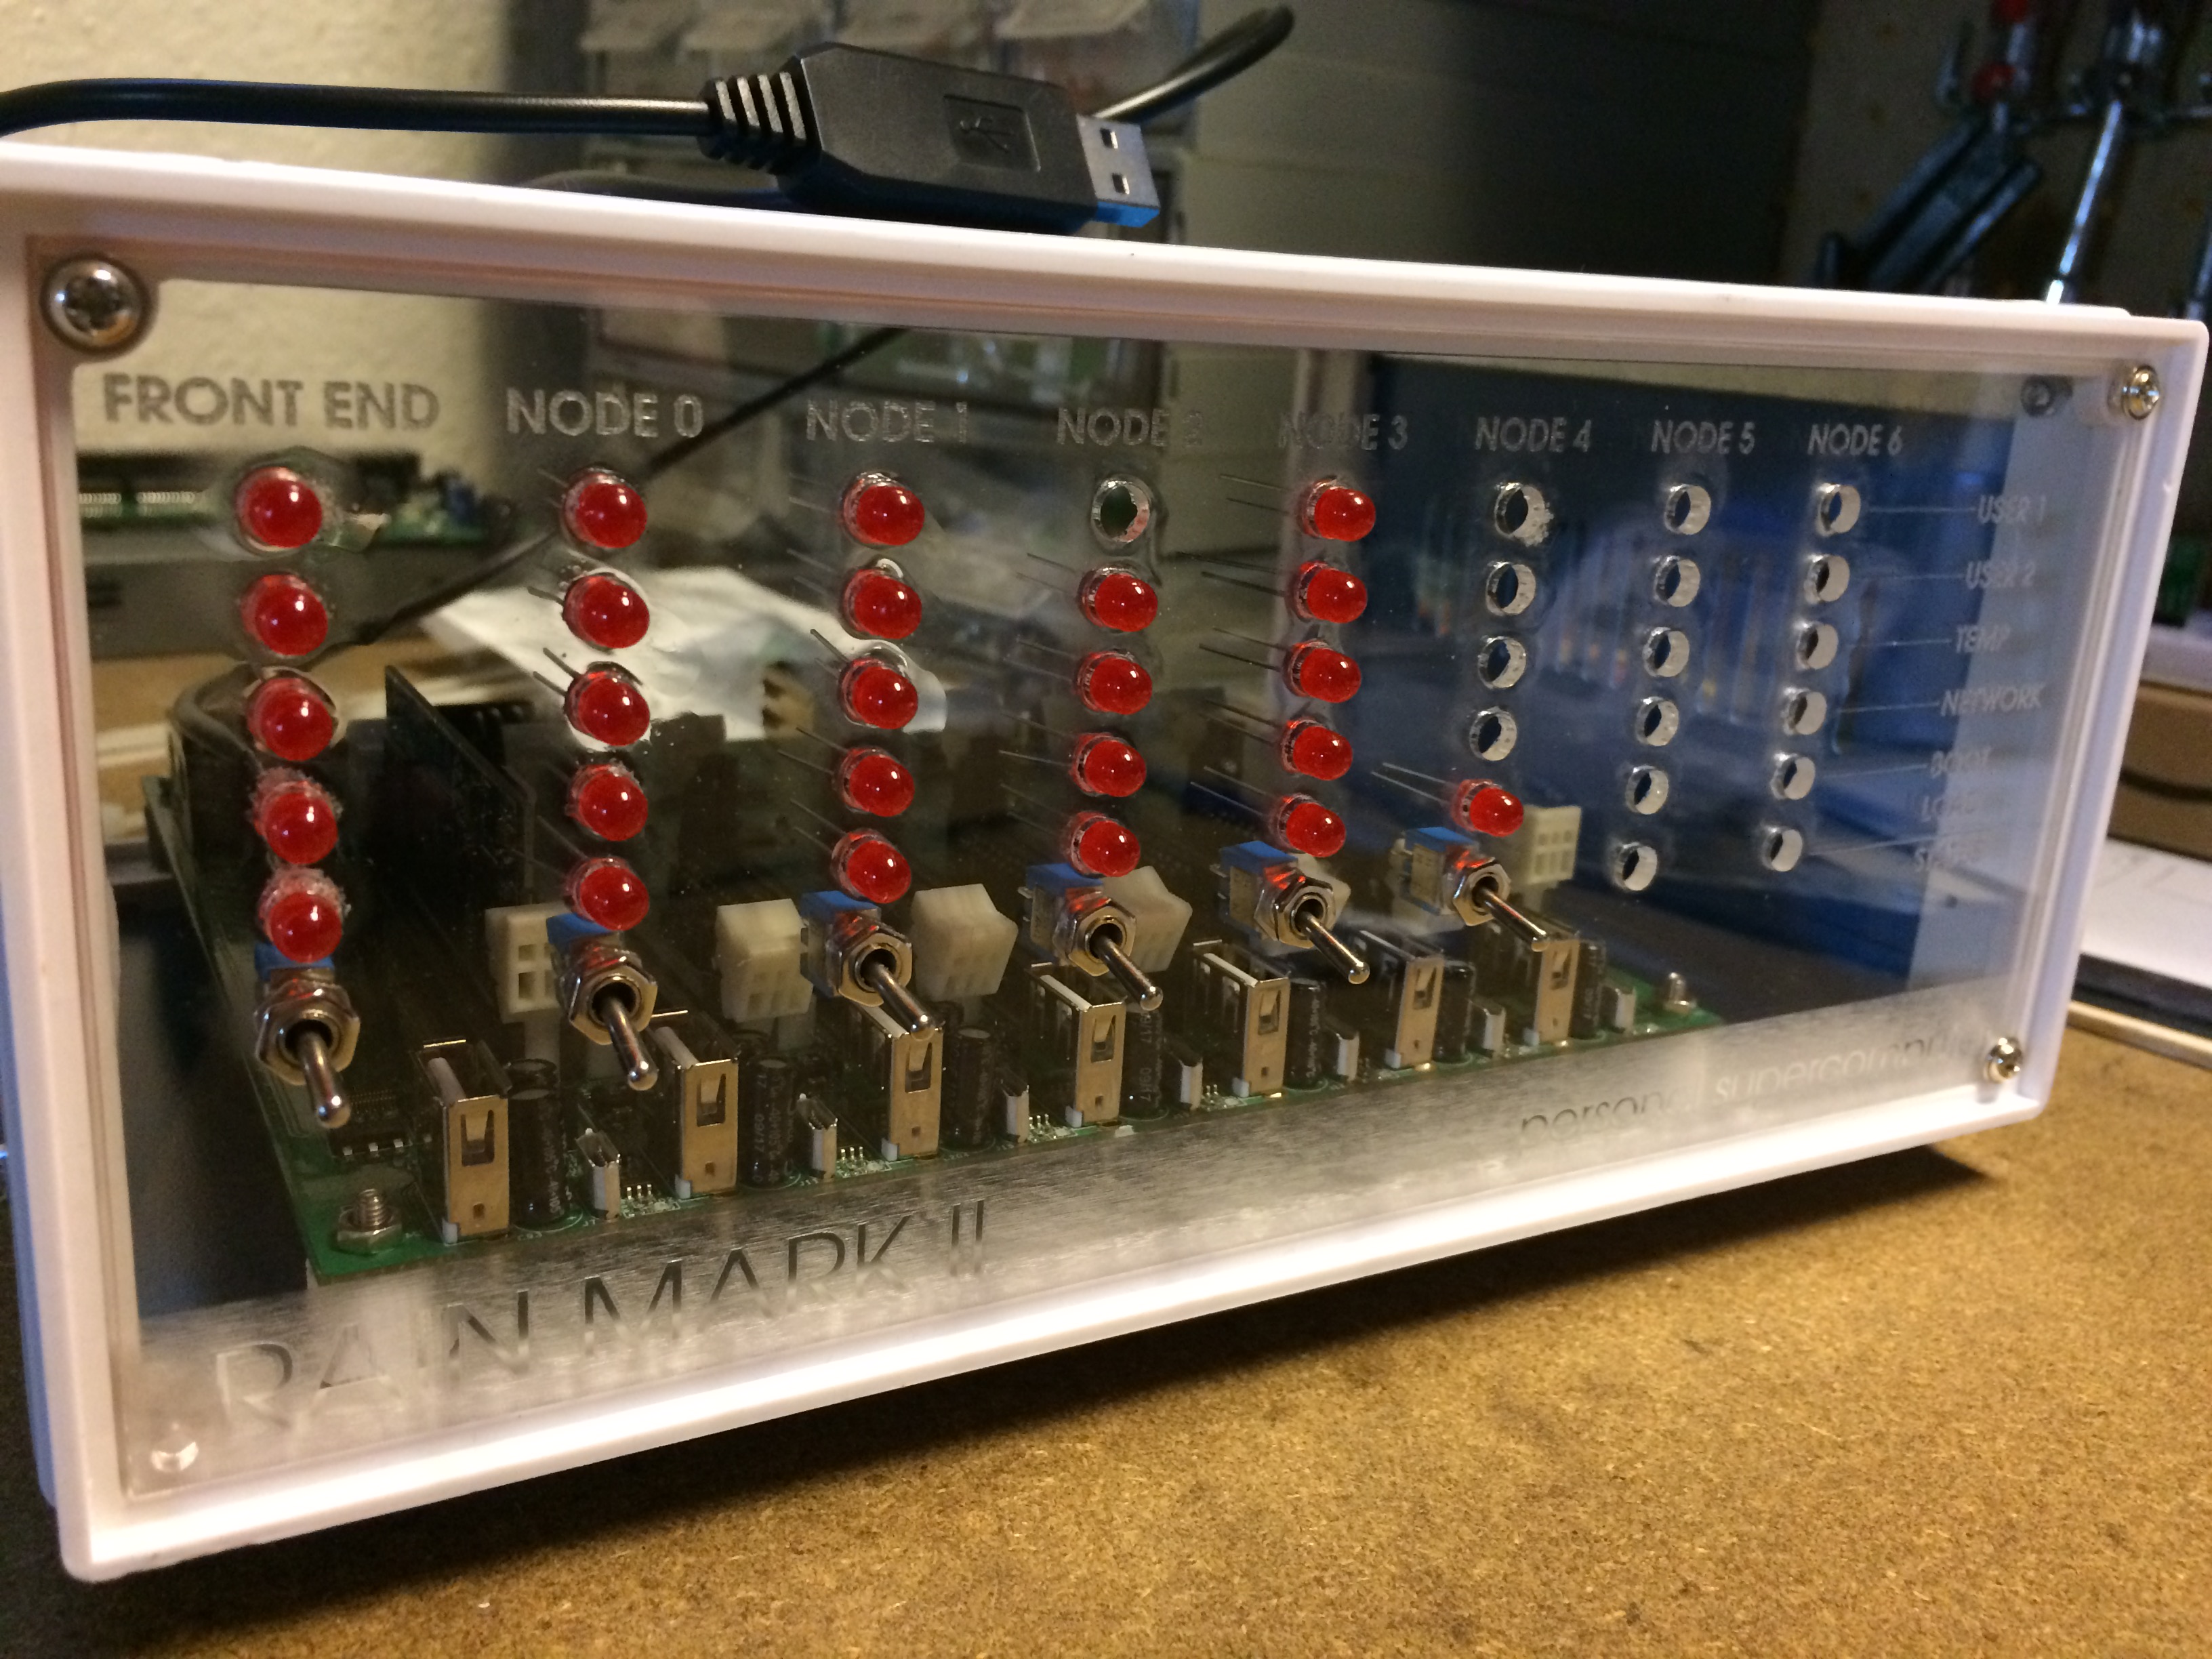
Arms & Legs
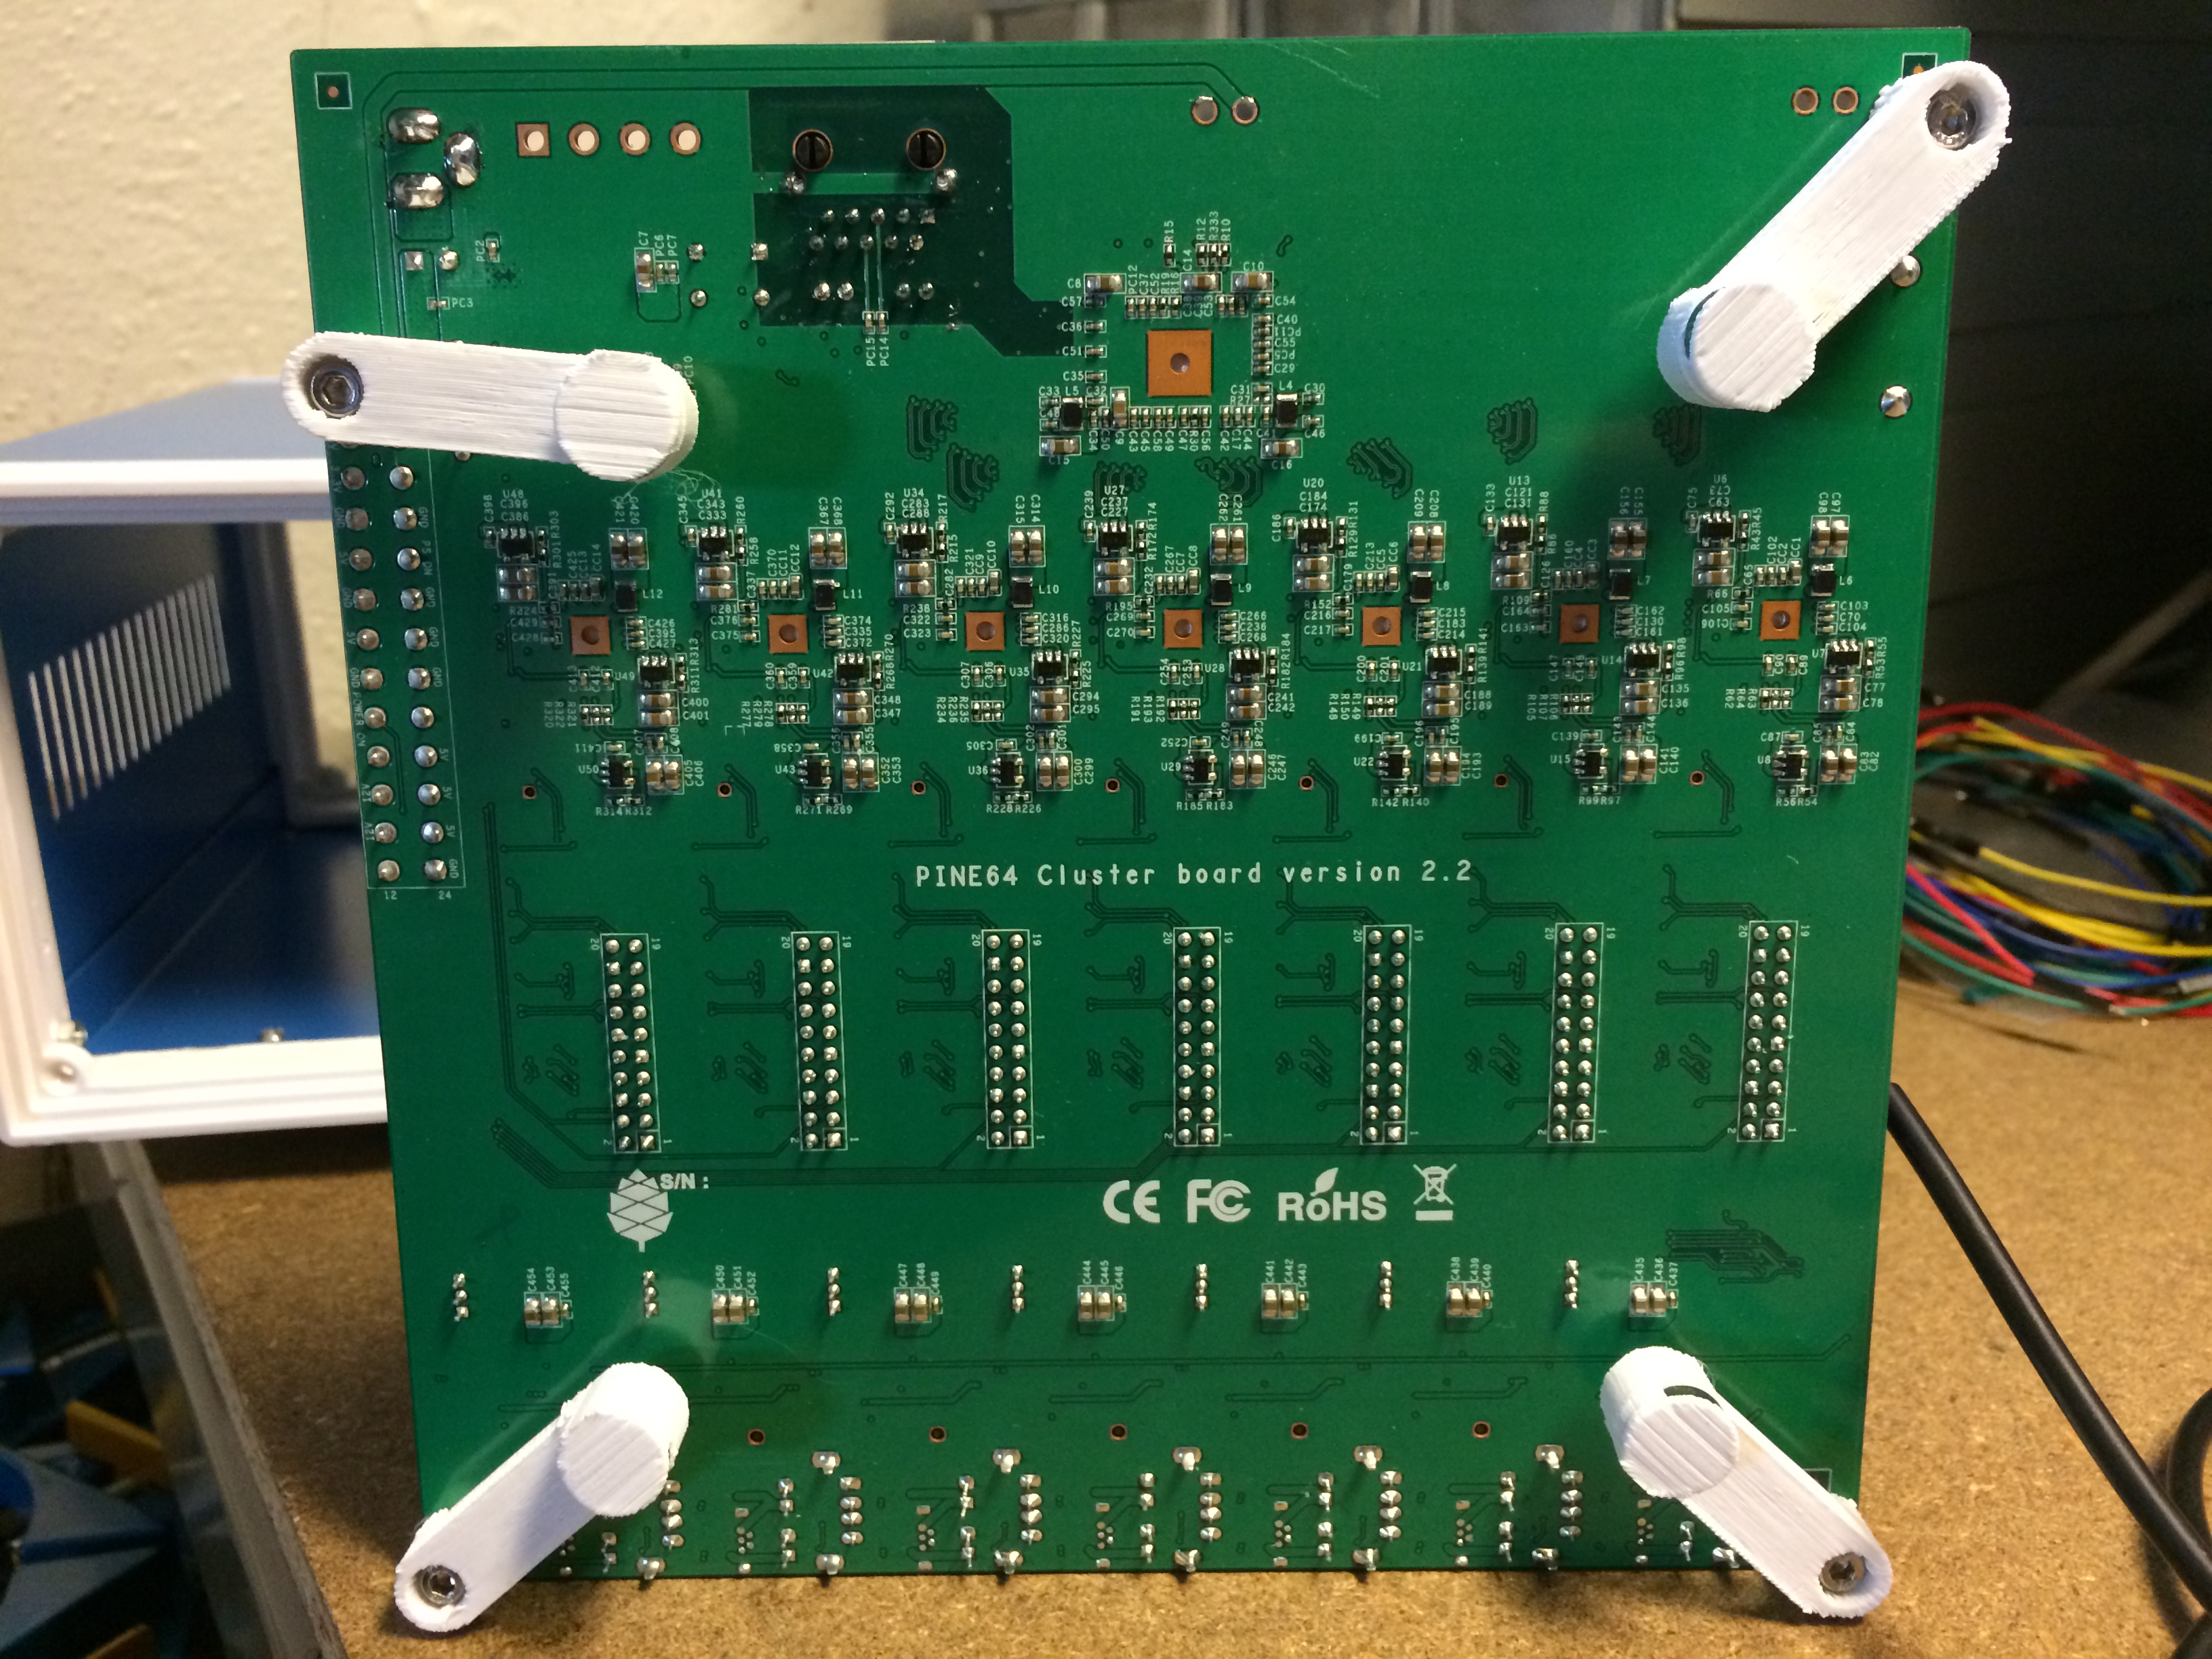
Technically, the Clusterboard fits inside the case I’ve been designing around, but it doesn’t fit inside the “endcaps” so it can’t be mounted directly to the steel of the case using the mounting holes on the board. 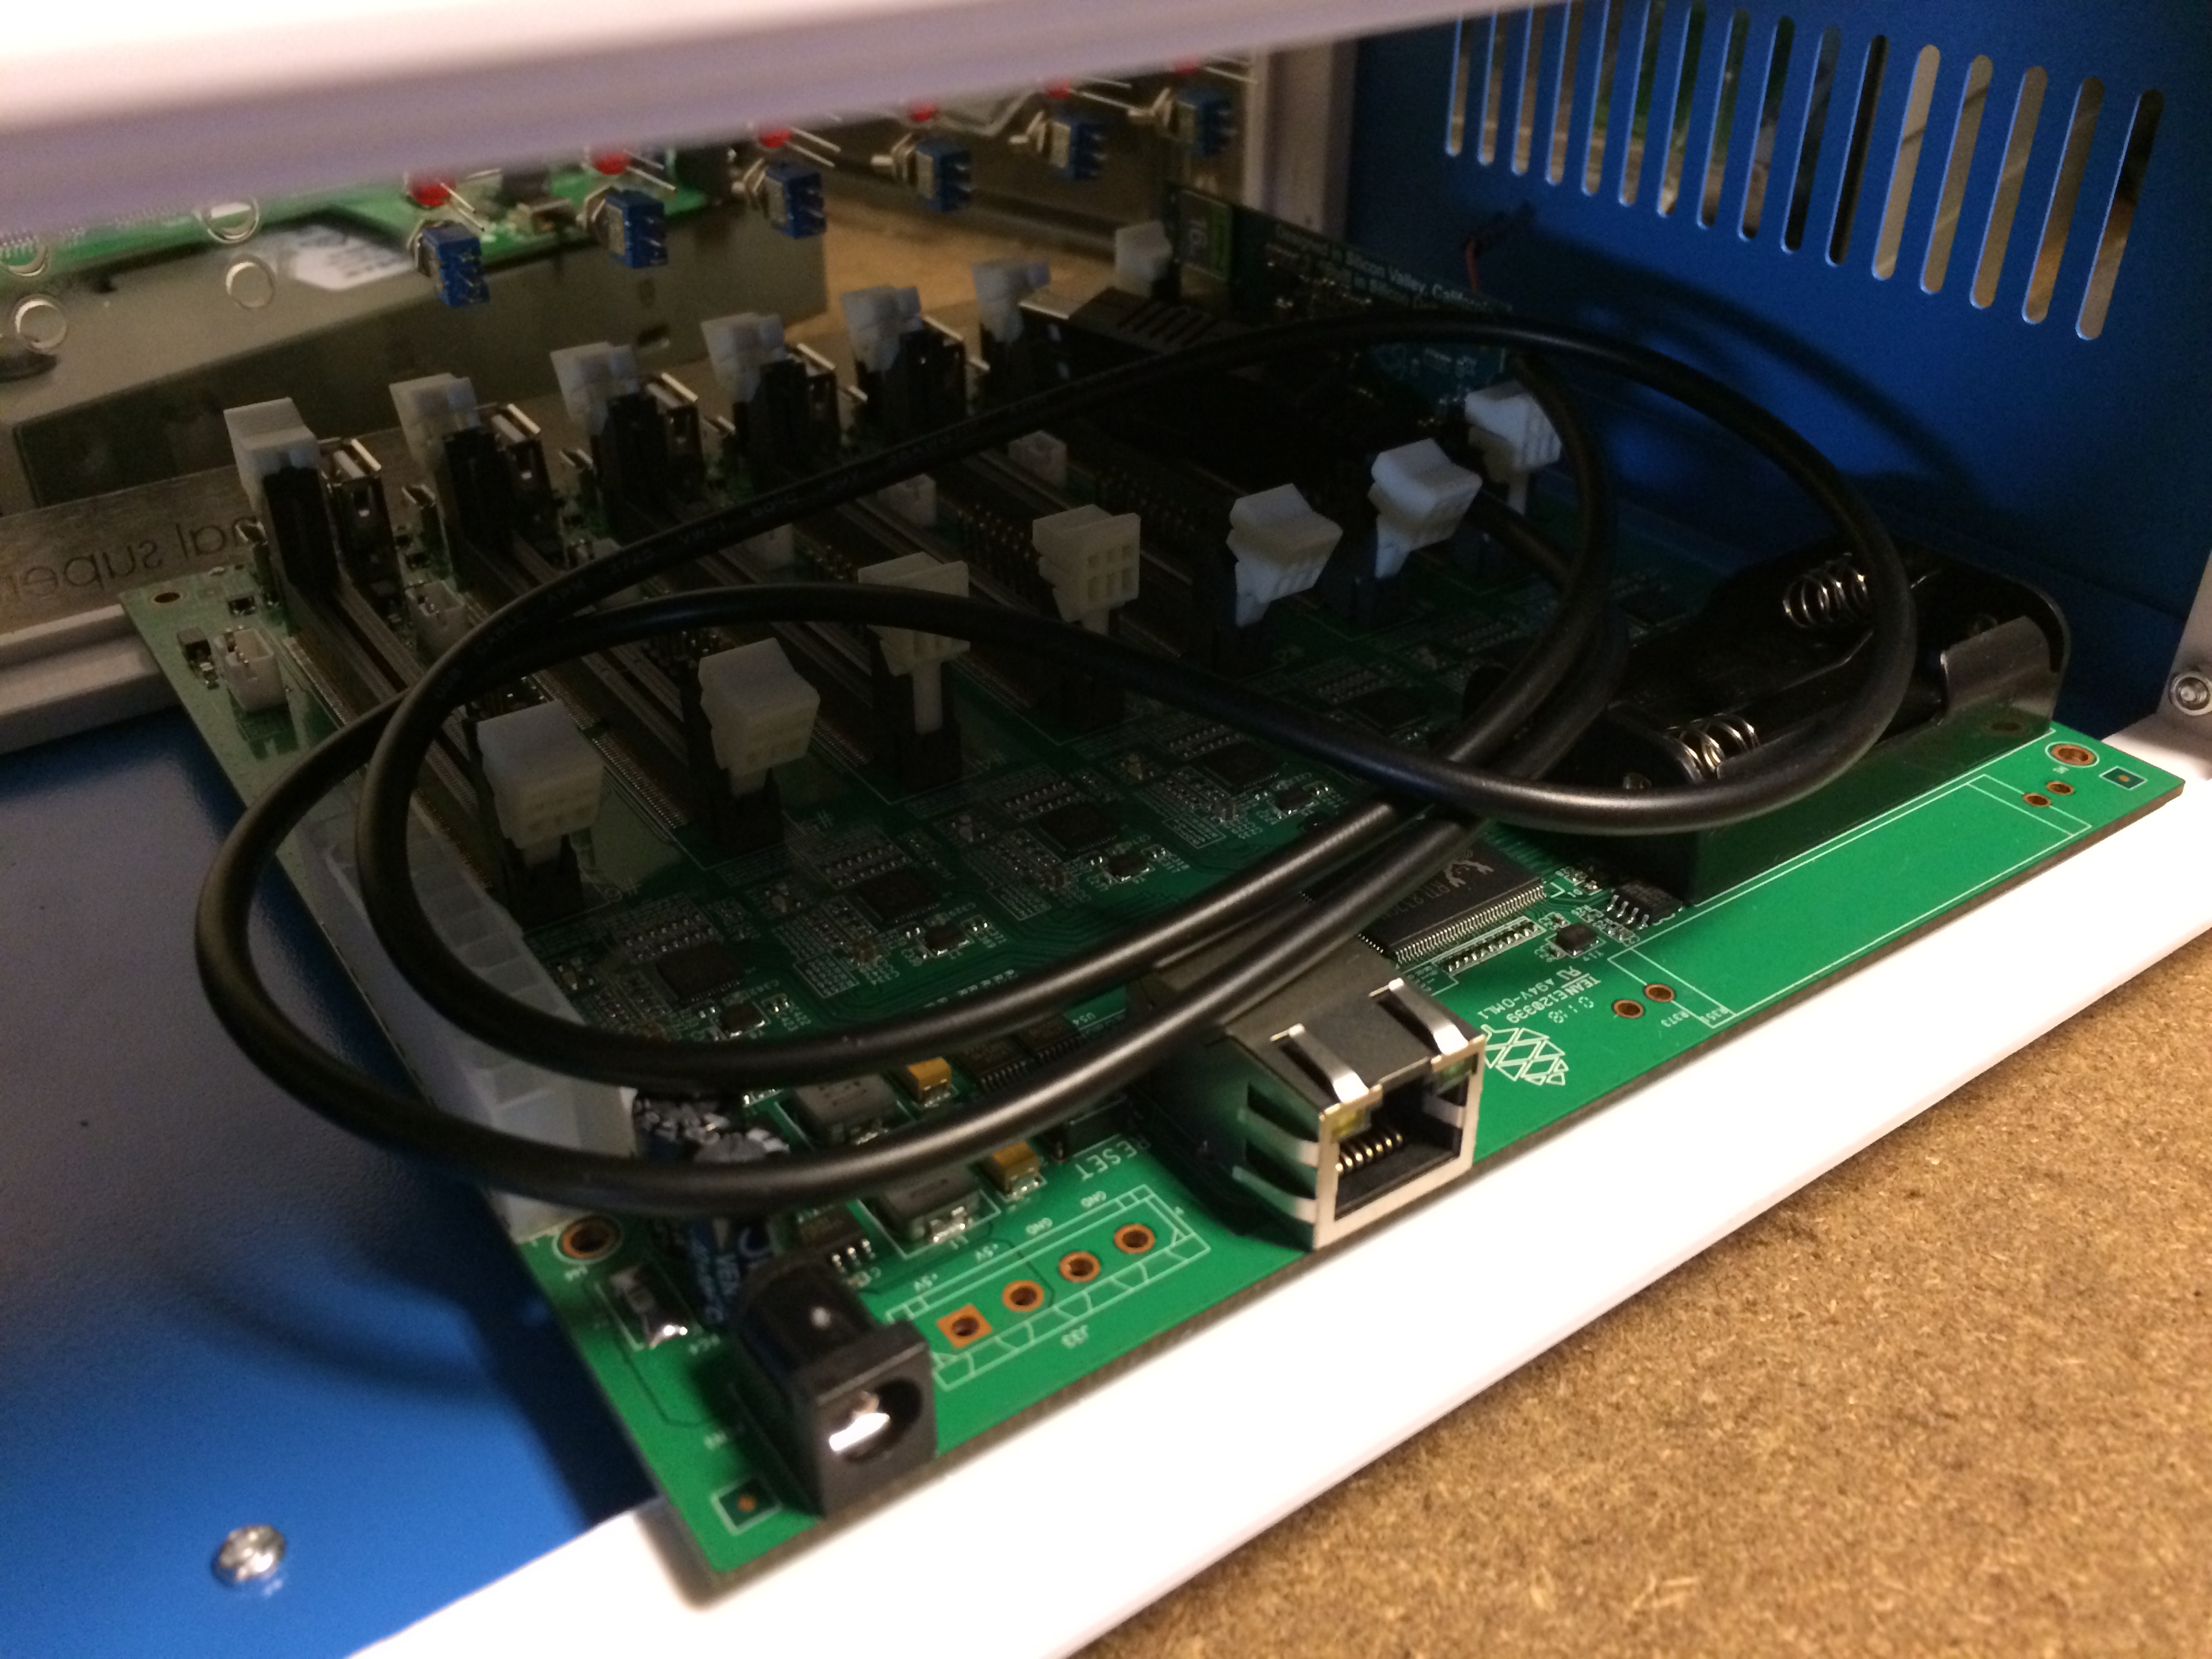 To address this, I sketched-up some adapters to “relocate” the mount points somewhere more appropriate. Since I’m still not 100% sure where everything will belong in the final configuration of the chassis, I came up with a more flexible way to mount the board: magnets!
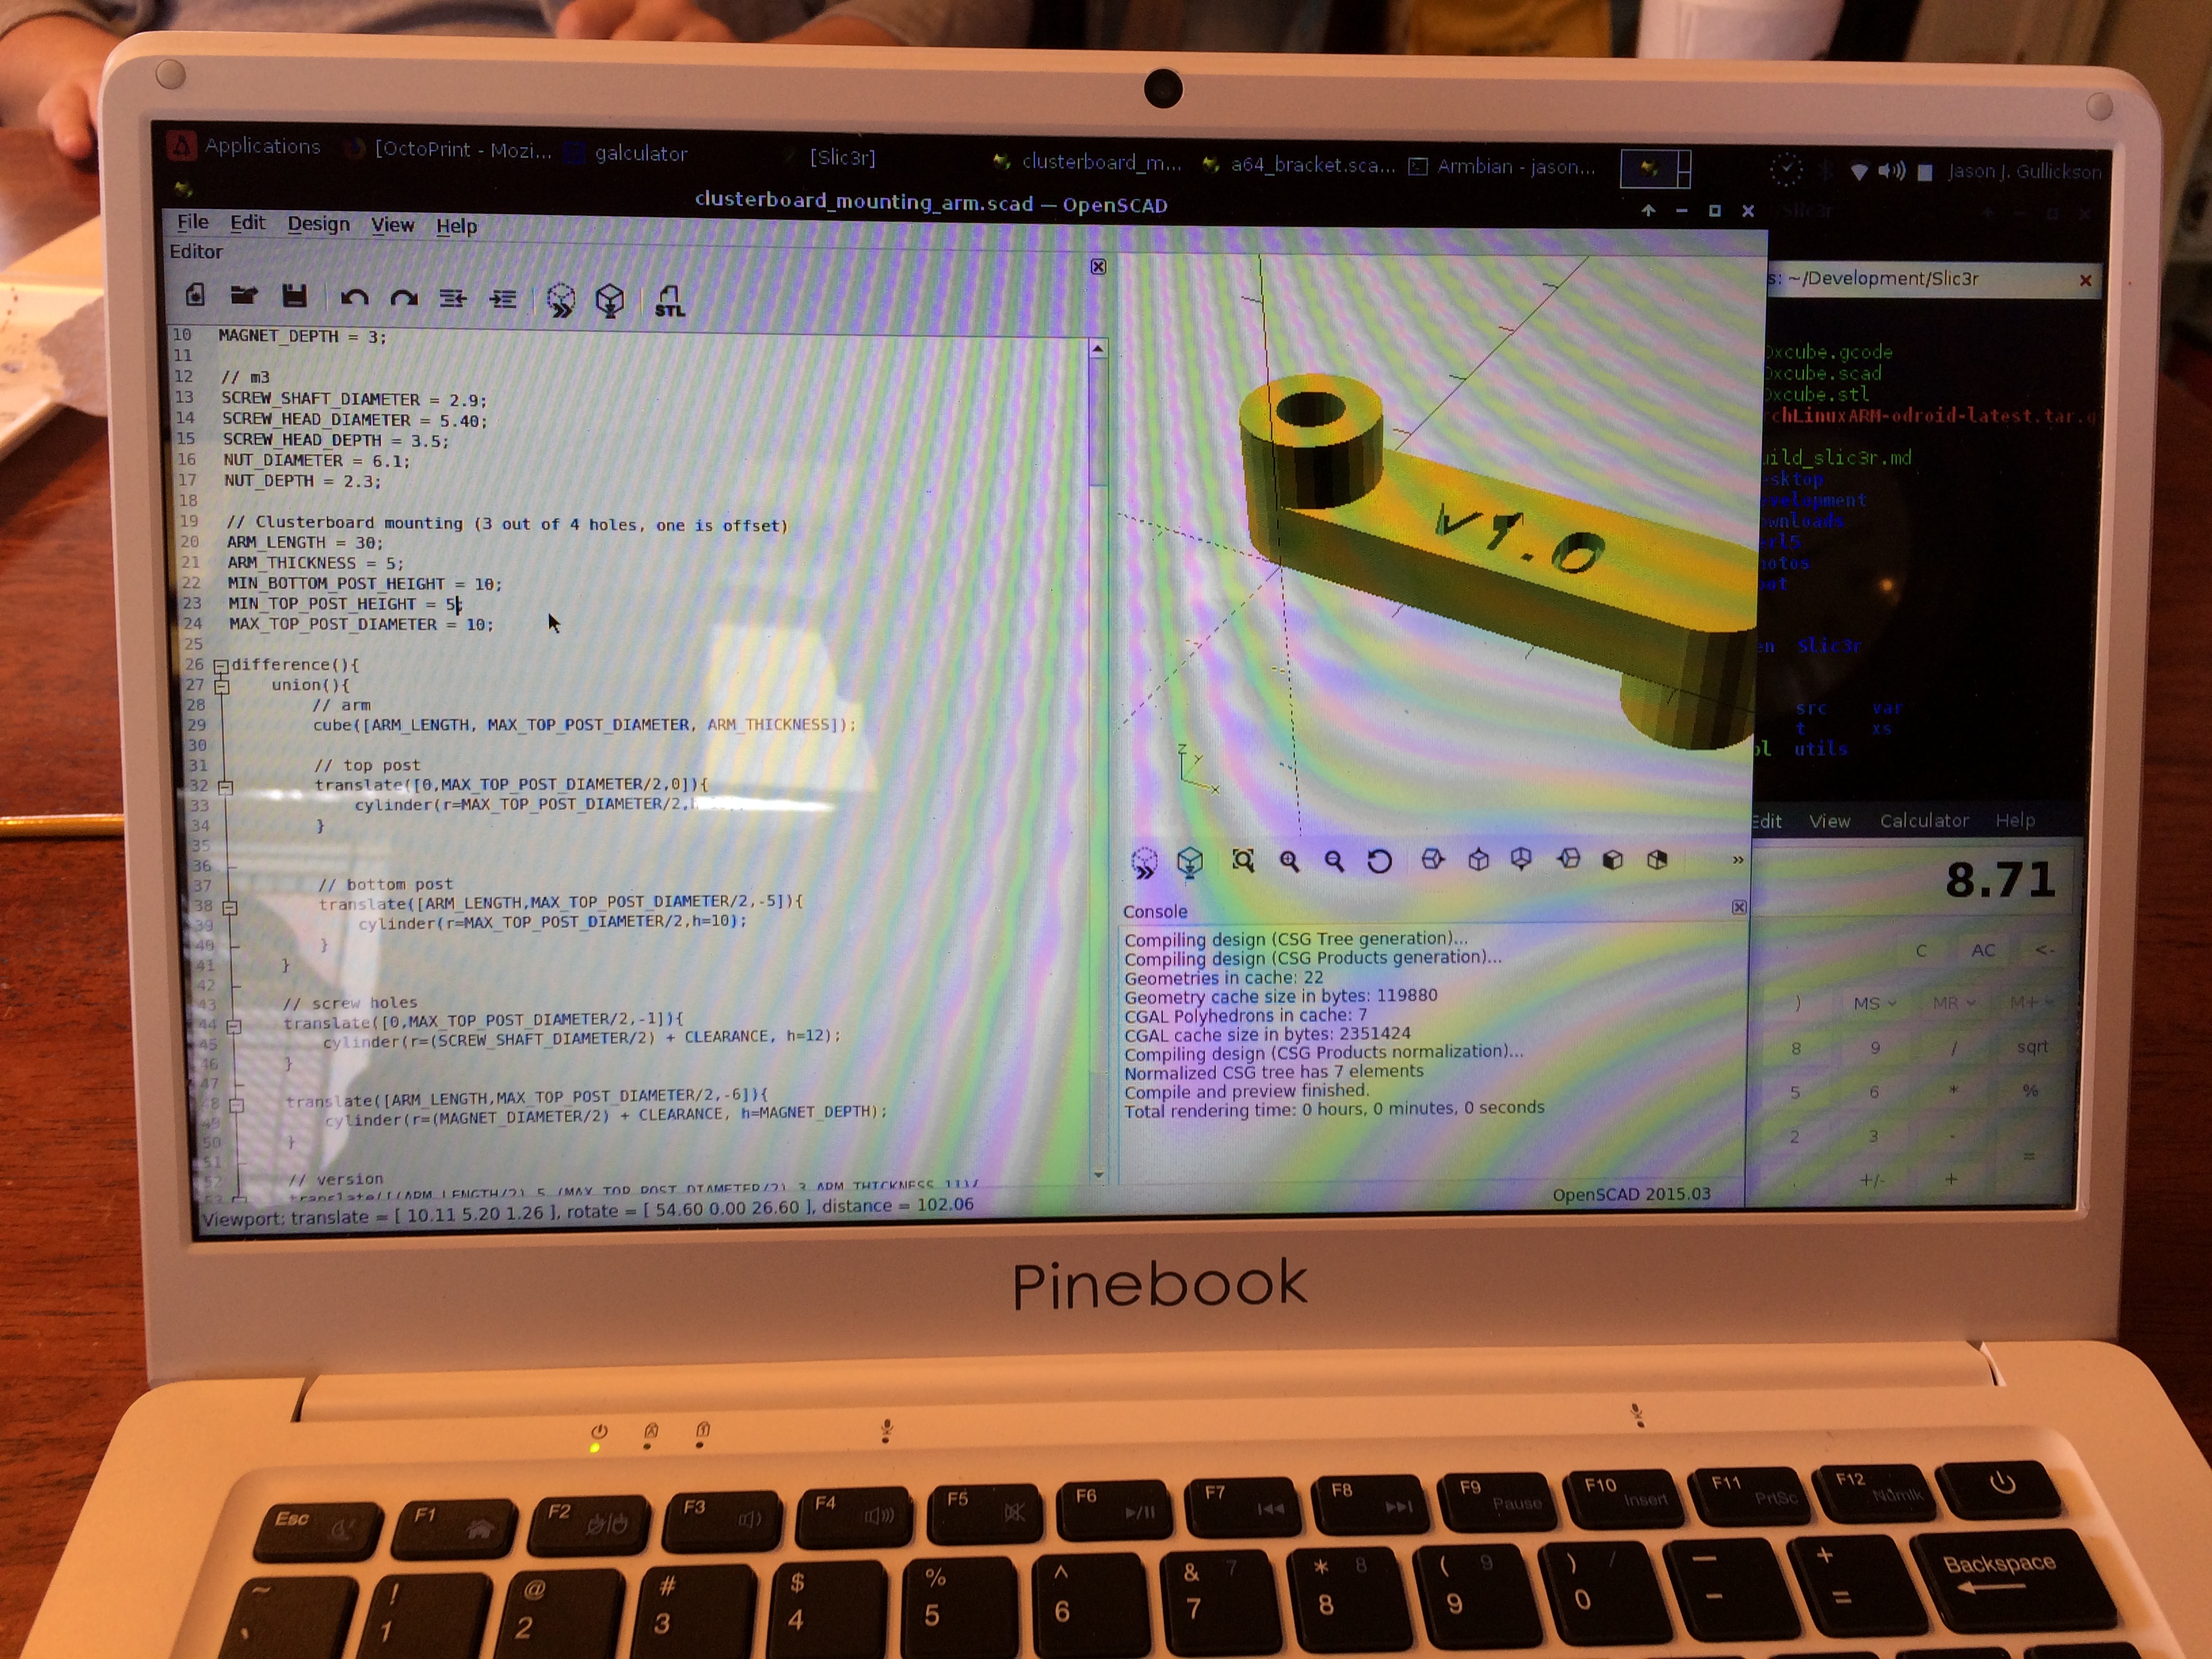
 I also need to mount a single PINE A64 board to serve as the “front-end node” so I whipped-up a couple of magnetic mounts for this board as well. I wasn’t able to find appropriate magnets locally so I had to wait for some to arrive from The Internet. In the meantime I switched-gears and worked on writing a little software to drive the panel’s display. [caption id=“attachment_5127” align=“aligncenter” width=“2448”]
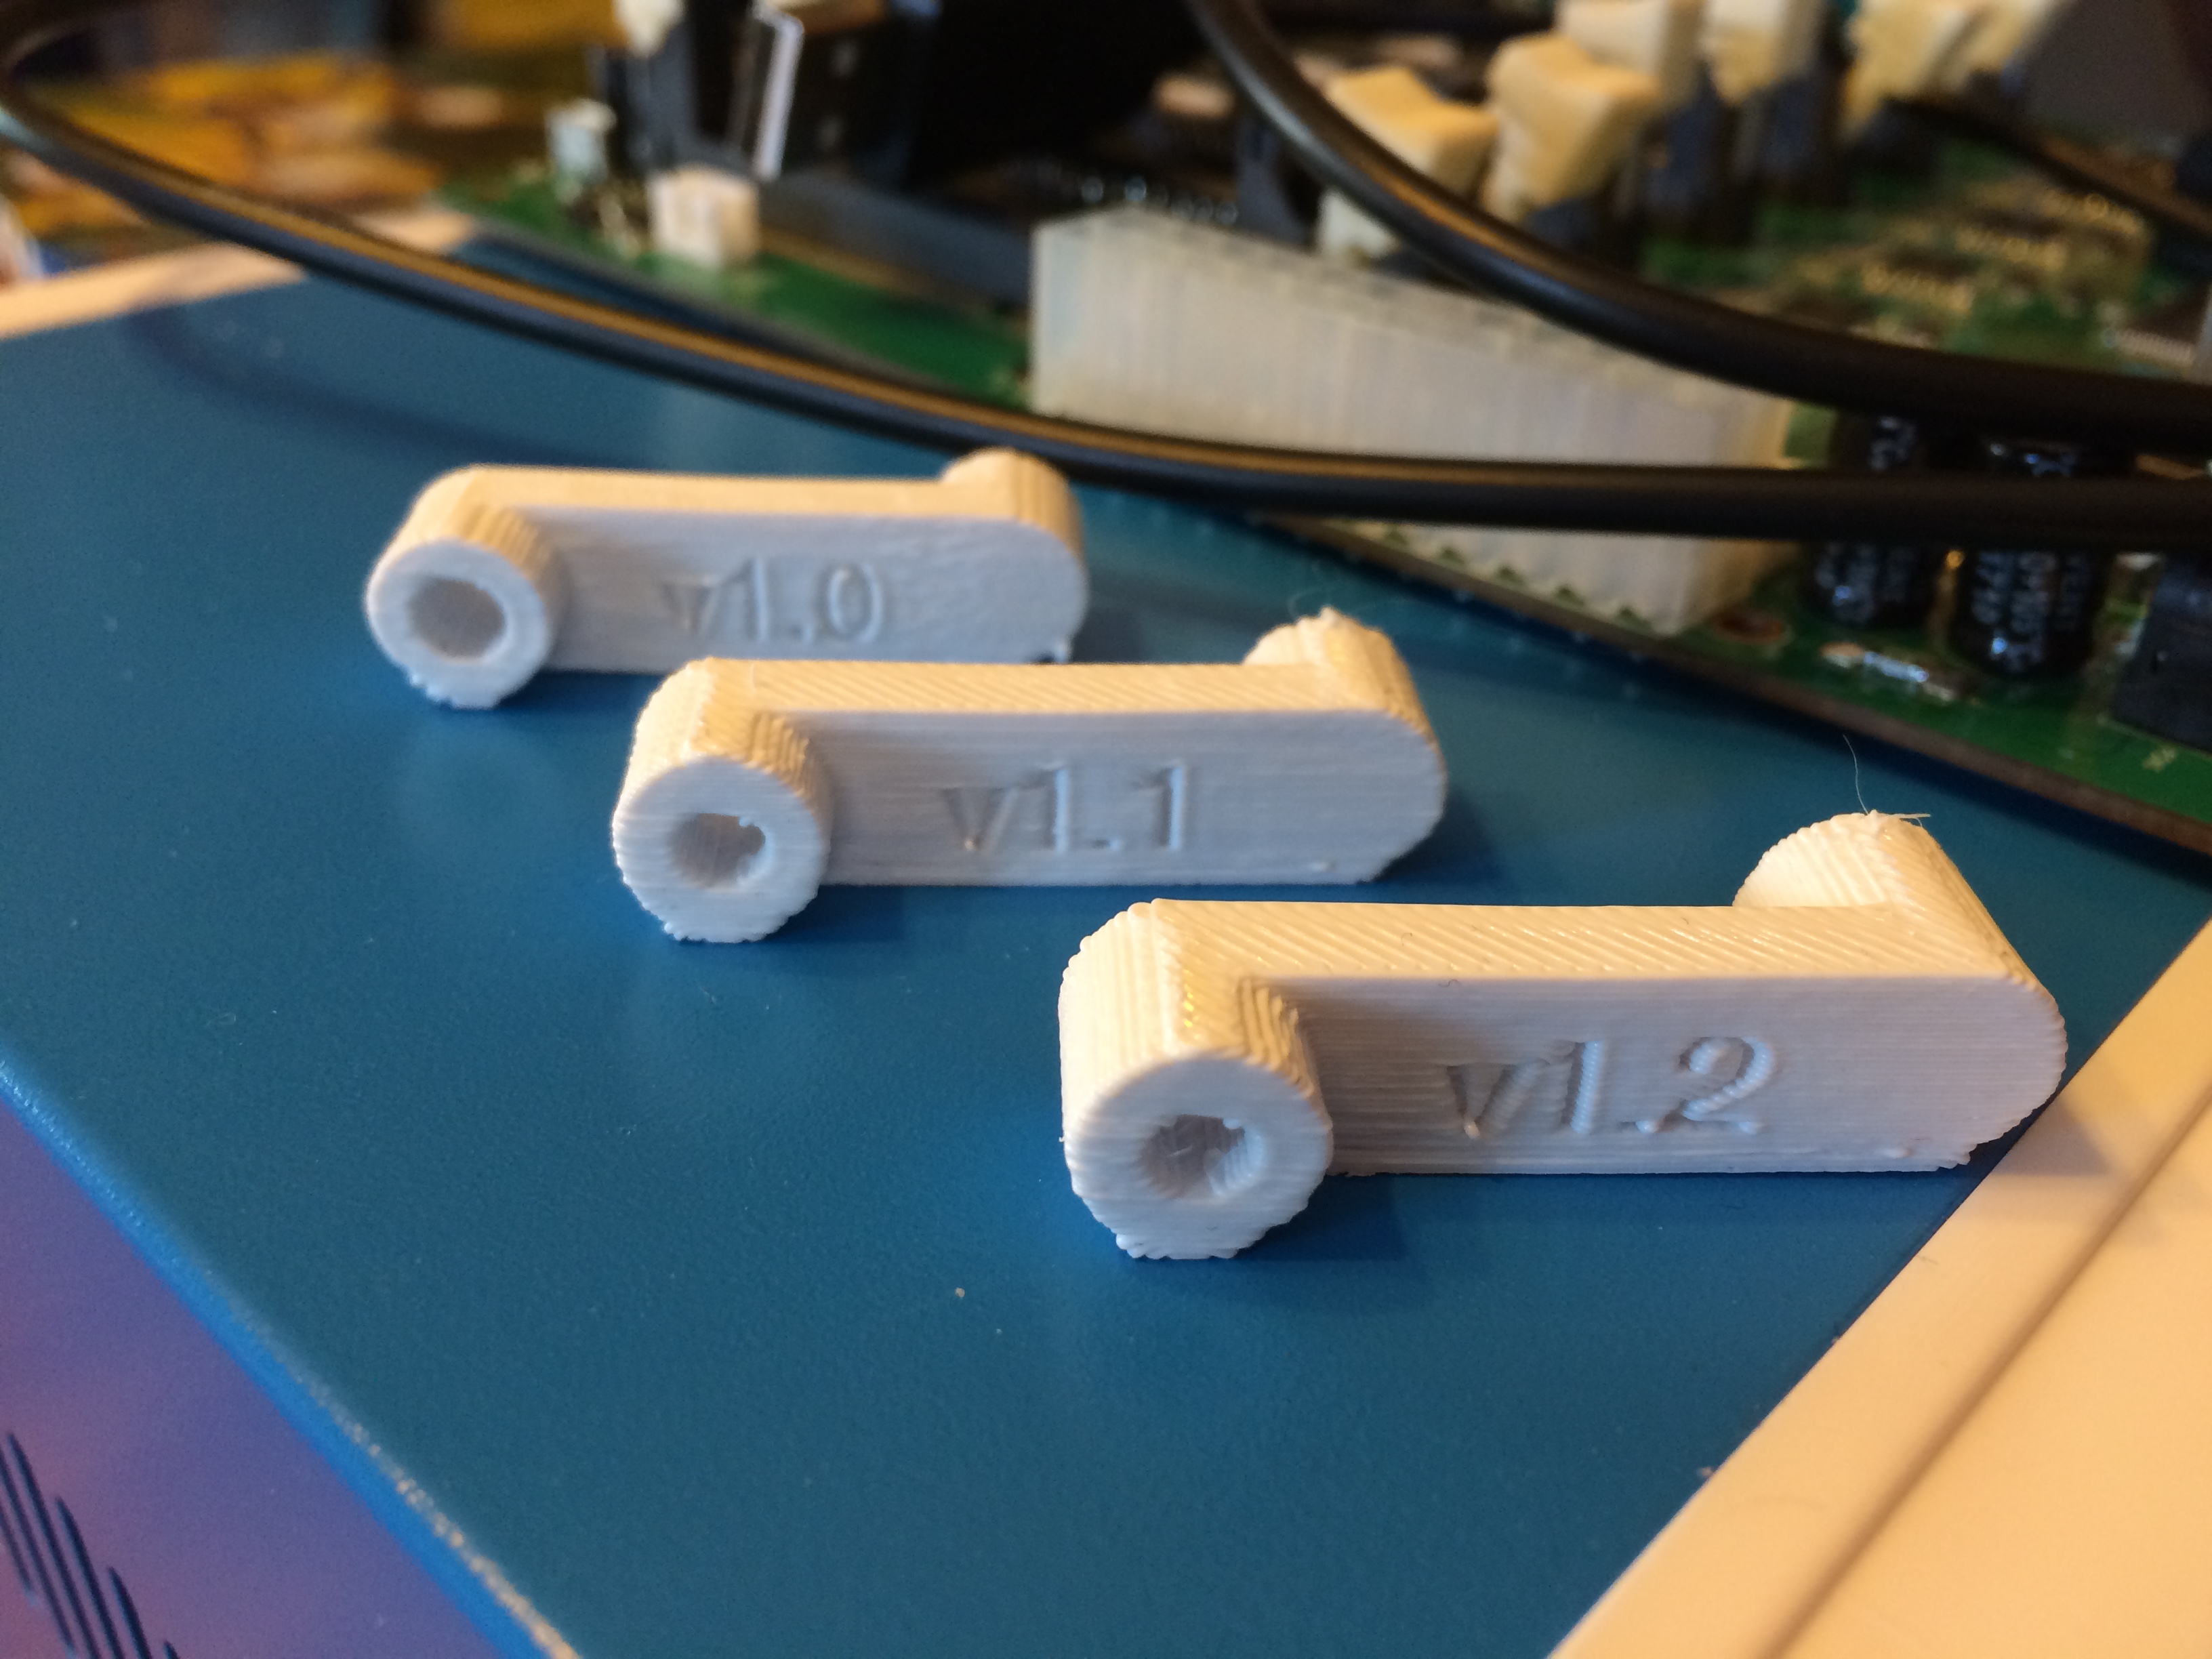
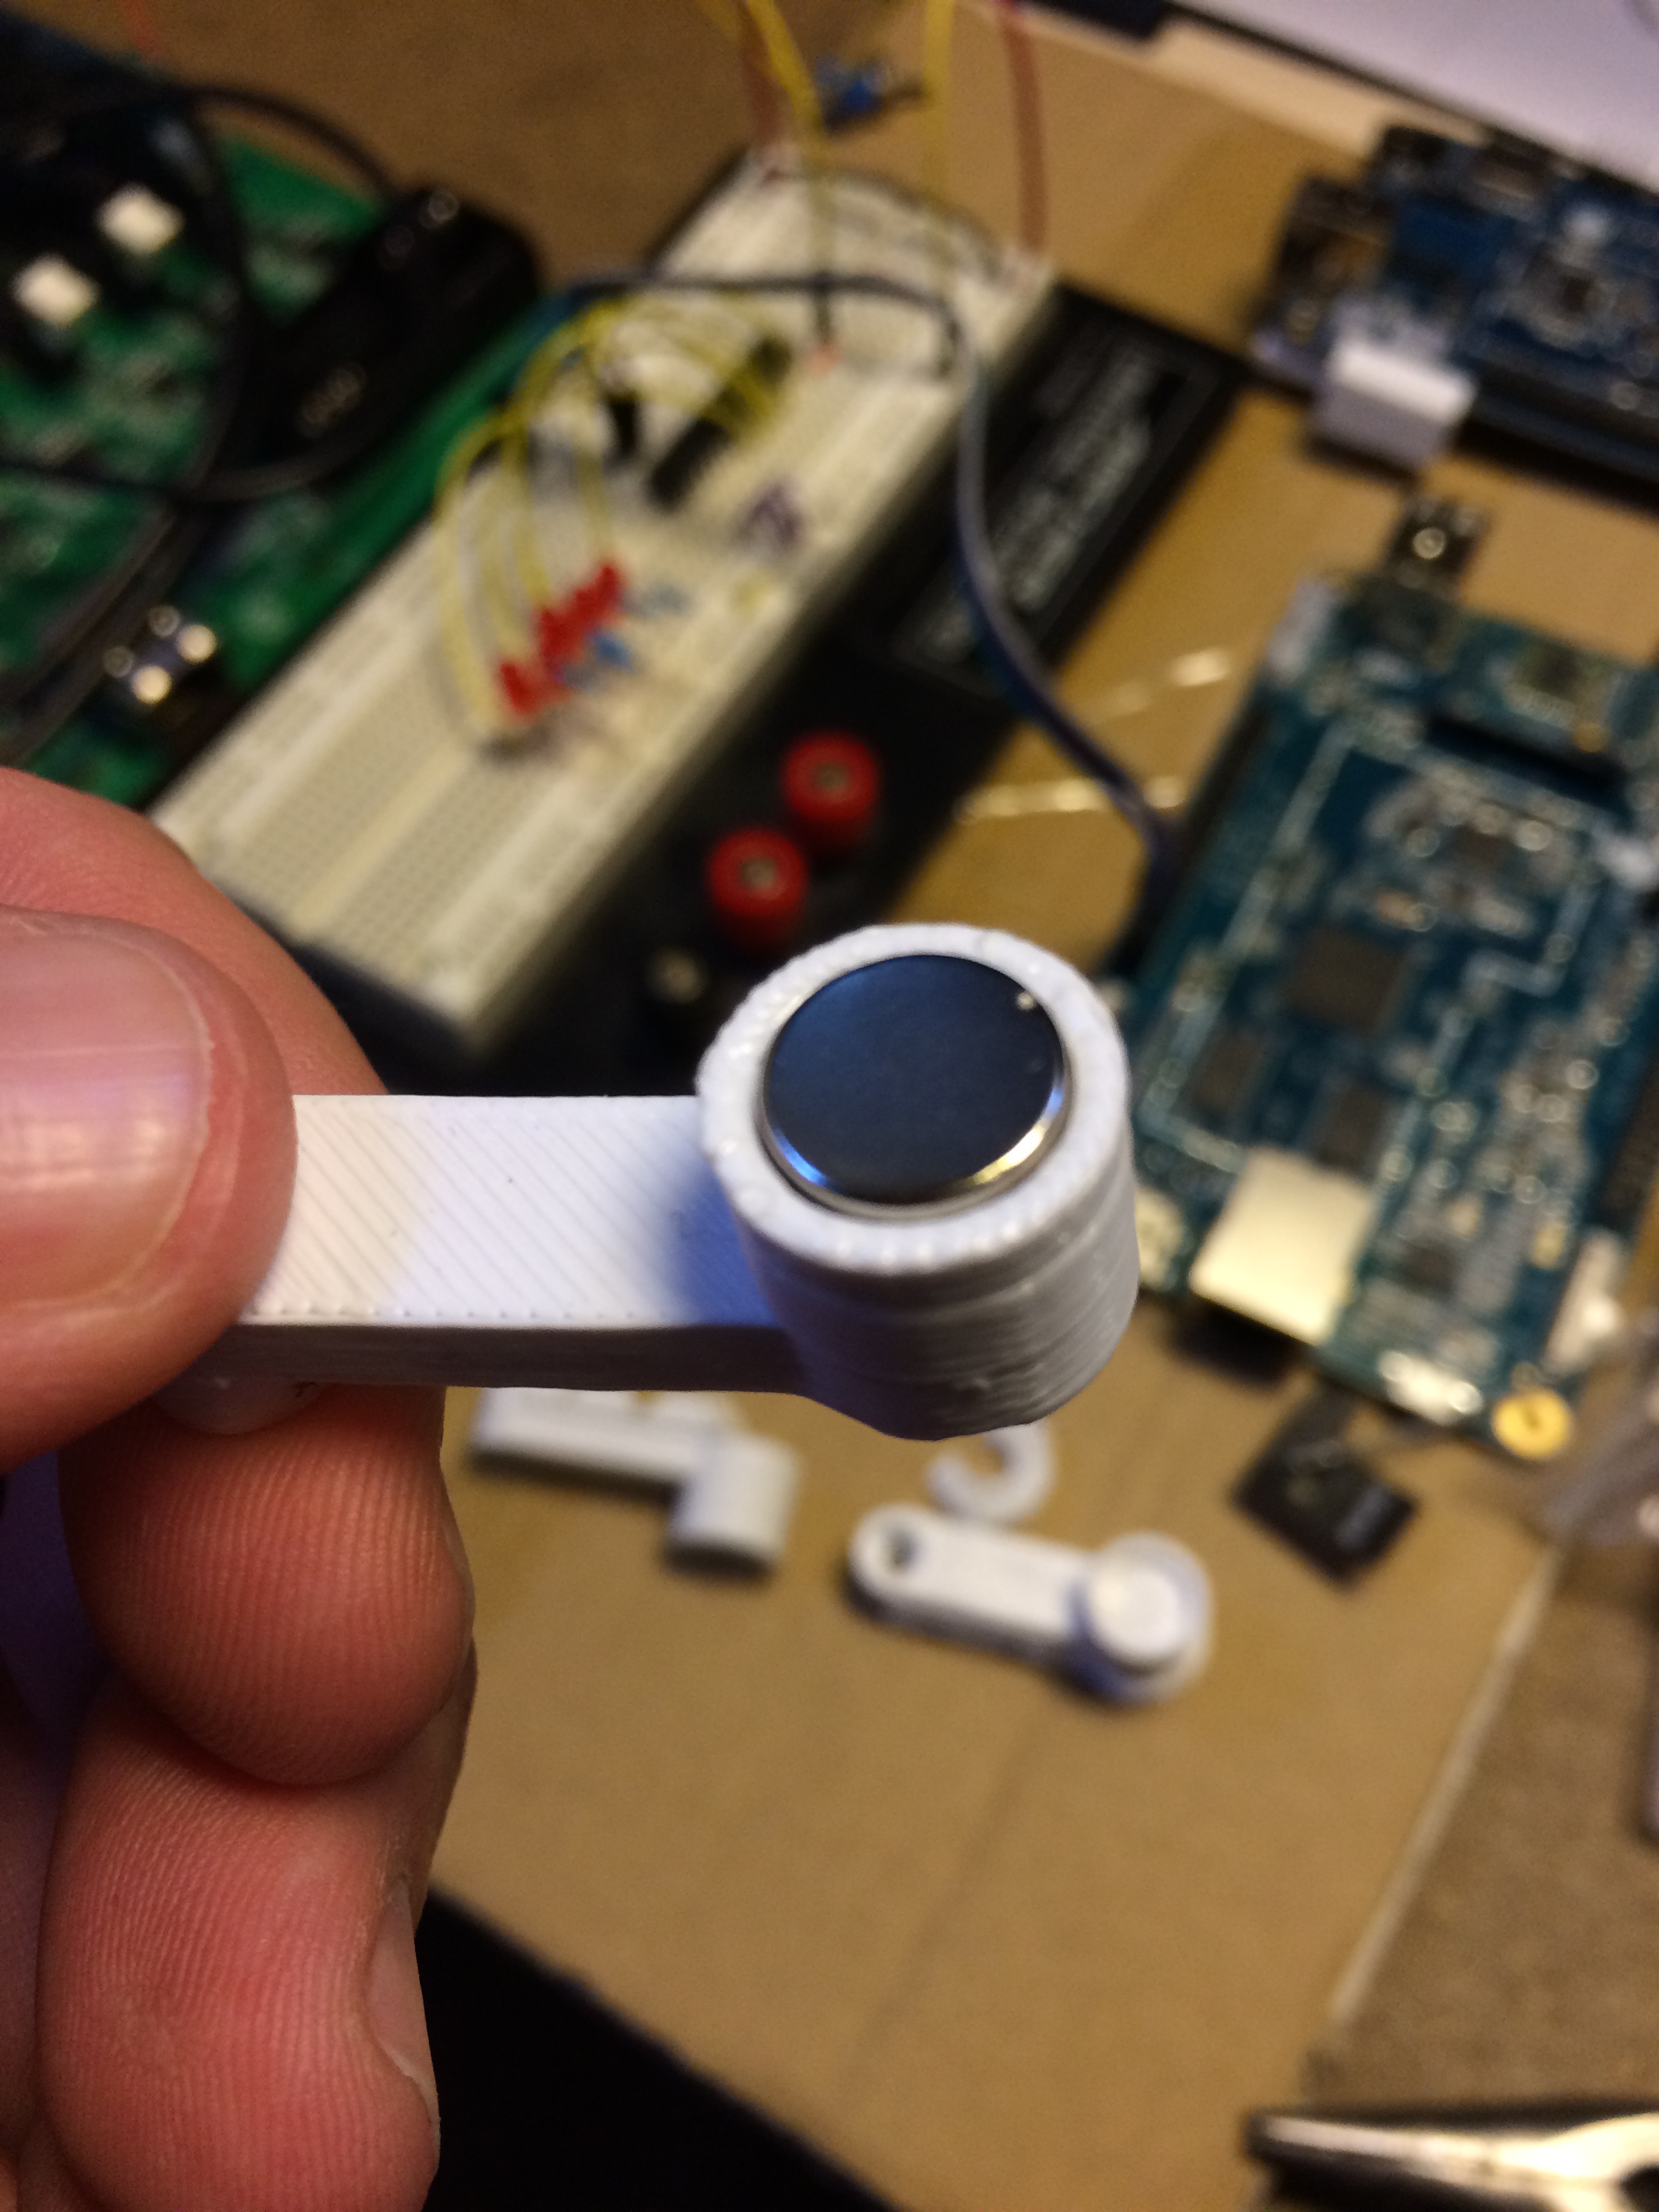 This has never happened before…[/caption] When the magnets arrived I was stunned to see they fit perfectly on the first try. However I didn’t have any glue on-hand that was right for the job. Since I was tired of waiting I thought about how I might modify the mounts to eliminate the need for glue. This turned-out to be easier than expected and after two iterations I had working, glueless mounting brackets.
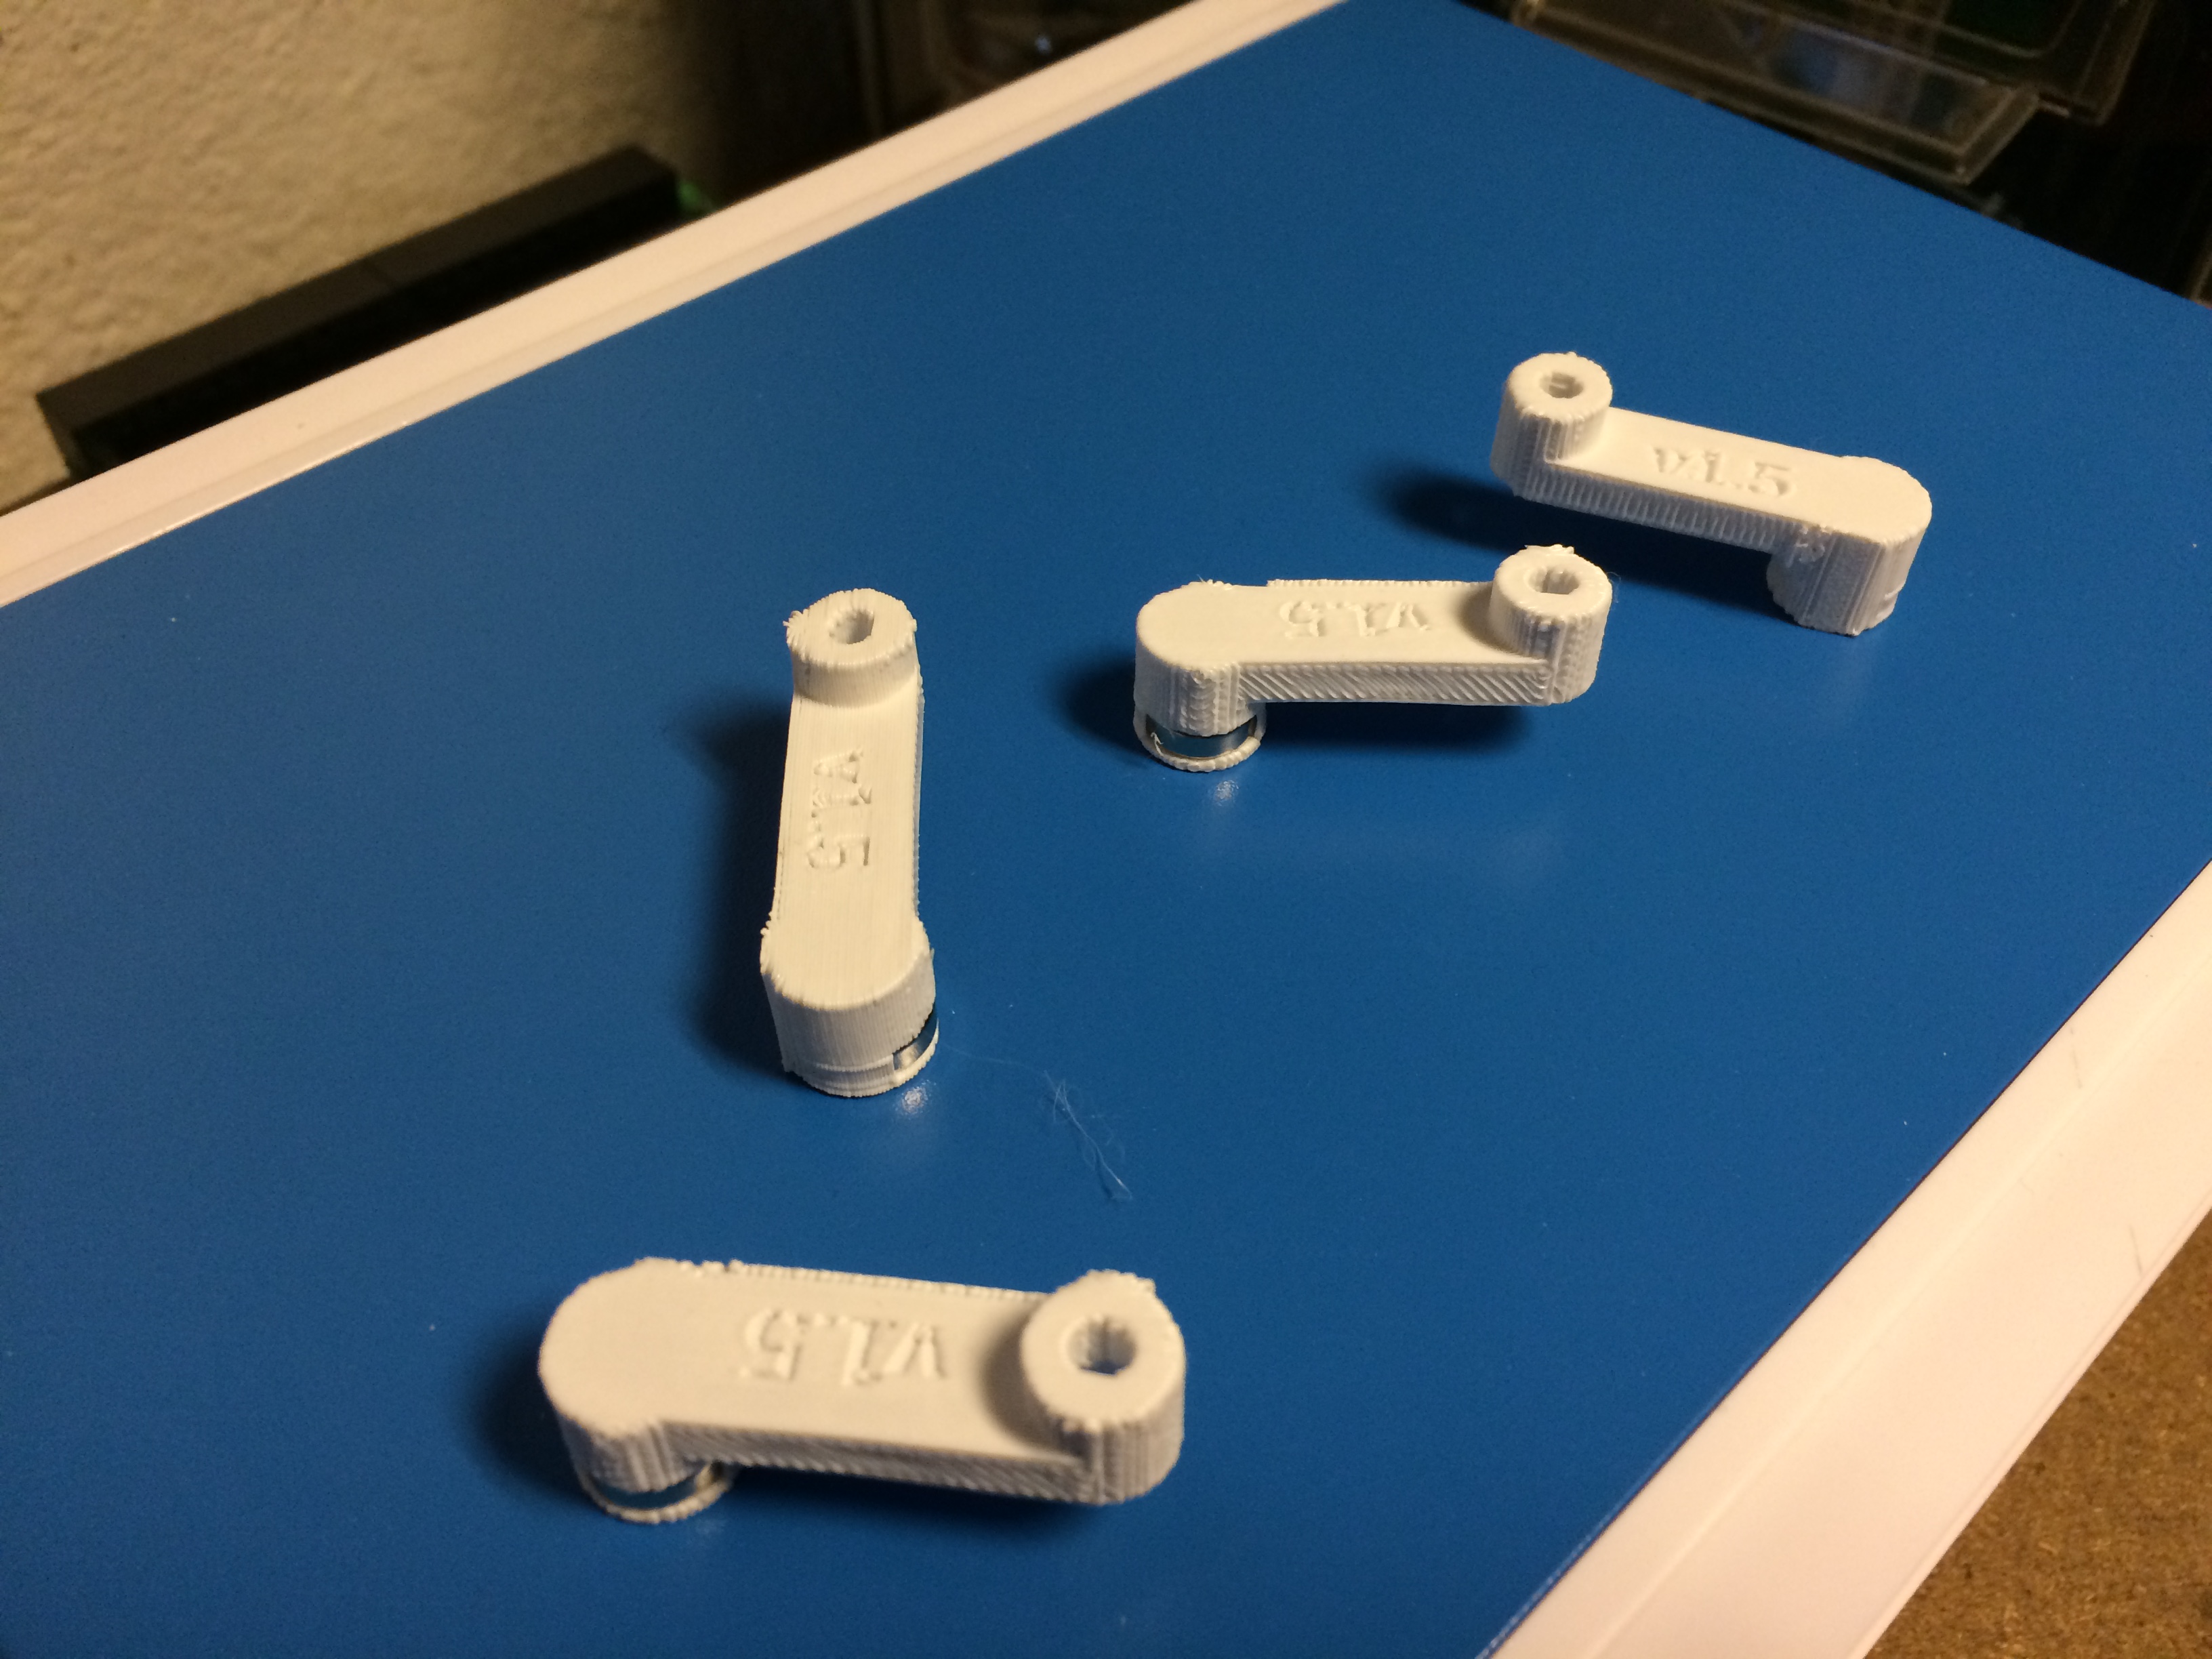
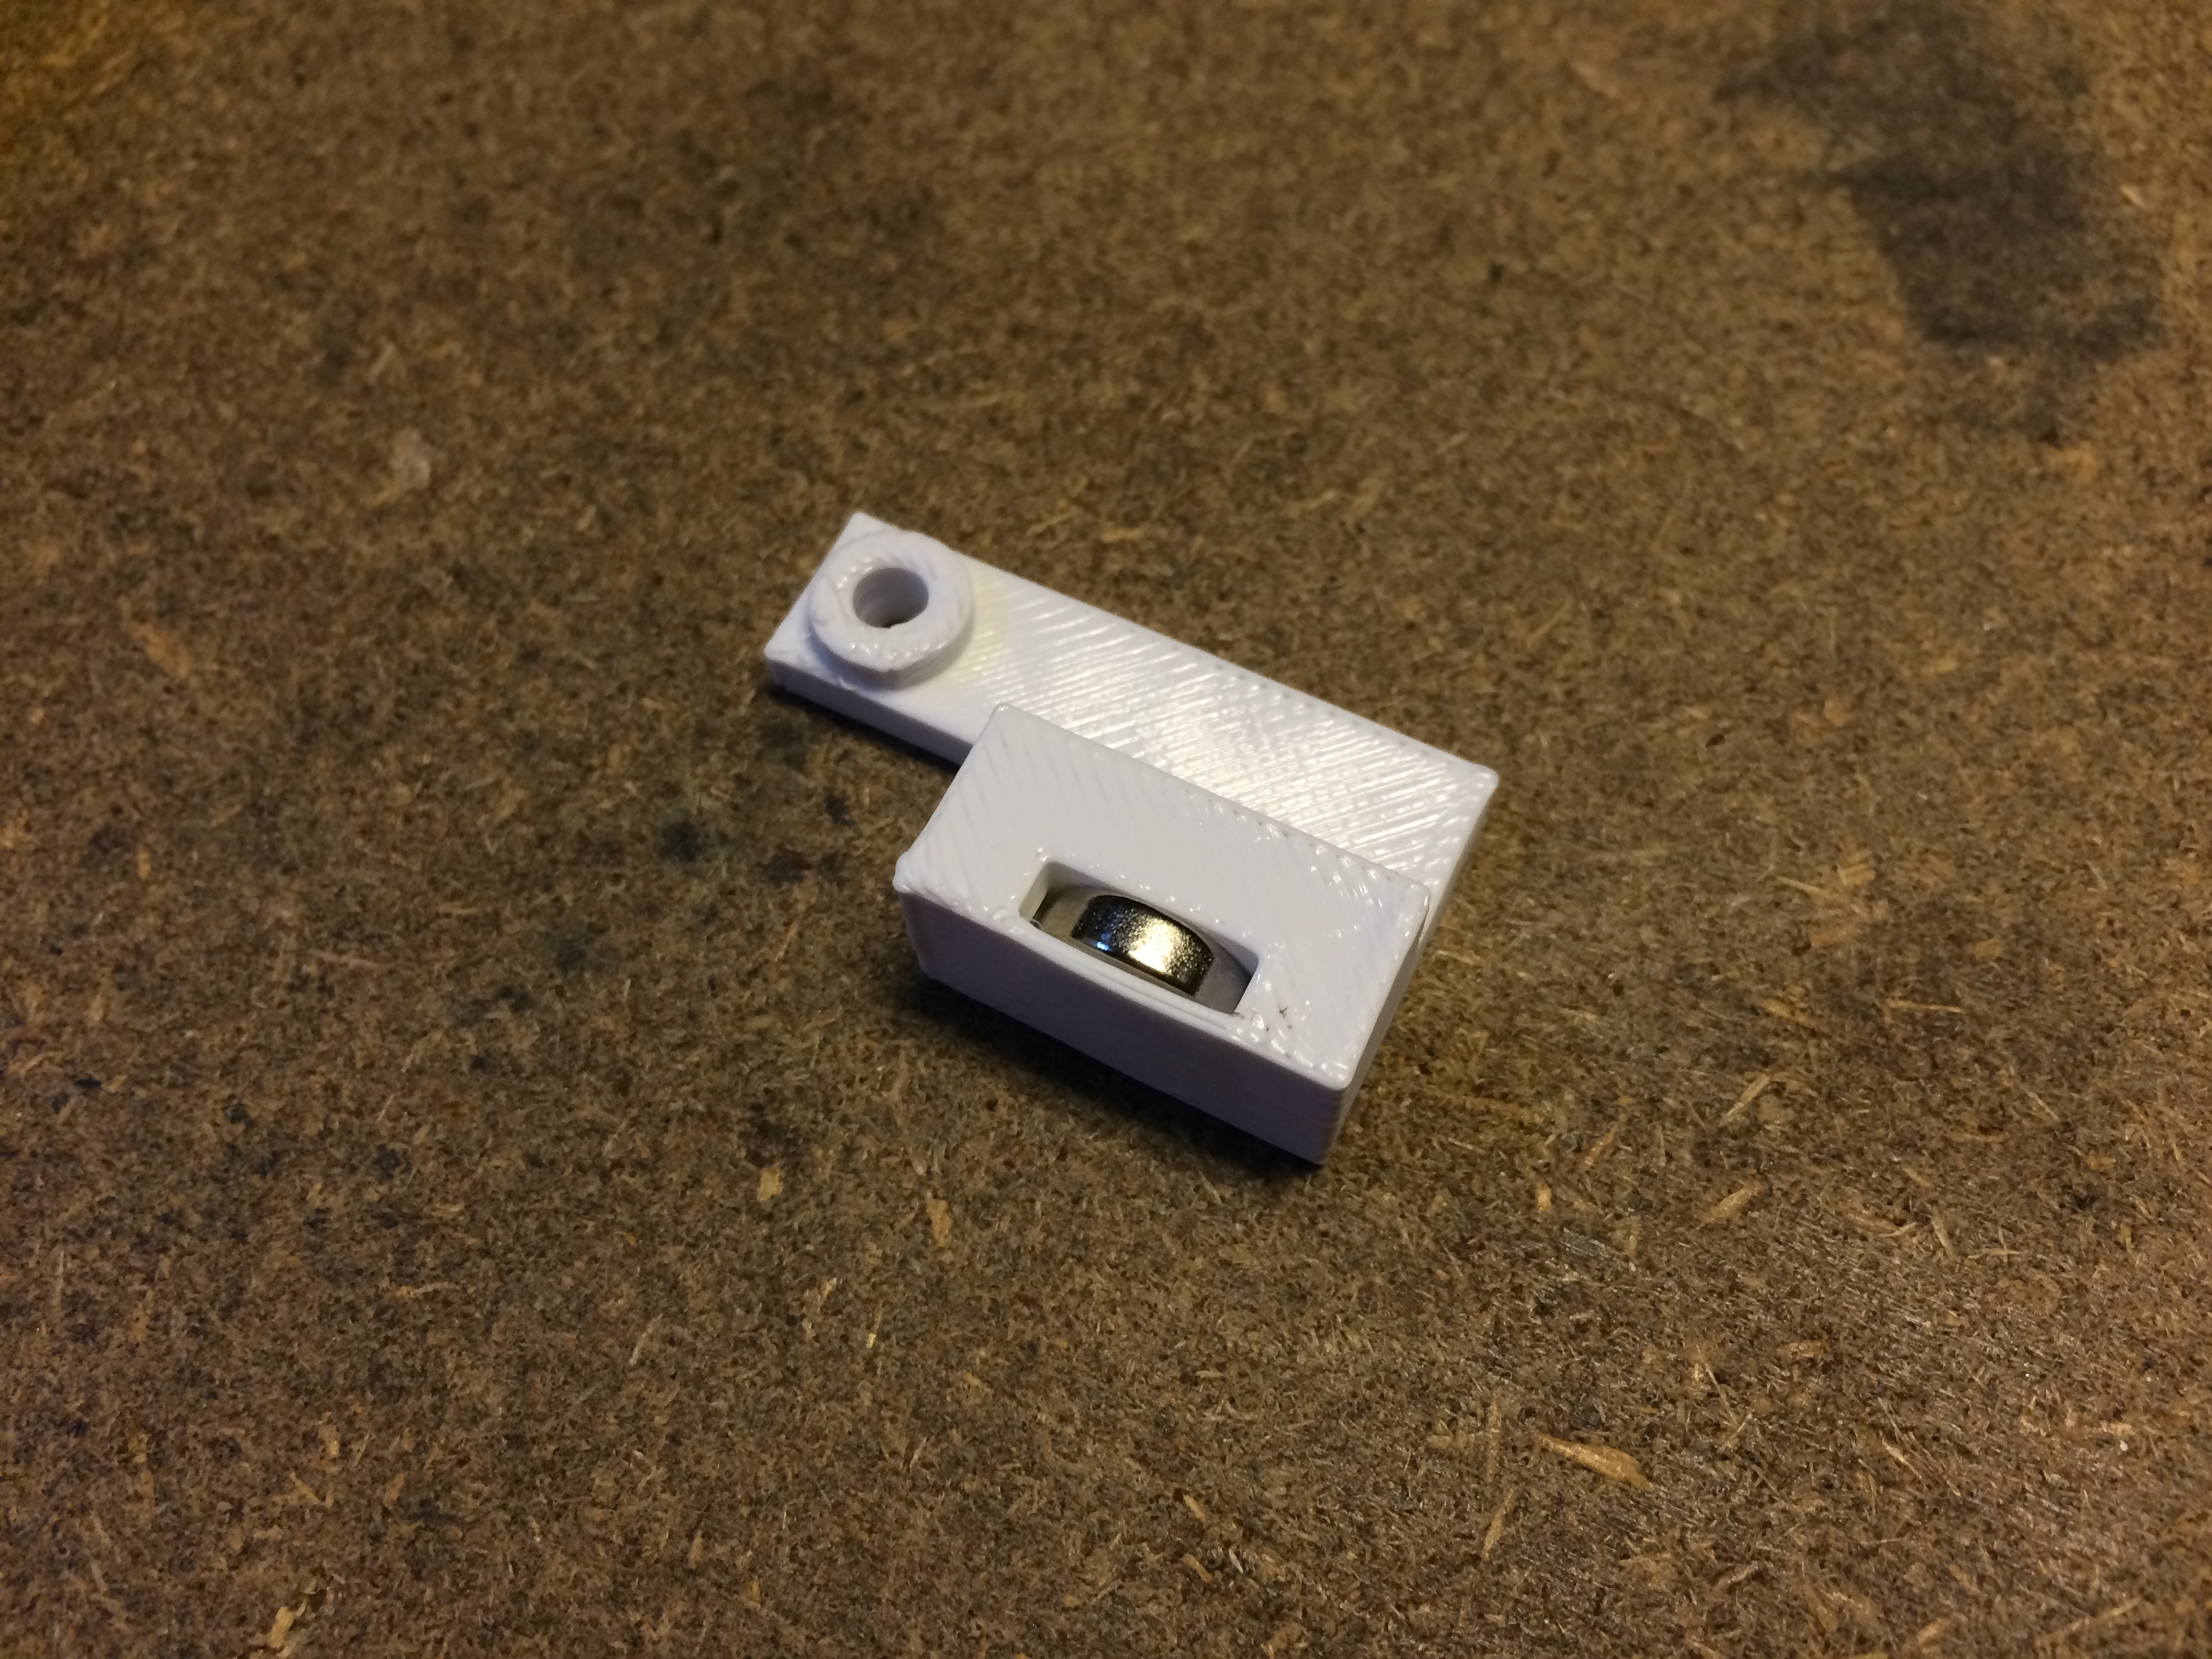 All-in-all they work pretty well. There is some alignment problem keeping all four feet on the Clusterboard from engaging the inside of the case completely, but I think this will be strong enough to safely move on to the next step: stuffing everything inside the box.
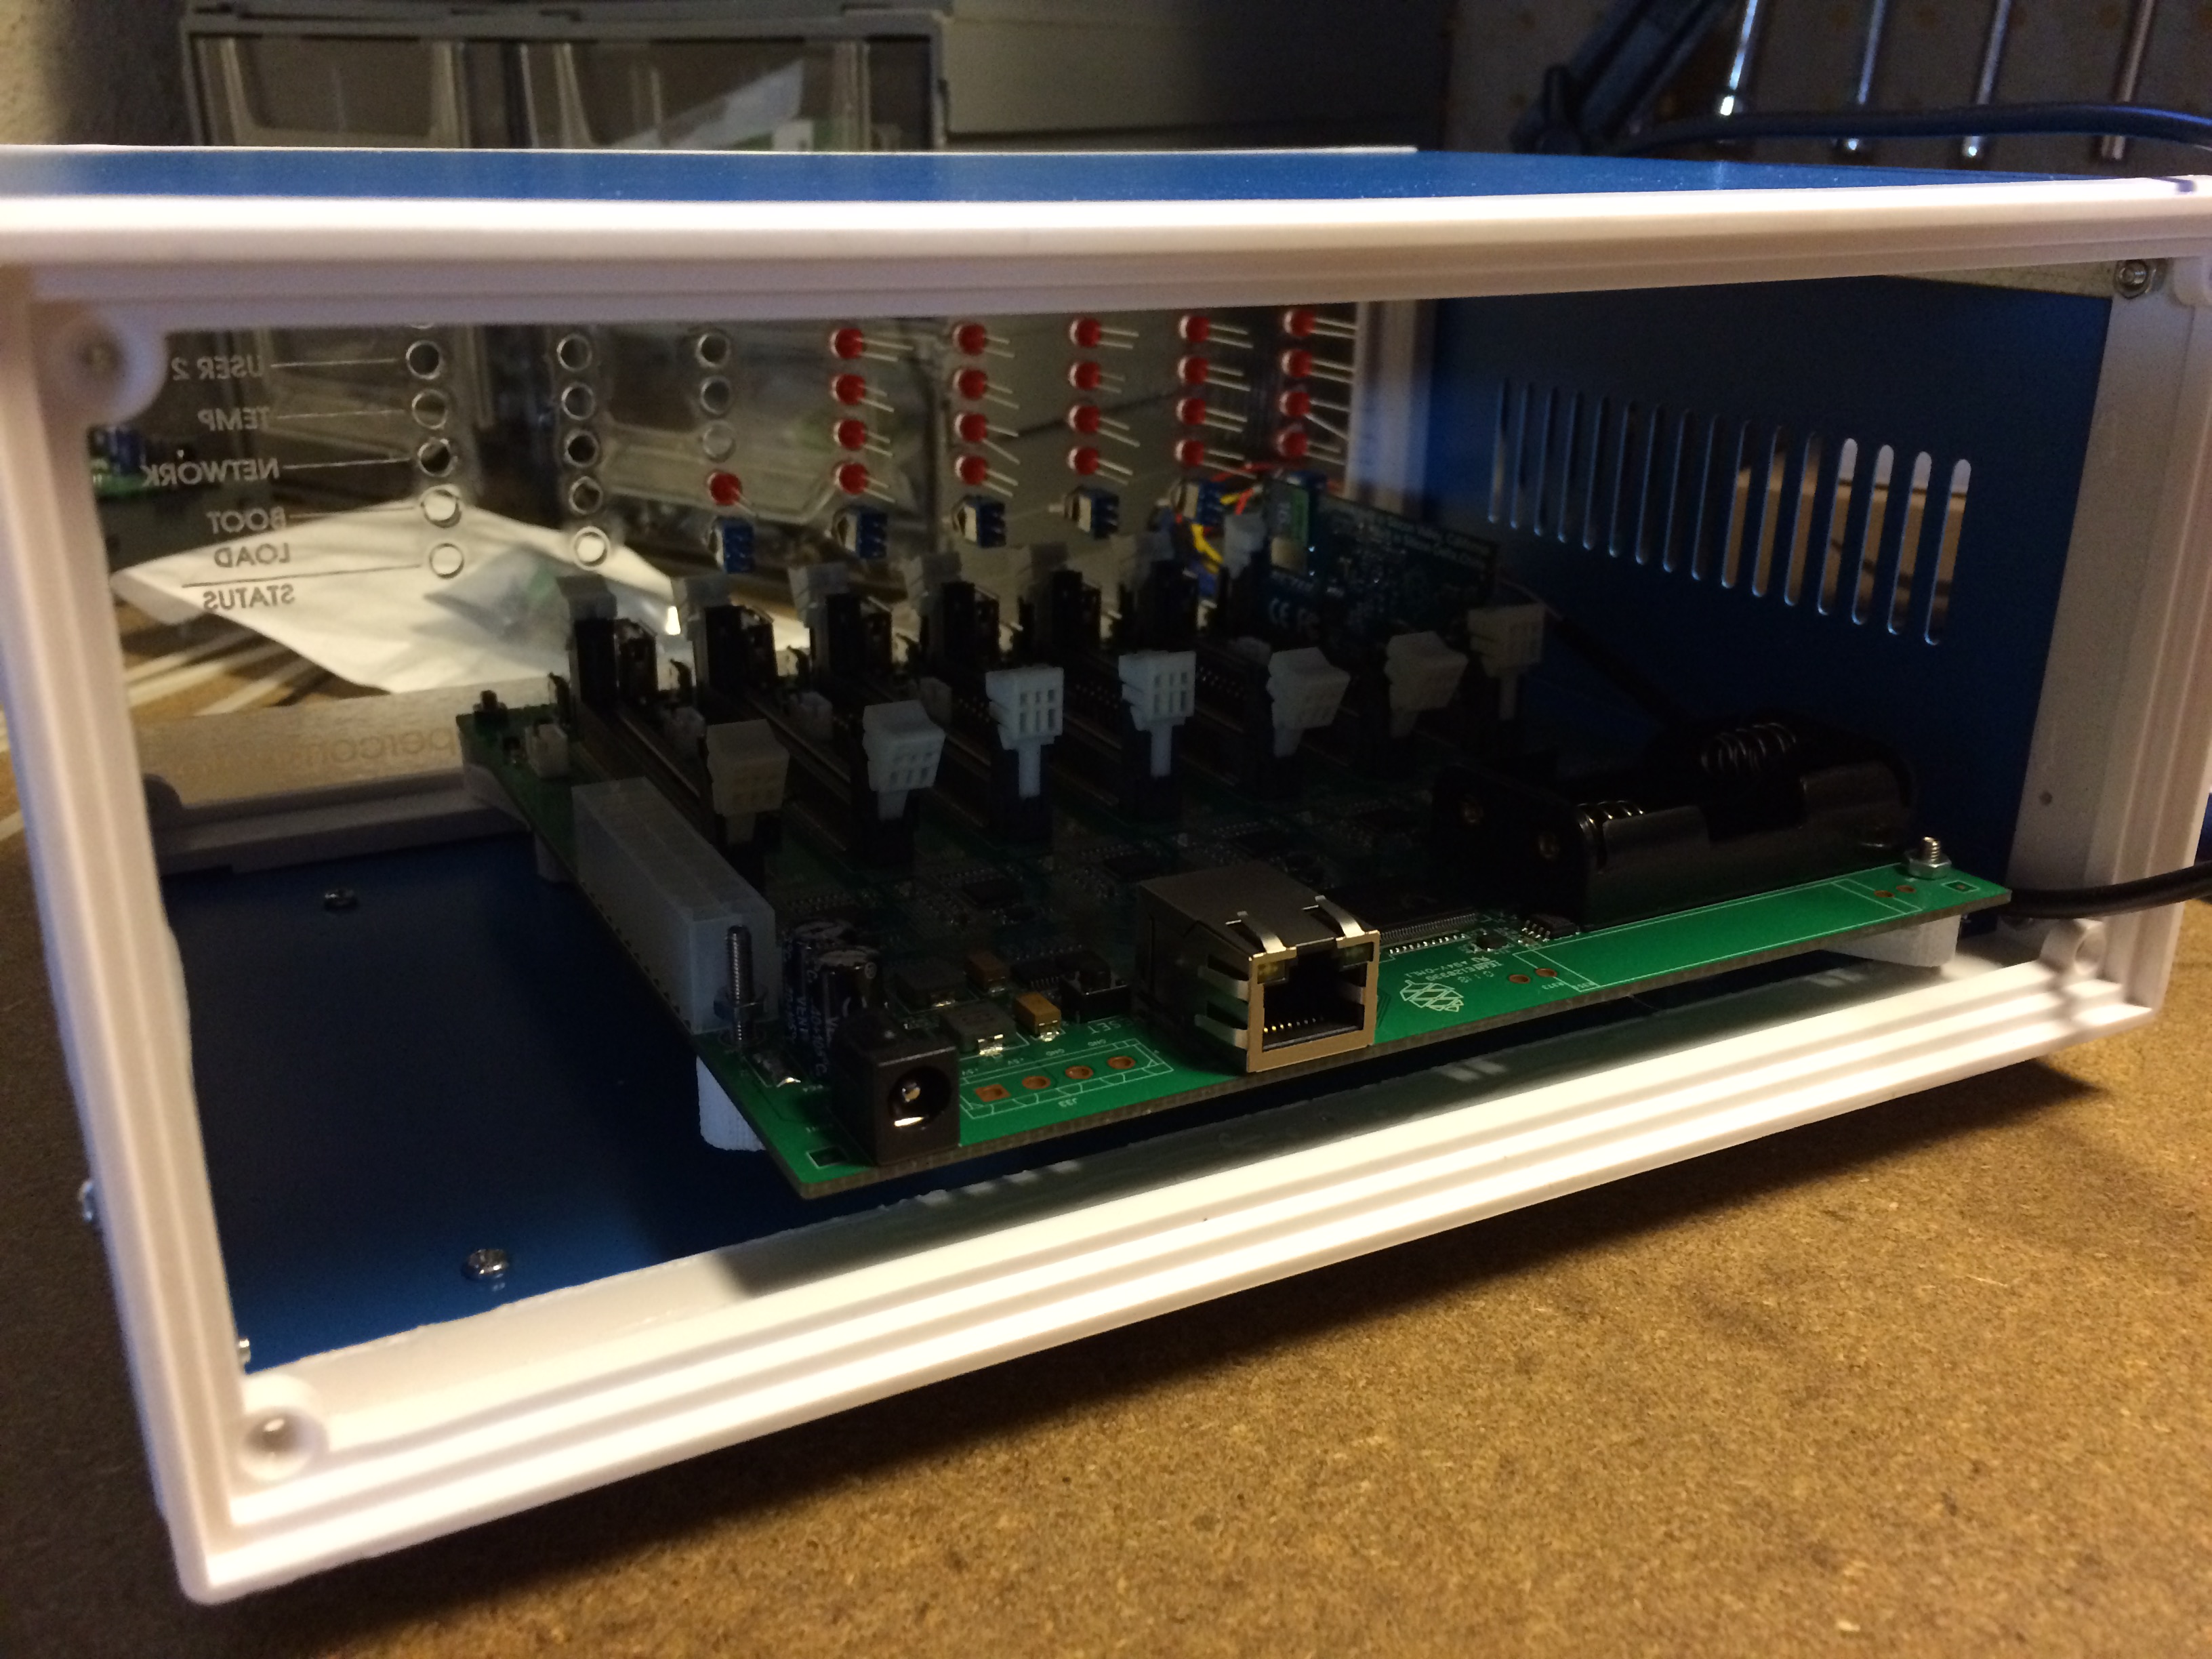
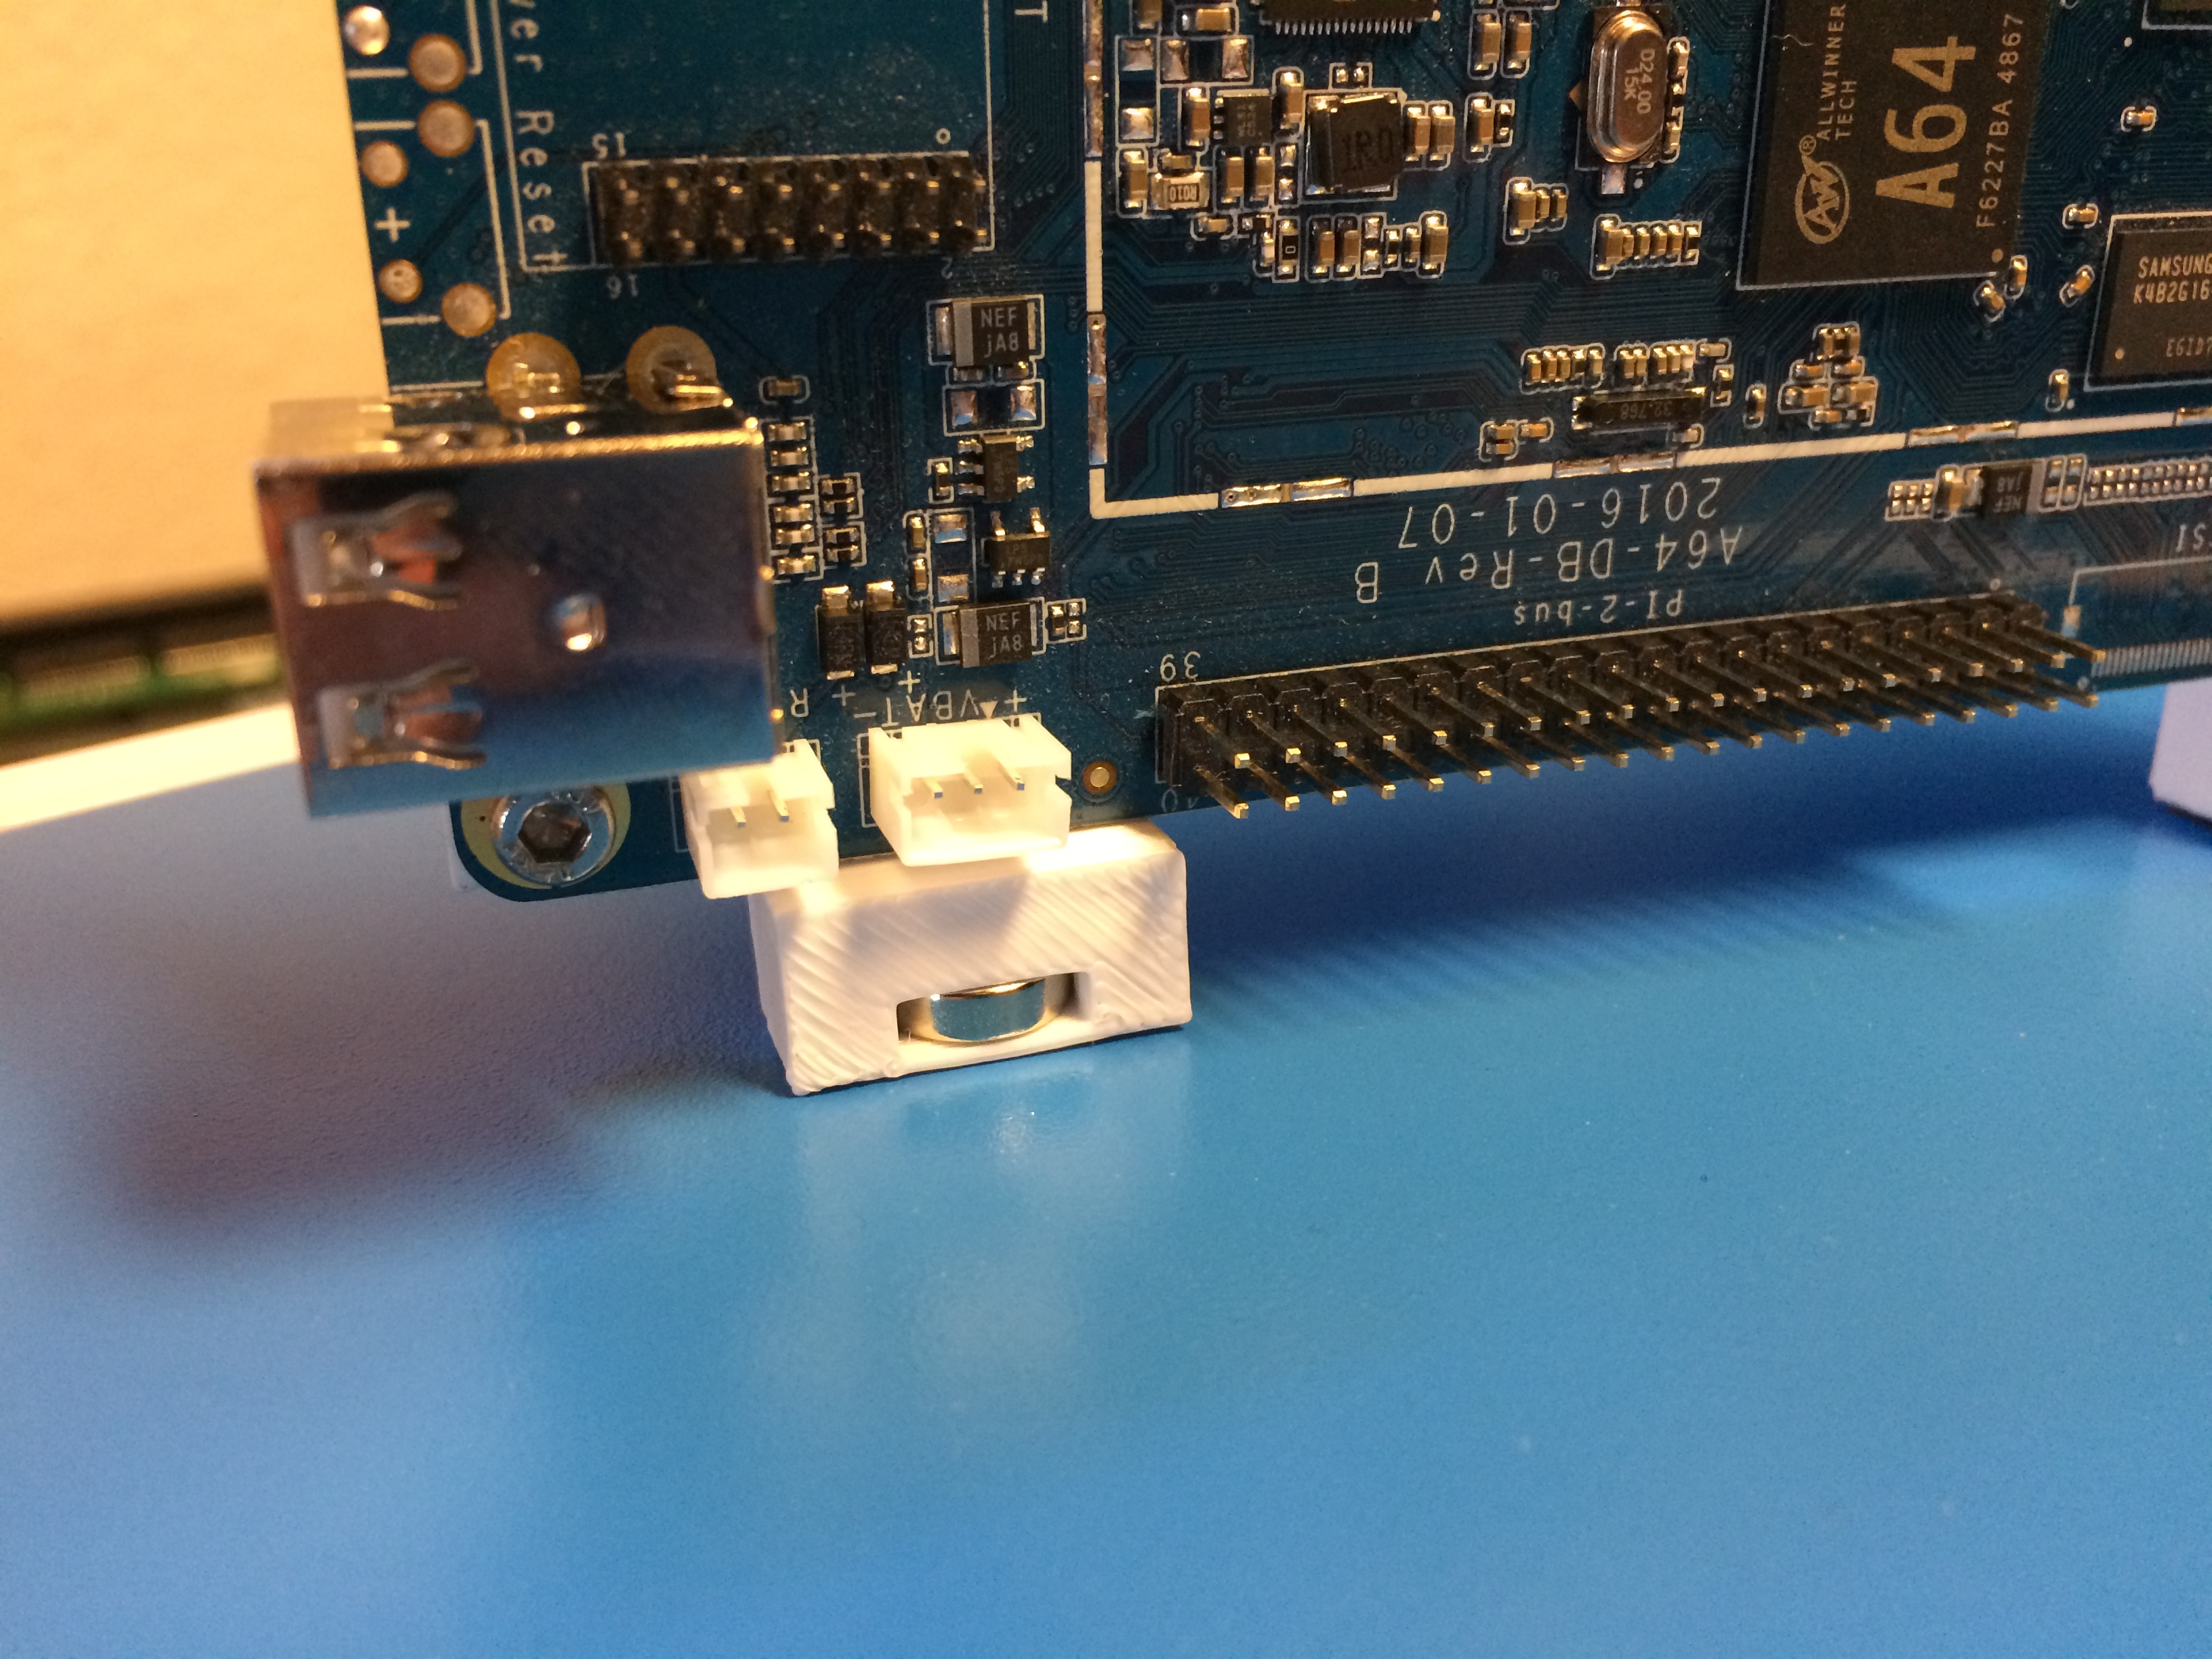 The idea of modifying a part just because you don’t want to run out and buy some glue would seem ridiculous before I had a 3d printer but now it’s easier and faster to just “run-off a new part”. The result is not only faster, but it’s also a better part. This is one of the things I love about 3d printing, the ability to iterate at a pace similar to writing software and letting the robots do the work.